How to Install Yarn on MacOS
Yarn, a package manager for JavaScript created by the e...
Redis is an in-memory data structure store used as a database, cache, and message broker. It supports various data structures, including strings, hashes, lists, sets, sorted sets with range queries, bitmaps, HyperLogLogs, geospatial indexes, and streams.
Installing Redis on macOS can seem difficult if you are not familiar with the command line but this post will cover you through the process step-by-step to ensure a smooth setup.
Before you begin to install Redis MacOS, ensure that you have the following prerequisites:
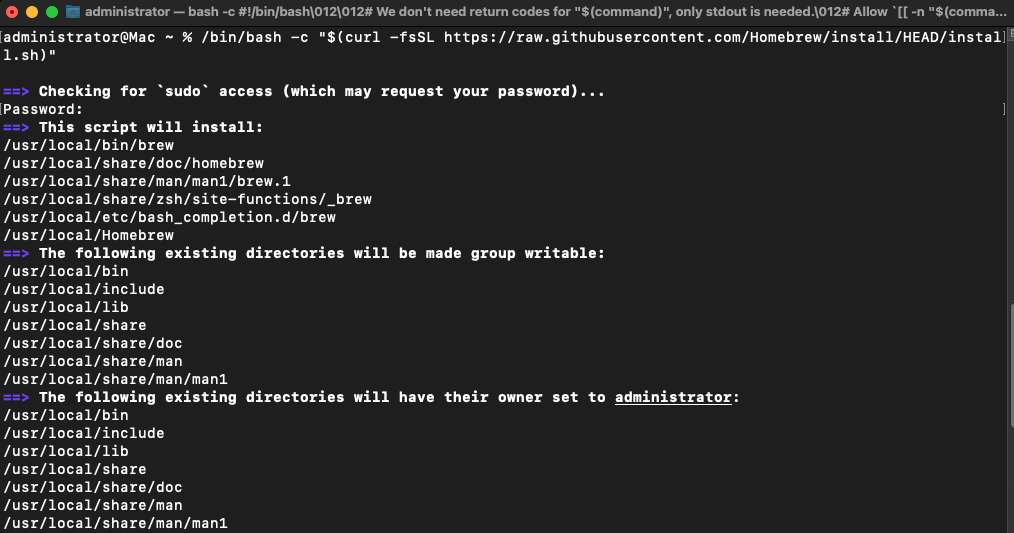
Homebrew is a package manager for macOS that simplifies the installation of software. If you haven’t installed Homebrew yet, you can do so by executing the following command in your terminal:
/bin/bash -c "$(curl -fsSL https://raw.githubusercontent.com/Homebrew/install/HEAD/install.sh)"

After running this command, follow the instructions to complete the Homebrew installation. You can verify that Homebrew is installed by typing:
brew --version

This should display the version of Homebrew installed on your system.
Install Redis on Our Macintosh VPS Hosting!
UltaHost Mac VPS Hosting is one of the quickest, secure, and affordable Macintosh hosting. Connect to a MacOS VPS from any device. Start your Mac hosting today!
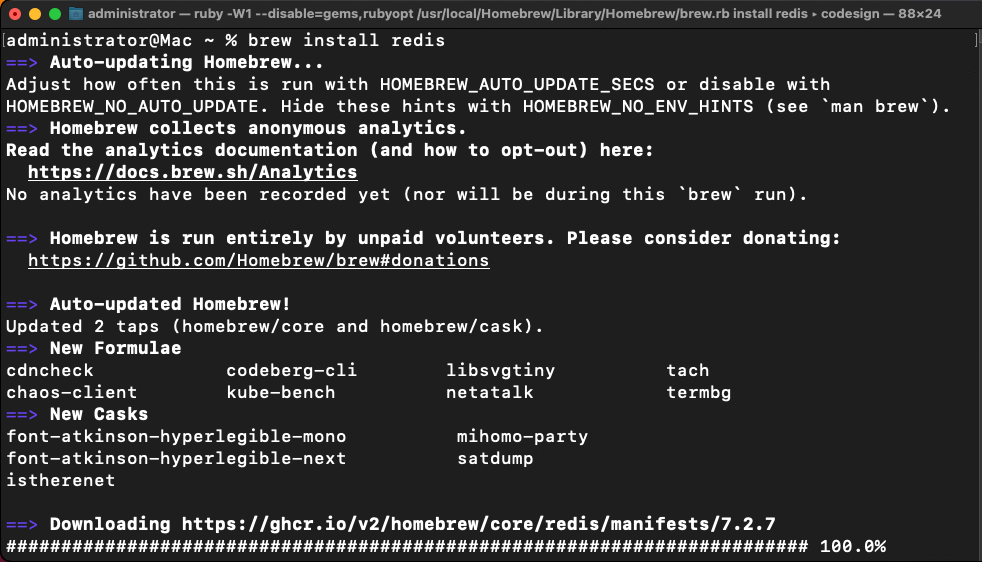
With Homebrew installed, you can now proceed to Redis install MacOS. Run the following command in your terminal:
brew install redis

This command will download and install Redis and its dependencies. The installation process might take a few minutes.
After MacOS install Redis, you need to configure it to start automatically whenever your system boots up. Run the following commands in your terminal:
brew services start redis

This command will set up Redis as a background service. You can check the status of Redis with:
brew services list

To stop Redis from running as a service, you can use:
brew services stop redis
Once Redis is installed and configured verify that it is working correctly. You can do this by starting the Redis server and the Redis command-line interface.
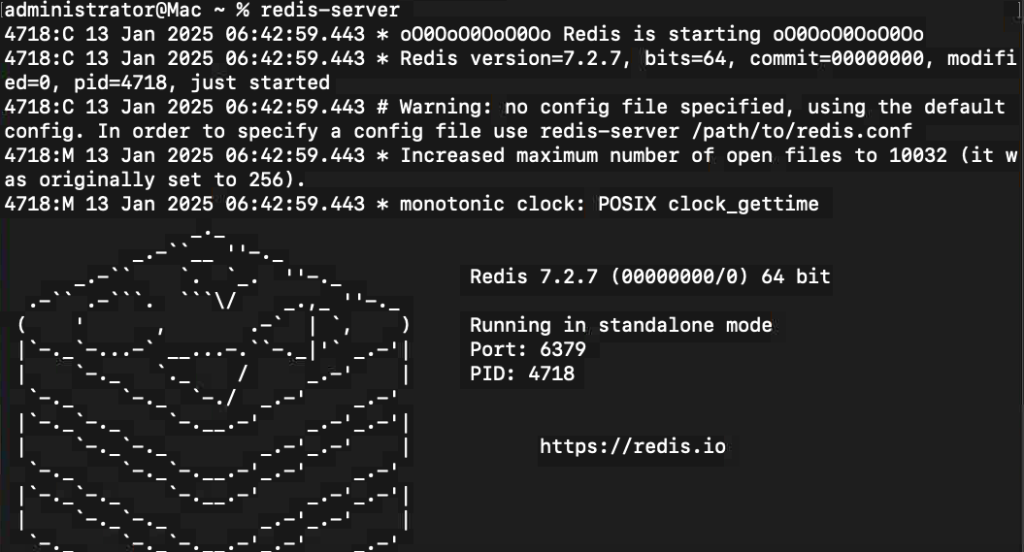
First, start the Redis server:
redis-server

Open a new terminal window or tab, and in the new terminal, start the Redis CLI:
redis-cli
In the Redis CLI, you can now run a few commands to test the installation. For example:
set test "Hello, Redis!"
get test
You should see the output:

This indicates that Redis is working correctly on your system. Implement Redis as cache to increase your website speed faster.
The Redis configuration file is located at /usr/local/etc/redis.conf. This file contains various settings that control the behavior of the Redis server. You can edit this file to change settings such as the default port, logging behavior, and more.
To edit the Redis configuration file, you can use a text editor like nano or vim:
nano /usr/local/etc/redis.conf
Make any necessary changes such as port number changing then save the file.
Learn about How to Install Redis on Windows.
For more advanced configuration, you might want to look into the following settings:
save directive in the configuration file. For example, save 900 1 means Redis will save data every 900 seconds if at least 1 key has changed.requirepass YOUR_PASSWORD line to your configuration file.bind directive in the configuration file. For example, bind 127.0.0.1 will restrict access to localhost only.If you encounter any issues during the installation or use of Redis, here are some common troubleshooting steps:
Installing and configuring Redis on macOS is a straightforward process with Homebrew. With Redis up and running, you can use its powerful data structures and high performance for various applications, from caching to real-time analytics. By following the steps in this guide, you should have a fully functional Redis setup ready to use.
Ultahost’s virtual machine hosting offers superior processing power memory and storage compared to running VMs on your local machine. Focus on running demanding applications or managing complex virtual environments seamlessly, let Ultahost provide the power and resources you need to virtualize with confidence.
Redis is an open-source, in-memory data structure store used for caching, databases, and message brokering.
Yes, you can install Redis on MacOS using Homebrew or by downloading and compiling the source code.
The easiest way is to use Homebrew. Run brew install redis in your terminal.
Type redis-server –version or redis-cli in your terminal to check if Redis is installed.
After installation, run brew services start redis or redis-server to start the Redis server.
Yes, Redis is completely free and open-source.
Yes, you can uninstall Redis by running brew uninstall redis if installed via Homebrew.