
How to Install Chromium on Ubuntu 22.04
Chromium is an open-source web browser project that ser...


When it comes to development environments, consistency, and reproducibility are key. Vagrant, a popular open-source tool, helps achieve this by allowing developers to create and configure virtual environments that are identical across different machines. By providing a portable and reproducible development environment, Vagrant streamlines the development process, reduces errors, and increases productivity. Whether you’re working on a solo project or collaborating with a team, Vagrant ensures that everyone is on the same page, using the same tools and configurations.
In this tutorial, we’ll focus on installing Vagrant on Ubuntu, one of the most popular distributions of Linux. Ubuntu’s user-friendly interface and vast community support make it an ideal choice for developers of all levels. By installing Vagrant on Ubuntu, you’ll be able to take advantage of its powerful virtualization capabilities, creating a flexible and efficient development environment that meets your specific needs. With Vagrant, you’ll be able to spin up new virtual machines, configure them to your liking, and share them with others, all from the comfort of your Ubuntu terminal.
You can easily install Vagrant Ubuntu system using two primary methods: the traditional APT package manager or directly using a binary package. We’ll explore both options, allowing you to choose the one that best suits your preferences.
This method utilizes Ubuntu’s built-in package manager, APT, to install Vagrant from the official repositories. This is generally the recommended approach for most users due to its simplicity and automatic handling of dependencies.
Step 1: Update Your System
To install Vagrant on Ubuntu 22.04, it’s essential to ensure that your system has the latest package list. This step ensures that you have access to the latest version of Vagrant and its dependencies. To update the package list, open a terminal on your Ubuntu system and run the following command:
sudo apt update && sudo apt upgrade -y
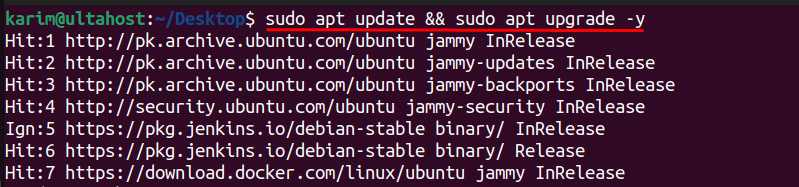
This command first updates the package lists from the repositories and then upgrades all your installed packages to their latest versions.
Step 2: Install Vagrant
Run the following command to install Vagrant on Ubuntu:
sudo apt install vagrant
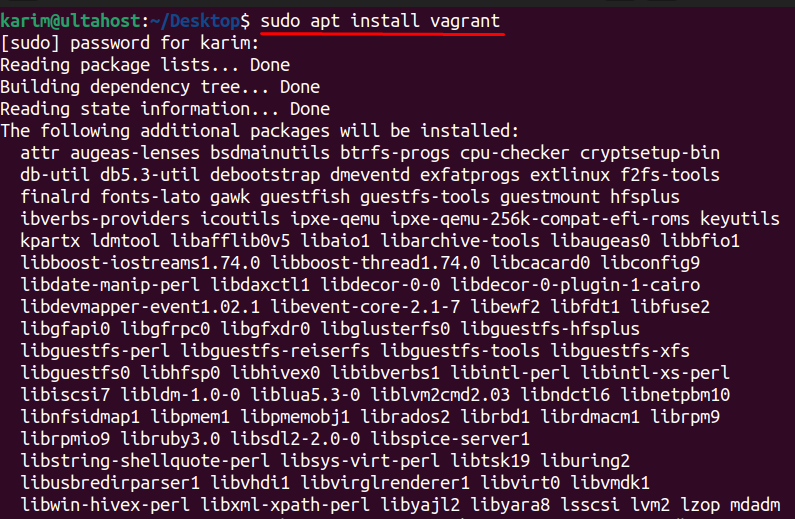
This command will download and install Vagrant, along with its dependencies, from the Ubuntu repositories. Depending on your system’s configuration and internet connection, this process may take a few minutes to complete.
Step 3: Verifying Installation
Once the installation is complete, it’s essential to verify that Vagrant has been installed correctly. To do this, run the following command:
vagrant --version

This command will display the version of Vagrant installed on your system, indicating that the installation was successful.
Install Vagrant on Our Cheap Ubuntu VPS
Experience the dependability of the world’s leading Linux distribution combined with the flexibility of a virtual server. Enjoy ultra-fast speeds and minimal latency.
This method involves Vagrant downloading the binary package directly from the official website and installing it manually. While slightly more involved than using APT, this method allows you to install a specific version of Vagrant, which can be useful in certain situations.
Step 1: Download the Vagrant Binary Package
To download the Vagrant binary package, you can use the wget command to fetch the package from the official Vagrant website:
wget https://releases.hashicorp.com/vagrant/2.4.1/vagrant_2.4.1-1_amd64.deb
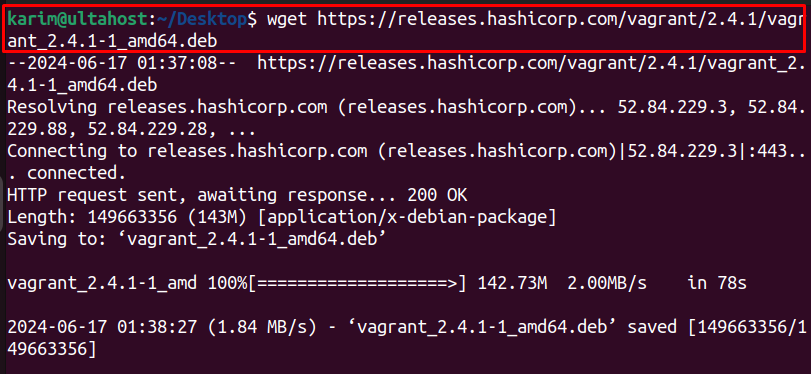
This command downloads the Vagrant package (version 2.4.1 in this example) for 64-bit systems. Make sure to adjust the URL and file name if you need a different version or architecture.
Step 2: Install the Vagrant Package
To install the Vagrant package, you can use the dpkg command, which is the package manager for Debian-based systems:
sudo dpkg -i vagrant_2.4.1-1_amd64.deb

This command will install the Vagrant package on your system. Depending on your system’s configuration, this process may take a few minutes to complete.
Step 3: Verify the Installation
Once the installation is complete, you can verify that Vagrant has been installed correctly by running the same command as before:
vagrant --version

When installing Vagrant, you might notice a difference in the installed version depending on whether you use apt or dpkg. The apt command, which is generally recommended for most users, simplifies the process by automatically handling dependencies and installing Vagrant from the official Ubuntu repositories.
However, repositories often contain slightly older but more stable versions. In your case, apt likely installed an older version of Vagrant (2.2.19). On the other hand, using dpkg allows you to install the specific .deb file you provide, ensuring you get the desired version (2.4.1 in your case).
Learn about How to Install Minikube on Ubuntu.
Now that you have Vagrant successfully installed on your Ubuntu system, let’s initialize a new Vagrant environment for your project.
Step 1: Creating a Project Directory
It’s good practice to keep your Vagrant projects organized within dedicated directories. Create a new directory for your project and navigate into it:
mkdir my-vagrant-project
cd my-vagrant-project

Step 2: Initializing a Vagrantfile
The Vagrantfile is a configuration file that defines your Vagrant environment, including the operating system to use, network settings, and more. Initialize a new Vagrantfile using the following command:
vagrant init

This command will create a Vagrantfile in your project directory, which is the configuration file for your Vagrant environment.
Portability and Reproducibility
With Vagrant, you can easily create a virtual machine that is identical across different machines, ensuring that your development environment is consistent and reliable.
Flexibility and Customization
Vagrant allows you to customize your development environment to meet your specific needs. You can easily switch between different operating systems, configure network settings, and install specific software packages.
Efficient Use of Resources
Vagrant allows you to make efficient use of system resources. By spinning up a virtual machine only when needed, you can free up system resources and reduce the overhead of running multiple virtual machines.
Improved Security
Vagrant provides an additional layer of security by isolating your development environment from the host machine. This ensures that any security vulnerabilities or issues with your development environment do not affect the host machine.
Easy Backup and Recovery
Vagrant makes it easy to back up and recover your development environment. By creating a snapshot of your virtual machine, you can easily restore your environment in case of a failure or error.
In this Vagrant Ubuntu installation guide, we explored two primary methods: using the APT package manager and directly installing the binary package. The APT method, recommended for most users, simplifies the process by automatically handling dependencies and installing Vagrant from Ubuntu’s official repositories. This approach offers convenience and ensures you have a stable but potentially older version of Vagrant.
On the other hand, the binary package method provides more control over the specific Vagrant version installed, which is beneficial when compatibility with specific projects is crucial.
Take your virtualization journey to the next level with Ultahost’s virtual machine hosting increasing the performance, flexibility, and security of Kernel-based VM technology for your business. Host your VMs quickly and affordably with a VPS Server offering Linux virtual machines.
Vagrant is an open-source software product for building and maintaining portable virtual software development environments. It provides a command-line interface to manage virtual machines and automate the setup of development environments.
The system requirements for installing Vagrant on Ubuntu include:
To update Vagrant to the latest version, you can use the following commands: sudo apt-get update && sudo apt-get upgrade vagrant
You can find more information and get help with Vagrant on the official Vagrant documentation or through the Vagrant community forums and Stack Overflow.
Yes, Vagrant can be used with other providers such as VMware, Docker, Hyper-V, and AWS. You will need to install the respective provider plugins.
Chromium is an open-source web browser project that ser...

MongoDB, a well-known NoSQL database, has a comprehensi...
PrestaShop is a popular, free, and open-source e-commer...