
How to Install Cassandra on Ubuntu
Apache Cassandra is a highly scalable distributed NoSQL...


SQLite is a lightweight, self-contained, and serverless relational database management system that has gained immense popularity among developers and Linux users. This open-source database is designed to be compact, efficient, and easy to use, making it an ideal choice for a wide range of applications, from simple desktop applications to complex web applications. SQLite is particularly useful for Linux users, as it provides a robust and reliable way to manage and store data locally, without the need for a dedicated database server.
One of the primary benefits of using SQLite is its ability to provide a fast, lightweight, and secure way to store and manage data. SQLite databases are stored in a single file, which makes them easy to backup, transfer, and manage. Additionally, SQLite is highly customizable, allowing users to tailor it to their specific needs.
For Linux users, SQLite offers a range of benefits, including the ability to manage and store data locally, without the need for a dedicated database server. This makes it an ideal choice for users who need to store and manage data on their local machine. In this article, we’ll provide a comprehensive guide about how to connect to SQLite database on Ubuntu, including step-by-step instructions and examples.
To connect to SQLite from the command line on Ubuntu you first need to install SQLite. Here’s a step-by-step guide to installing SQLite on Ubuntu:
Open the Terminal application on your Ubuntu system. You can do this by searching for “Terminal” in the Ubuntu dashboard or by using the keyboard shortcut Ctrl+Alt+T. This will open a new terminal window, where you can enter commands to manage your Linux system.
Update the Ubuntu package list to ensure that you have the latest package information. Run the following command in the Terminal:
sudo apt update
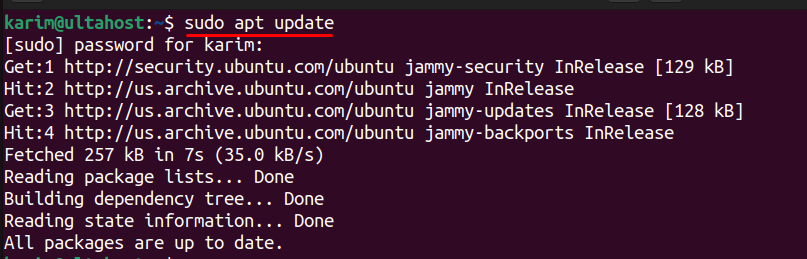
This command may take a few seconds to complete, depending on your internet connection speed.
Install SQLite by running the following command in the Terminal:
sudo apt install sqlite3
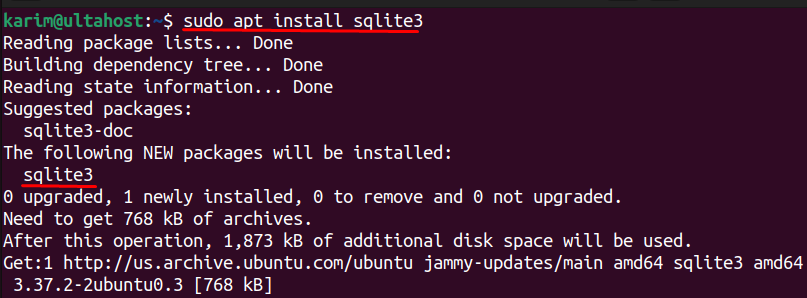
This command will download and install the SQLite package and its dependencies.
Verify that SQLite has been installed successfully by running the following command in the Terminal:
sqlite3 --version

This command should display the version of SQLite that you just installed.
Connect SQLite on Our Fast Ubuntu VPS!
Choose Ubuntu VPS for unparalleled reliability and flexibility, unlocking a powerful and customized hosting solution.
Now that you have installed SQLite, you can connect to it from the command line on Ubuntu. Here’s a step-by-step guide:
Open the SQLite shell by running the following command in the Terminal:
sqlite3
This command will open the SQLite shell, and you will see a prompt that looks like this:
sqlite>
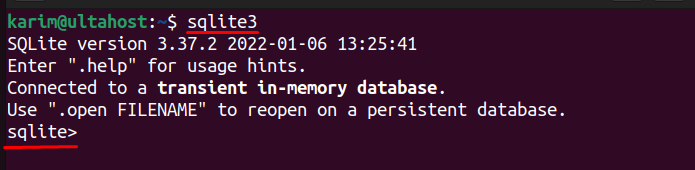
This prompt indicates that you are now in the SQLite shell, where you can enter SQL commands to manage your database.
If you want to create a new database, you can do so by running the following command in the SQLite shell:
.open mydatabase.db

Replace mydatabase.db with the name of the database you want to create. This command will create a new database file with the specified name.
If you want to connect to an existing database, you can do so by running the following command in the Terminal:
sqlite3 mydatabase.db

Replace mydatabase.db with the name of the database you want to connect to. This command will open the SQLite3.connect shell and connect to the specified database.
Once you are connected to the database, you can execute SQL commands to create tables, insert data, query data, and more. For example:
CREATE TABLE users (id INTEGER PRIMARY KEY, name TEXT, email TEXT);
INSERT INTO users (name, email) VALUES ('karim ultahost', '[email protected]');
SELECT * FROM users;
.quit

These commands will create a new table called users, insert a new row into the table, and then select all rows from the table. After that, you can exit the SQLite shell.
Learn also How to Install SQLite on Ubuntu 22.04.
SQLite3 is a feature-rich database management system that offers a wide range of capabilities, making it an ideal choice for various applications. Here are some of the key features of SQLite3:
If you encounter any issues when installing or connecting to SQLite on Ubuntu, here are some common troubleshooting steps you can take:
In this article, we have provided a comprehensive guide to installing and connecting to SQLite3 on Ubuntu including updating the package list, installing the SQLite3 package, and verifying the installation. We have also covered the process of SQLite connect to database from the command line, including opening the SQLite shell, creating a new database, and executing SQL commands.
With SQLite3, you can take advantage of a powerful and lightweight database management system that is ideal for a wide range of applications.
We hope this guide has empowered you to connect to the SQLite database from the command line. Consider Ultahost dedicated server hosting which enables you with the control and security needed for a seamless connection that offers root access to your server allowing you to install and configure databases.
SQLite is a lightweight, serverless, self-contained SQL database engine. It’s used widely for local storage in applications, and it’s easy to set up and use.
Open your terminal or command prompt and type sqlite3. You can also open a specific database file by running sqlite3 your_database.db.
If you specify a database file that doesn’t exist, SQLite will create a new file with that name.
Run sqlite3 new_database.db, replacing new_database.db with your desired database name. This creates a new database file and opens the SQLite prompt.
Run sqlite3 existing_database.db to open an existing SQLite database.
Type your SQL command directly in the prompt followed by a semicolon (e.g., SELECT * FROM users;) and press Enter.
Apache Cassandra is a highly scalable distributed NoSQL...
If you’re a software developer, you know the importan...
Kubernetes is an open-source container orchestration sy...

MySQL is an open-source relational database system that...
Zenmap the official graphical user interface for the po...
Minikube is a lightweight, portable, and easy-to-use wa...