How to Install SQL Server Management Studio o...
SQL Server Management Studio (SSMS) is a comprehensive,...
Burp Suite is a powerful tool security professionals use to test web application security. It offers a range of features, including a proxy server, scanner, intruder, and repeater. It also provides a store where you can install additional plugins.
In this post, we will cover the steps to install Burp Suite on a Windows system including the configuration with Firefox and troubleshooting steps.
Before install BurpSuite Windows ensure your system meets the following requirements:
Burp Suite is available in two editions Community (free) and Professional (paid). For this guide, we will focus on the Community Edition.
To download Burpsuite Windows open your web browser and go to the official PortSwigger website. Navigate to the Downloads Page, Click on the “Products” tab, and select “Burp Suite Community Edition”.
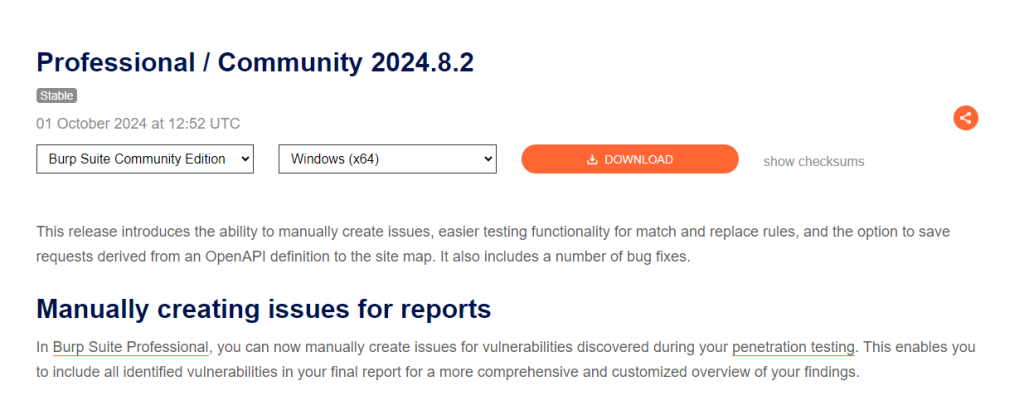
Choose the Windows (64-bit) version and click the download button. The installer file will be downloaded to your system.
Once the download is complete follow these steps to install Burp Suite:
1. Locate the downloaded installer file usually in your Downloads folder and double-click it to run.

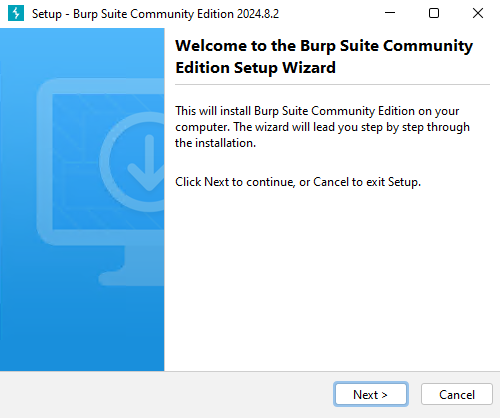
2. The Burp Suite installation wizard will open. Click “Next” to proceed.
3. Read the license agreement and click “I Agree” to accept the terms.
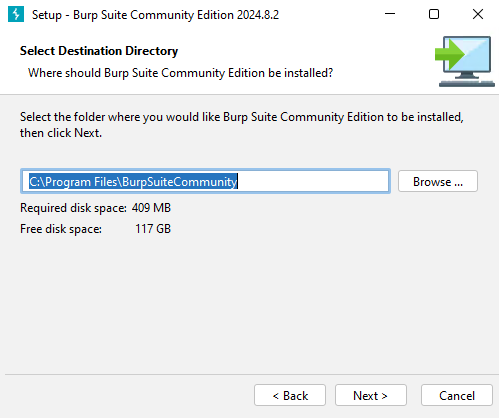
4. Select the destination folder where you want to install Burp Suite. The default location is fine. Click “Next”.
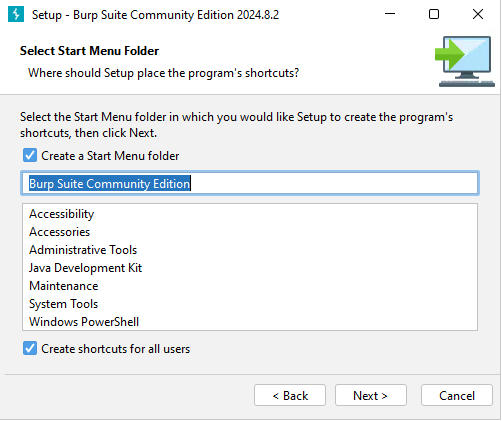
5. Choose the Start Menu folder for the Burp Suite shortcuts. Click “Next”.
6. Click “Next” to begin the installation process. This may take a few minutes.
7. Once the installation is complete, click “Finish” to exit the wizard.
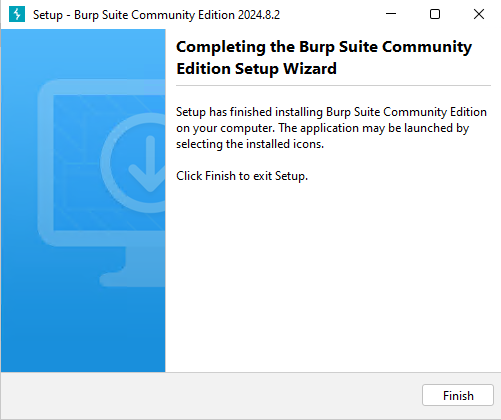
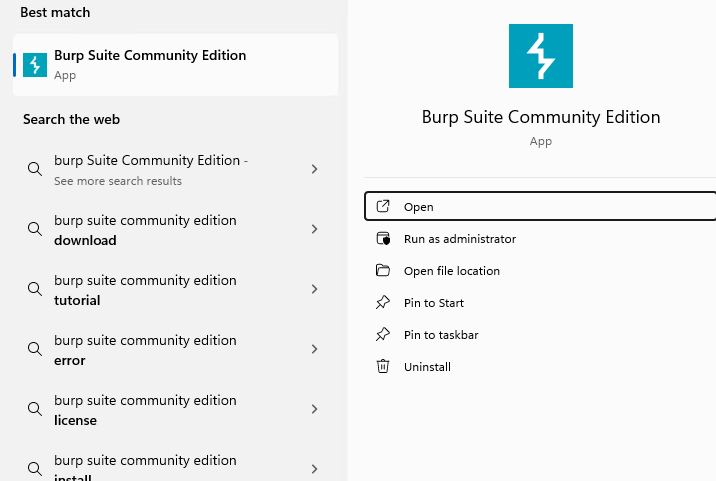
After installation, you can launch Burp Suite by navigating to the Start Menu and search for “Burp Suite”. Click on the Burp Suite icon to launch the application.
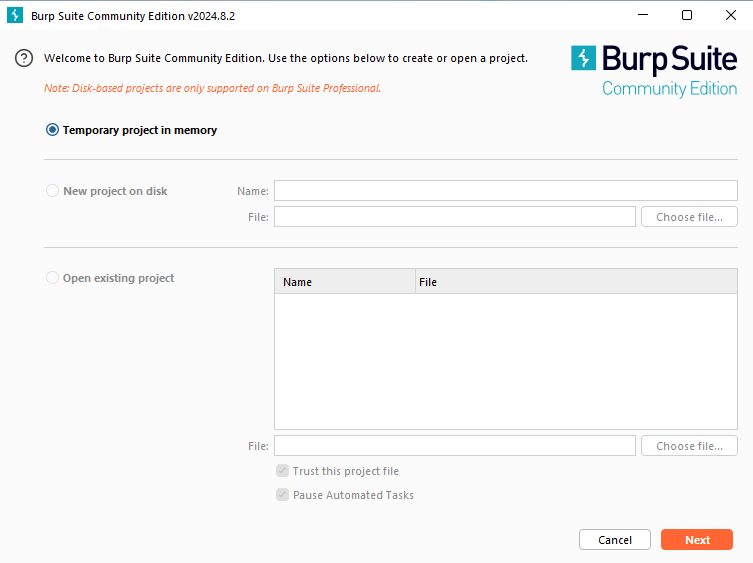
The first time you run Burp Suite, you’ll be prompted to create a new project. Choose “Temporary Project” and click “Next”. Select “Use Burp Defaults” and click “Start Burp”.
To use Burp Suite effectively you need to configure your browser to work with Burp’s proxy. Here’s how to do it with Mozilla Firefox:
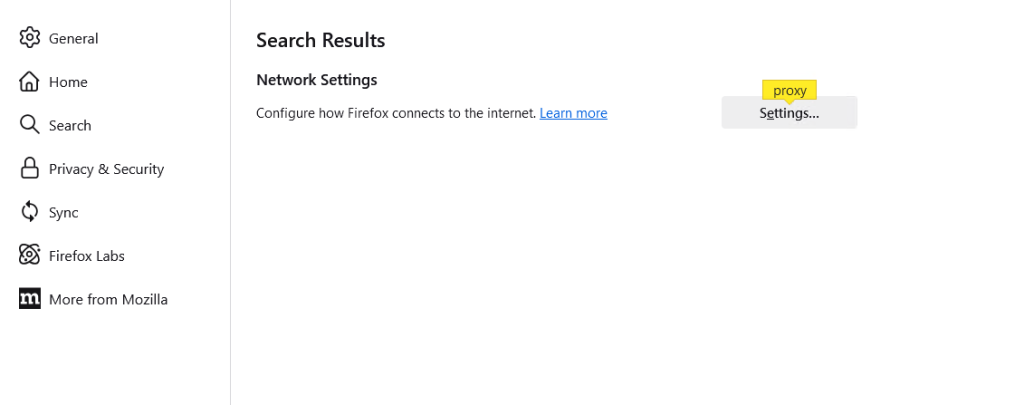
Launch Mozilla Firefox and navigate to Settings search “Proxy” in the search bar. A Network Settings option appears click Settings.
Select “Manual proxy configuration” and enter the following details:
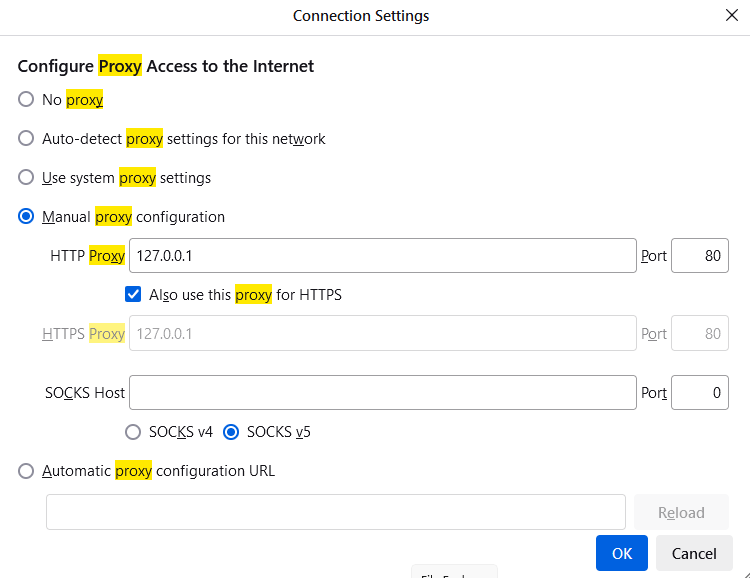
Click “OK” to save the settings.
Install Burp Suite on Our Windows VPS!
With Ultahost, Hosting Windows VPS has never been easier or faster. Enjoy ultra-fast SSD NVME speeds with no dropouts and slowdowns.
To intercept HTTPS traffic you need to install Burp’s CA certificate in your browser:
Go to the “Proxy” tab and then the “Proxy Setting” sub-tab. Click on “Import/export CA certificate” and select “Export” in DER format. Save the certificate file to your system.
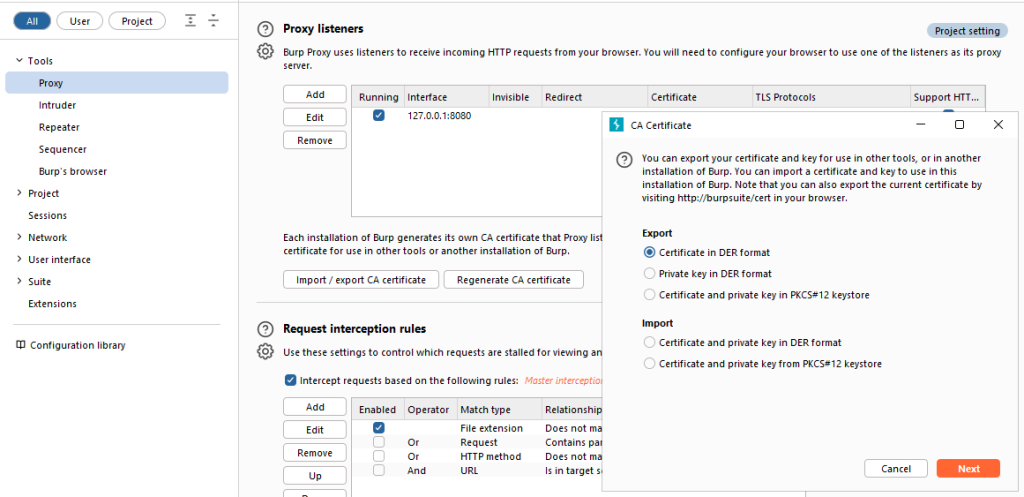
To install the certificate in the Firefox browser. Go to Settings then search Certificates in the search bar then click View Certificates.
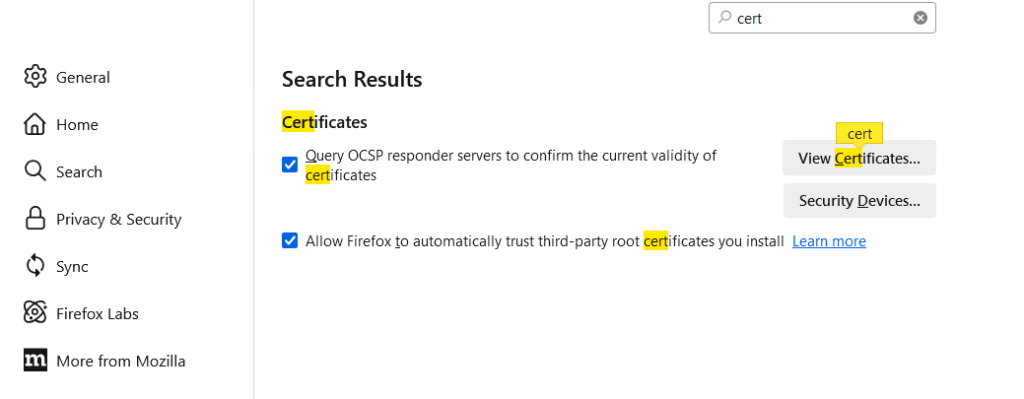
Click “Import” and select the saved certificate file.
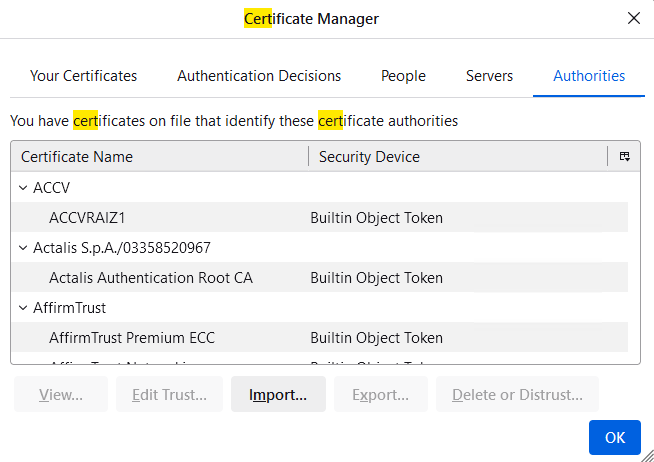
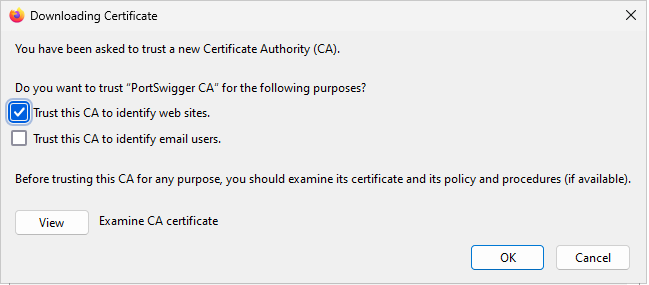
Check the box for “Trust this CA to identify websites” and click “OK”.
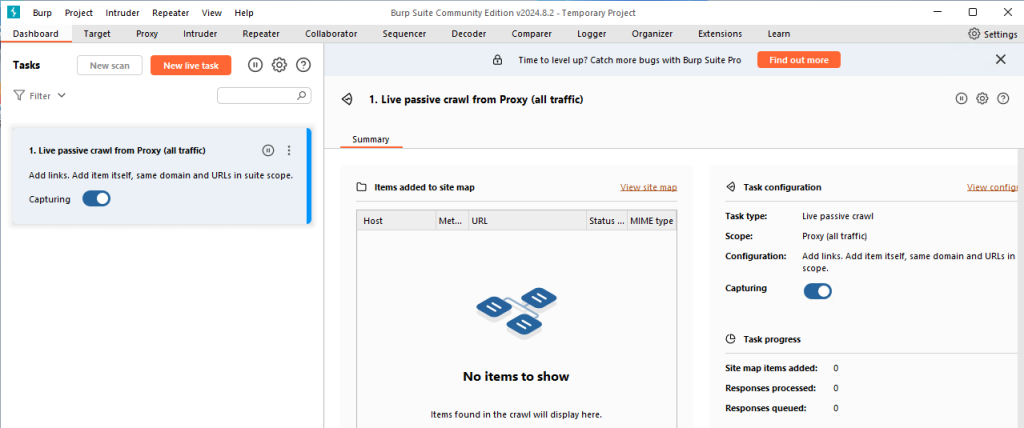
Now that Burp Suite is installed and configured you can start using it for web application security testing. Here are some basic features:
Learn how to solve SQL injection vulnerabilities using BurpSuite to retrieve hidden data.
If you encounter any issues during installation or use here are some common troubleshooting steps after Windows install Burpsuite:
Burp Suite is an essential tool for web application security testing. By following this guide, you should be able to install and configure Burp Suite on your Windows system successfully. With its powerful features, you can perform comprehensive security assessments and identify vulnerabilities in web applications.
If you are installing applications for testing purposes that require high resources consider Ultahost’s fully managed dedicated server plans. Our hosting offers the flexibility and control of a dedicated server which means you can easily fulfill your requirements and configure your server settings to optimize performance for your workloads.
BurpSuite is a tool for web security testing and penetration testing.
Yes, BurpSuite can be installed on Windows using the official installer.
You can download BurpSuite from the official PortSwigger website.
BurpSuite has a free version (Community Edition) and a paid version (Professional Edition).
Yes, BurpSuite requires Java to run. You may need to install it if you don’t have it.
The installation process takes only a few minutes once Java is installed.
Yes, beginners can use BurpSuite but it is mainly designed for security professionals.