In the world of web hosting, WHM (Web Host Manager) and cPanel have established themselves as industry leaders, widely recognized as two prominent control panel solutions. WHM allows server administrators to efficiently manage multiple cPanel accounts, while cPanel provides an intuitive interface for individual account holders to oversee their websites and hosting settings. This powerful combination streamlines server management, simplifies website administration, and enhances the overall hosting experience.
CentOS 7, which is a Linux host distribution based on Red Hat Enterprise Linux (RHEL), is renowned for its stability, security, and long-term support. It provides a solid foundation for running WHM/cPanel, ensuring optimal performance and compatibility. Thanks to its strong community support and extensive documentation, CentOS 7 has gained the trust of numerous server administrators as a reliable choice.
WHM/cPanel offers a robust array of features and tools that greatly simplify server management and website administration. With WHM, you can effortlessly create and manage individual cPanel accounts, allocate resources, monitor server performance, and install applications with just a few clicks. On the other hand, cPanel empowers website owners and administrators to easily handle their hosting settings, emails, domains, databases, and files through an intuitive web-based interface. Consider Ultahost CPanel VPS hosting.
Requirements Before Installation
CPU: At least 1 GHz or higher (dual-core recommended for better performance).
RAM: Minimum 1 GB (2 GB or more is recommended for improved performance).
Disk Space: At least 20 GB of free disk space (additional space for websites and data).
Network: Stable internet connection with sufficient bandwidth for website traffic.
CentOS 7.x: WHM/cPanel is well-supported on CentOS 7. Ensure you have the latest CentOS 7 release and updates installed.
YUM Package Manager: WHM/cPanel uses YUM for package management. It should be installed and functional.
It’s essential to have a reliable and capable server that meets these requirements to ensure the smooth functioning of WHM/cPanel and to provide an optimal hosting environment for your websites and applications.
CentOS 7 Requirements to Install WHM/cPanel
Ensure that your CentOS 7 system is up-to-date with the latest packages and security updates. Open a terminal or SSH session and run the following commands:
sudo yum update
sudo yum upgrade
Assign a meaningful hostname to your server. Edit the hostname file using a text editor:
sudo vi /etc/hostname
Replace the existing hostname with your desired hostname, then save and exit the editor.
Open the network configuration file using a text editor:
sudo vi /etc/sysconfig/network-scripts/ifcfg-<interface_name>
Replace <interface_name> with the actual name of your network interface (e.g., eth0, ens32). Update the configuration with your server’s IP address, netmask, gateway, and DNS information. Save and exit the editor.
SELinux (Security-Enhanced Linux) can sometimes interfere with cPanel’s operation. It’s recommended to disable SELinux or set it to permissive mode. Open the SELinux configuration file:
sudo vi /etc/selinux/config
Change the SELINUX value to either “disabled” or “permissive.” Save and exit the editor.
Ensure that the necessary ports for cPanel and WHM are open in your firewall. You can use the firewall-cmd utility to add rules for the required ports:
Once the script is downloaded, it’s time to run the installation. Execute the downloaded installation script using the sh command:
sh latest
Running this command will kickstart the installation process. The script will take care of downloading all the necessary files and packages required for cPanel.
As the installation progresses, you’ll come across the cPanel End User License Agreement (EULA). Take some time to read through the agreement. When prompted, type ‘y’ to accept the agreement and continue with the installation.
Be patient and wait for the installation to complete. The duration of the process depends on your server’s specifications and internet speed. The script will handle the download and installation of various components required for cPanel.
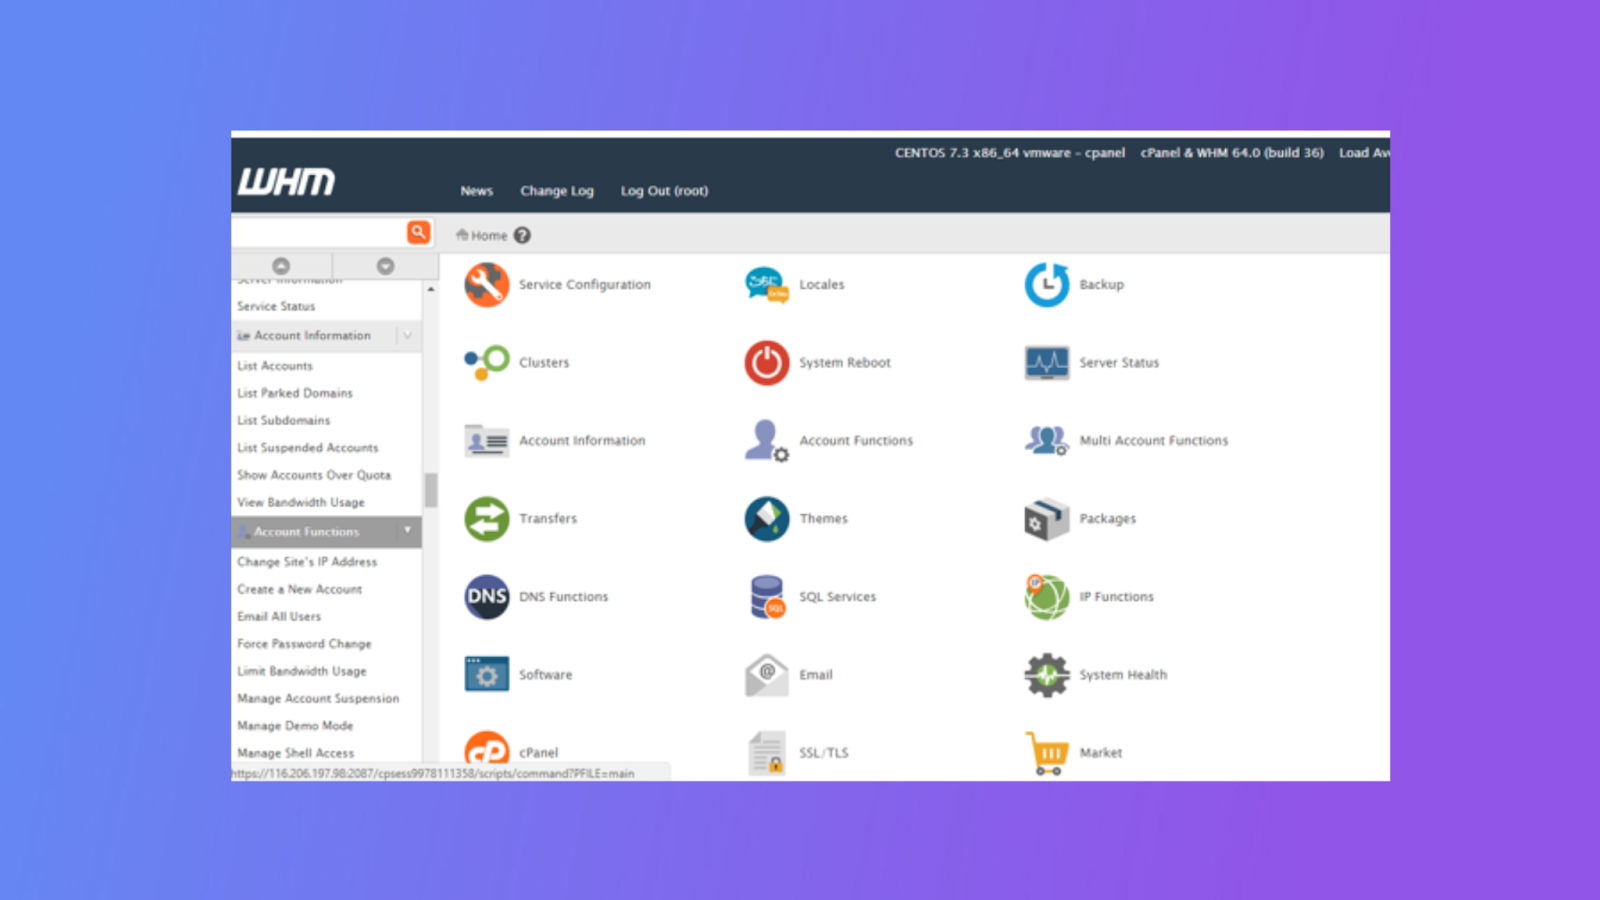
Once you finish the installation, you can access the Web Host Manager (WHM) interface using a web browser. Open your preferred browser and enter the following URL: https://your_server_ip:2087
Remember to replace ‘your_server_ip’ with the actual IP address or hostname of your CentOS 7 server.
On the WHM login page, enter the root username and password associated with your server. These credentials were set up during the CentOS 7 installation or provided by your hosting provider.
After logging in to WHM, you’ll be guided through the initial configuration process. Simply follow the on-screen instructions to customize your server preferences, security settings, and other configurations. This includes setting a root password for MySQL, configuring nameservers, and selecting preferred update settings.
Conclusion
Setting up WHM/cPanel on CentOS 7 is a simple procedure that enables server administrators to effectively oversee their hosting environments. By following the instructions laid out in this guide, you’ll be able to install WHM/cPanel on CentOS 7 and gain access to a powerful control panel solution for website owners and administrators.