How to Install Bitwarden on Ubuntu
Bitwarden is a useful and secure password manager that ...
Ubuntu Server is a powerful and flexible operating system that is widely used for server environments. By default, it does not come with a graphical user interface (GUI) to conserve system resources. However, there are situations where having a GUI can be beneficial, especially for users who are more comfortable with graphical tools.
This article will guide you through the process of installing a desktop environment on your Ubuntu Server and how to access the GUI on your system efficiently.
Before the Ubuntu desktop download, it is essential to select a suitable desktop environment. Here are a few popular options:
To prepare your Ubuntu server you need access to the Ubuntu terminal. If you are a Windows user you can easily access it with PuTTY installed on Windows system. Log in with SSH access such as IP address, username, and password.
First, update your package lists to ensure all your software is up to date. Open a terminal and run the following commands:
sudo apt update && sudo apt upgrade
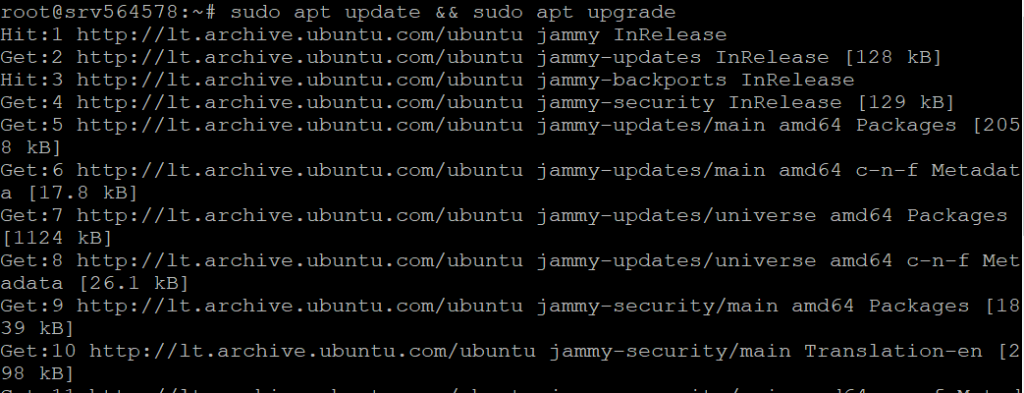
This will refresh the repository and package lists and perform the necessary upgrades.
A display manager is an application that starts the display server launches the desktop and manages user authentication. The default display manager for Ubuntu is GDM3 but it is resource intensive. For a lighter alternative, you can use SLiM or LightDM.
To install LightDM, run the following command:
sudo apt install lightdm
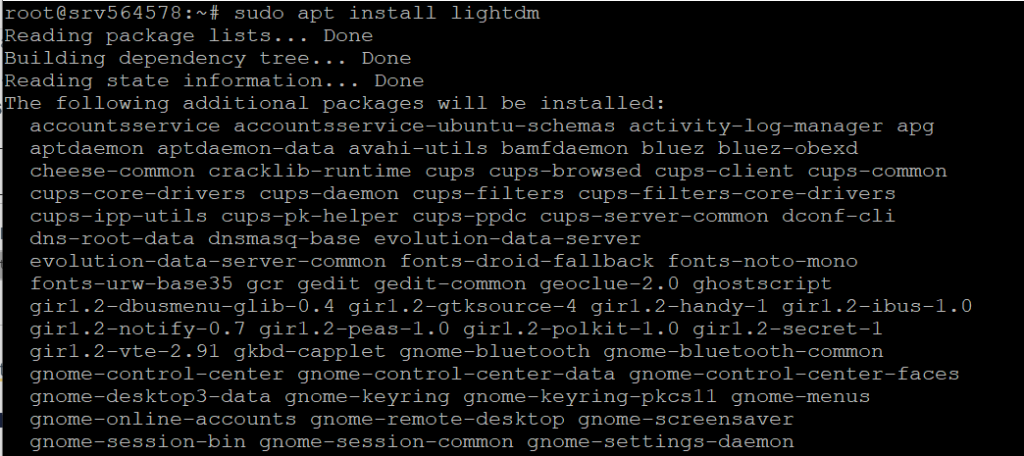
During the installation, you may be prompted to choose a default display manager. Select LightDM and press Enter.
Now, you need to choose and install a desktop environment. Ubuntu offers several desktop environments including GNOME, KDE Plasma, XFCE, and LXDE. Here are the commands to install some of the most popular ones:
GNOME Desktop
GNOME is the default desktop for the Ubuntu desktop environments. To install it, run:
sudo apt install ubuntu-desktop
KDE Plasma
KDE Plasma is known for its flexibility and visual appeal. To install Ubuntu desktop, run:
sudo apt install kde-plasma-desktop
XFCE
XFCE is a lightweight desktop environment that is fast and consumes fewer system resources. To install it, run:
sudo apt install xubuntu-core
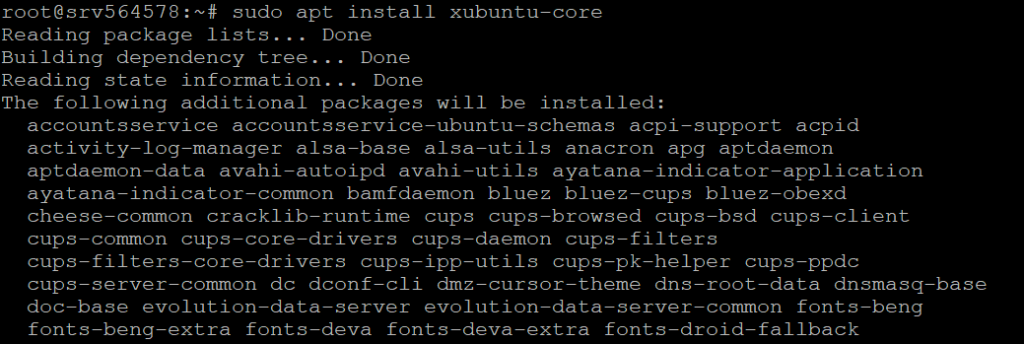
After installing the desktop environment you need to log in again to your system to apply the changes.
Install Desktop on Our Ubuntu Server!
Combine the power of the world’s most trusted Linux distro with the flexibility of a VPS. Experience lightning-fast performance.
If you need to access your server remotely you can install and configure a VNC server. Here’s how to do it:
Install the Tight VNC server with the following command:
sudo apt install tightvncserver

Start the VNC server and set a password. This password will prompt when you access the User interface on the client software.
vncserver
Configure the VNC server to start with your chosen desktop environment. Edit the ~/.vnc/xstartup file and add the following lines:
#!/bin/sh
xrdb $HOME/.Xresources
startxfce4 &
Replace startxfce4 with the command to start your chosen desktop environment.
Make the xstartup file executable with the following command:
chmod +x ~/.vnc/xstartup
Restart the VNC server with the following command:
vncserver -kill :1 && vncserver :1
You can now connect to your server using a VNC client. You need to install RealVNC viewer to access the Desktop. Visit the official RealVNC website and select according to your operating system.
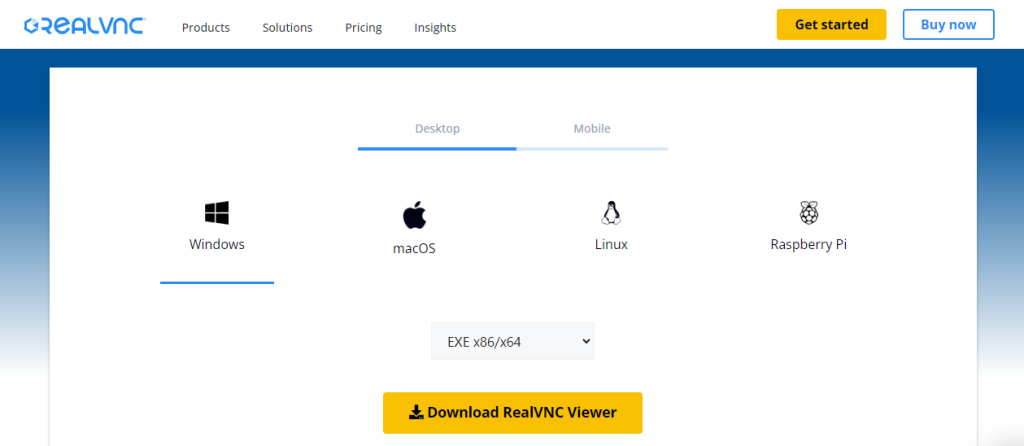
Download the installer file and install it with the help of the given instructions according to your operating system. After installing it, open the RealVNC viewer client application interface.
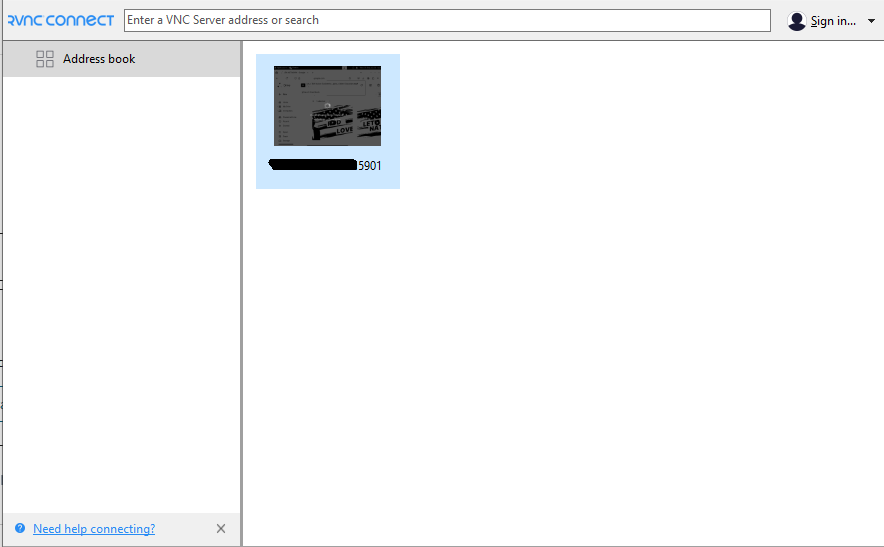
Enter the IP address and the VNC port number which is 5901 in the search bar. For example:
192.168.1.12:5901
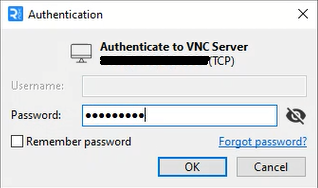
The password screen prompted. Enter the password that you configure while setting up vncserver.
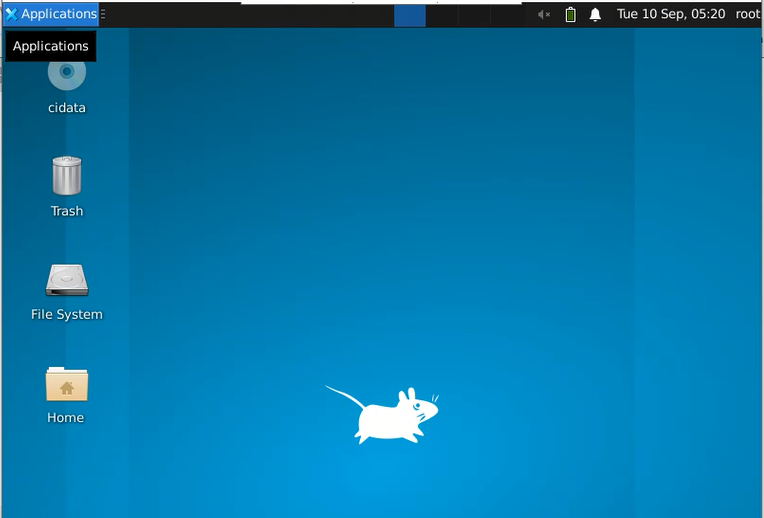
Finally, it will connect to your server along the desktop interface. Here is what the XFCE environment looks like:
Following are some important notes while installing the desktop on the Ubuntu server:
Installing a desktop environment on an Ubuntu Server can make it easier to manage and use, especially for those who prefer graphical tools. This guide has shown you how to install and configure a GUI on your Ubuntu Server including updating your server installing a display manager choosing and installing a desktop environment and configuring remote access. With these steps, you can easily set up a graphical interface on your server.
If you are looking for a server to install a desktop ultimately here is the best web server for you depending on your unique requirements. Get an SSH VPS server reliable to you and cheaper with scalability that adapts your resources to meet your growing needs. Explore Ultahost VPS plans and find the perfect fit.
A GUI (Graphical User Interface) allows you to interact with the Ubuntu Server using visual tools instead of the command line.
A GUI makes server management easier for those unfamiliar with command line operations.
Yes, you can choose from desktop environments like GNOME, KDE, XFCE, and others.
Use commands like sudo apt install ubuntu-desktop to install a GUI depending on the environment you choose.
Yes, installing a GUI can use more system resources which might slow down performance on low specs servers.
Yes, you can switch back and forth between the GUI and command line modes whenever needed.
No, a GUI is optional most server tasks can be done through the command line.