How to Install Vault on Ubuntu
When it comes to securely managing sensitive data such ...


Joomla is a powerful tool that helps users create and manage online content with ease. It’s a popular choice for building websites, blogs, and online applications because of its flexibility and range of features. With Joomla, users can create engaging websites, manage complex content, and interact with their audience in a way that’s easy to understand and use.
Joomla offers many benefits to its users. It provides a user-friendly interface, a wide range of customization options, and a large library of extensions and templates. This means users can create websites that meet their specific needs and goals. Joomla’s scalability, security, and flexibility also make it an ideal choice for building dynamic online platforms.
In this article, we will show you how to install Joomla on Ubuntu 22.04. We’ll take you through each step of the process, providing clear instructions and guidance. By the end of this tutorial, you’ll be able to create and manage your own Joomla-powered website on Ubuntu 22.04, taking advantage of the stability, security, and scalability that Ubuntu has to offer.
Before we can install Joomla Ubuntu, we need to set up a web server to host our website. Apache2 is a popular and widely-used web server software that is perfect for this task. Apache2 is an open-source, cross-platform web server that provides a secure and efficient way to host websites and web applications.
Installing Apache2 is a necessary step for Joomla because it provides the foundation for our website to run on. Joomla relies on a web server to serve its pages and content, and Apache2 is a reliable and compatible choice.
To install Apache2, we’ll start by updating the package list to ensure we have the latest packages available. We’ll do this by running the following command:
sudo apt update
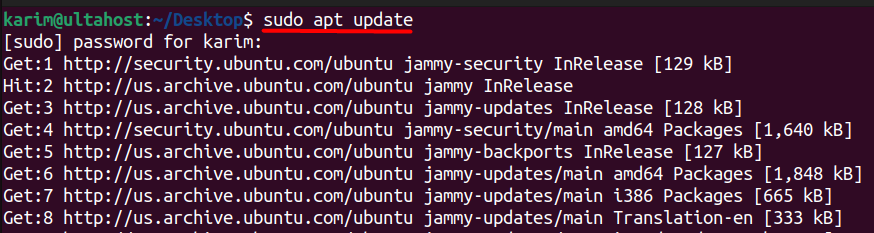
This command updates the package index on our Ubuntu system, which ensures that we have access to the latest package versions.
Next, we’ll install Apache2 using the following command:
sudo apt install apache2
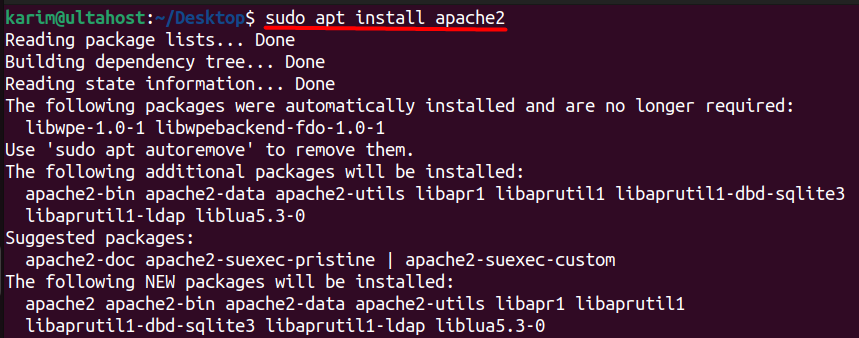
This command installs Apache2 on our Ubuntu system, along with its dependencies. The sudo prefix is used to run the command with superuser privileges, which is necessary to install packages.
After installing Apache2, we need to verify that it’s enabled and running correctly. To do this, we’ll execute two additional commands:
sudo systemctl is-enabled apache2

This command checks whether the Apache2 service is enabled to start automatically on boot. The is-enabled option returns a simple “enabled” or “disabled” response, indicating whether the service is set to start automatically:
sudo systemctl status apache2
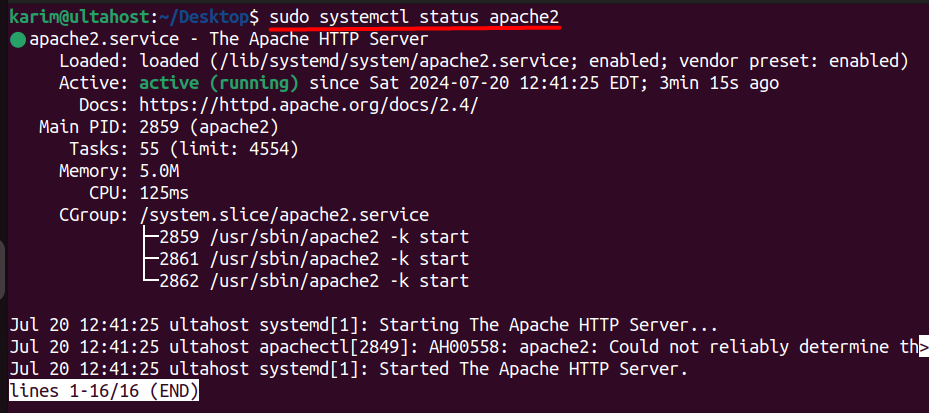
This command displays the current status of the Apache2 service. The status option provides a detailed view of the service’s current state, including whether it’s running, stopped, or failed.
Next, we need to configure the firewall to allow incoming traffic to our Apache2 web server. Ubuntu’s default firewall is UFW (Uncomplicated Firewall), To enable a firewall on your Ubuntu system you can install UFW on Ubuntu system. Which provides a simple and easy-to-use interface for managing firewall rules. We’ll execute the following three commands to configure UFW:
sudo ufw allow "Apache2"

This command adds a new rule to UFW that allows incoming traffic on the ports used by Apache2:
sudo ufw enable

This command enables UFW, allowing it to start managing firewall rules:
sudo ufw reload

This command reloads the UFW firewall rules, ensuring that the new rule we added takes effect:
sudo ufw status
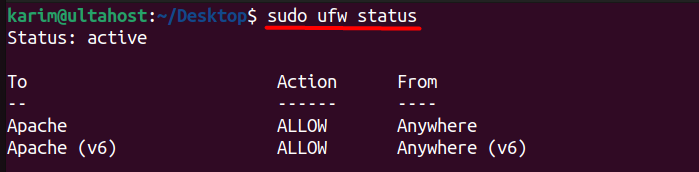
This command displays the current status of UFW, including a list of all enabled and disabled rules. This allows us to verify that our new rule has been successfully added and is in effect.
By running these commands, we’ve successfully installed and configured Apache2, and allowed incoming traffic to our web server through the firewall. This sets the stage for the next steps in the Joomla installation process.
Unlock the power of Ubuntu VPS
Combine the reliability of the world’s leading Linux distro with the flexibility of a VPS for lightning-fast performance.
Before we can install Joomla, we need to set up a database management system to store our website’s data. MariaDB is a popular open-source relational database management system that is widely used with Joomla. MariaDB is a fork of MySQL, and it provides a secure, stable, and high-performance database solution for our website.
MariaDB plays a crucial role in Joomla, as it stores all the website’s content, user data, and configuration settings. Joomla relies on MariaDB to store and retrieve data, making it an essential component of our website’s infrastructure.
To install MariaDB, we’ll execute the following command:
sudo apt install mariadb-server
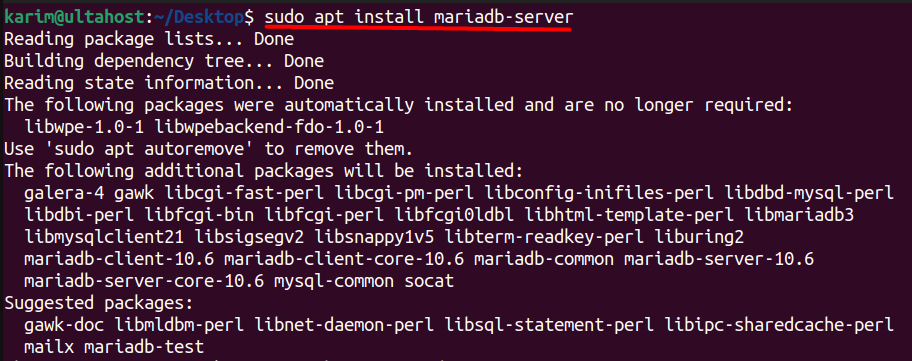
This command installs the MariaDB server package on our Ubuntu system, along with its dependencies. The sudo prefix is used to run the command with superuser privileges, which is necessary to install packages.
After installing MariaDB, we need to verify that it’s enabled and running correctly. To do this, we’ll execute the following two commands:
sudo systemctl is-enabled mariadb

This command checks whether the MariaDB service is enabled to start automatically on boot. The is-enabled option returns a simple “enabled” or “disabled” response, indicating whether the service is set to start automatically:
sudo systemctl status mariadb
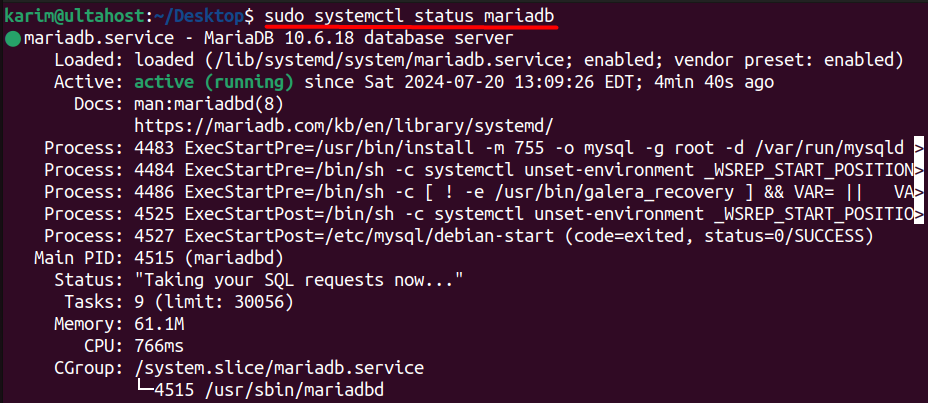
This command displays the current status of the MariaDB service. The status option provides a detailed view of the service’s current state, including whether it’s running, stopped, or failed.
Next, we need to secure our MariaDB installation by running the following command:
sudo mysql_secure_installation
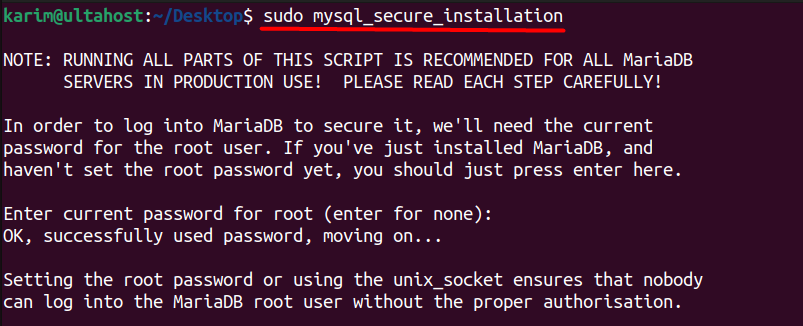
This command launches an interactive script that guides us through the process of securing our MariaDB installation. We’ll be prompted to set a root password, remove anonymous user accounts, and disable remote root login. This step is essential to prevent unauthorized access to our database.
By running these commands, we’ve successfully installed and configured MariaDB, ensuring that our Joomla installation has a secure and reliable database management system. This sets the stage for the next steps in the Joomla installation process.
Learn about Install LAMP on Ubuntu 18.04.
In addition to Apache2 and MariaDB, Joomla requires PHP to function. PHP is a server-side scripting language that is used to create dynamic web content. We’ll install PHP and configure it to work with Apache2.
To install PHP, we’ll execute the following command:
sudo apt install php libapache2-mod-php php-mysql
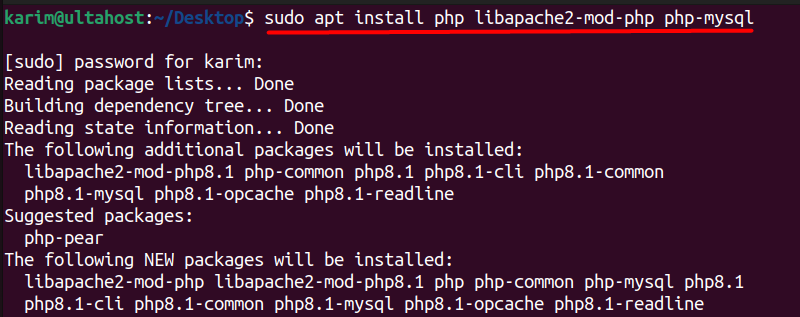
This command installs PHP, the Apache2 PHP module, and the MySQL PHP extension. The libapache2-mod-php package allows Apache2 to execute PHP scripts, while the php-mysql package provides the MySQL extension for PHP.
After installing PHP, we need to restart Apache2 to ensure that the new configuration takes effect:
sudo systemctl restart apache2
This command restarts the Apache2 service, which will now be able to execute PHP scripts.
To verify that PHP is working correctly, we can create a simple PHP script that displays information about the PHP installation. Create a new file called phpinfo.php in the /var/www/html directory:
sudo nano /var/www/html/phpinfo.php
Add the following code to the file:
<?php
phpinfo();
?>

Save and close the file, then access it in your web browser by navigating to http://your_server_ip/phpinfo.php. You should see a page that displays information about the PHP installation, including the version number and the extensions that are enabled.
Now that we have Apache2, MariaDB, and PHP installed and configured, we can proceed with the installation of Joomla. We’ll download the Joomla installation package, extract it to the /var/www/html directory, and then configure it to work with Apache2 and MariaDB.
First, download the Joomla installation package from the official Joomla website:
wget https://downloads.joomla.org/cms/joomla5/5-1-2/Joomla_5-1-2-Stable-Full_Package.zip?format=zip

This command downloads the Joomla 5.1.2 Stable Full Package zip file from the official Joomla website. Once the download is complete, you should see the Joomla_5-1-2-Stable-Full_Package.zip file in your current working directory.
Next, we need to extract the contents of the zip file to the /var/www/html directory. We’ll use the unzip command to do this. First, make sure you are in the directory where the zip file was downloaded. Then, execute the following command:
sudo unzip Joomla_5-1-2-Stable-Full_Package.zip -d /var/www/html

This command extracts the contents of the zip file to the /var/www/html directory, which is the default document root for Apache2.
Now that we have extracted the Joomla installation package, we can proceed with the installation process. First, we need to create a new database for Joomla. Log in to the MariaDB shell:
sudo mysql -u root -p
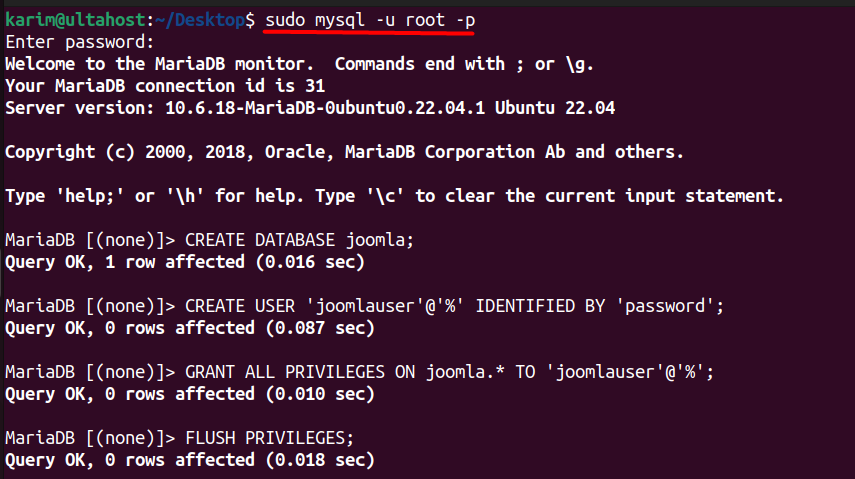
Enter the password for the root user that you set earlier, then create a new database for Joomla:
CREATE DATABASE joomla;
Create a new user and grant them privileges to the joomla database:
CREATE USER 'joomlauser'@'%' IDENTIFIED BY 'password';
GRANT ALL PRIVILEGES ON joomla.* TO 'joomlauser'@'%';
FLUSH PRIVILEGES;
Replace password with a strong password for the joomlauser user.
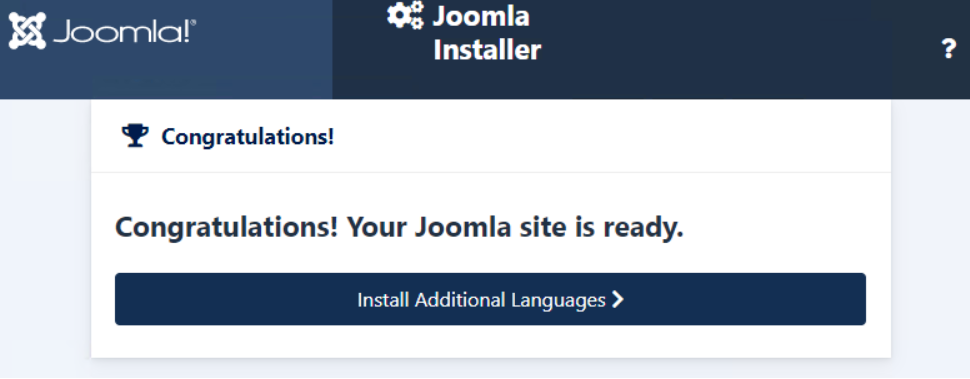
Exit the MariaDB shell and navigate to the Joomla installation page in your web browser by accessing http://your_server_ip. Follow the on-screen instructions to complete the Joomla installation.
During the installation process, you’ll be prompted to enter the database connection details. Use the following settings:
Once you’ve completed the installation, you’ll be able to access your Joomla website by navigating to http://your_server_ip:
In this article, we walked through the step-by-step process of installing Joomla on Ubuntu 22.04. We began by installing the necessary prerequisites, including Apache2, MariaDB, and PHP. We then downloaded and extracted the Joomla installation package, and created a new database for Joomla on Ubuntu server. Finally, we completed the Joomla installation process through the web-based interface, configuring the database connection and setting up the website.
With these steps, you now have a fully functional Joomla installation on your Ubuntu server, ready to be customized with extensions, themes, and content. This installation provides a solid foundation for building a robust and scalable website.
For hosting your Joomla projects, choose a powerful platform that meets your needs. Ultahost’s VDS hosting plans ensure fast loading times for your applications and allow easy resource upgrades as your needs grow. Experience the freedom and flexibility of a server today.
Joomla is an open-source content management system (CMS) for publishing web content. It is used to build websites and online applications.
Ubuntu Server: The operating system on which you’ll install Joomla.
LAMP Stack: Linux (Ubuntu), Apache (web server), MySQL/MariaDB (database), and PHP (scripting language).
Go to http://yourdomain.com/administrator and log in using the admin credentials you set during installation.
Check Apache Logs: /var/log/apache2/error.log
Check PHP Errors: /var/log/php_errors.log (if configured)