
How to Install Deb Files / Packages on Ubuntu
The .deb packages are the standard format for installin...


PowerDNS is a powerful and flexible DNS server that offers high performance and supports various backend databases. It’s a popular choice for administrators who need a robust DNS solution that can be easily integrated with existing infrastructure. This guide will walk you through the steps to install and configure PowerDNS on an Ubuntu server, using MariaDB as the backend. Whether you’re setting up a small-scale server for personal use or deploying a large-scale DNS infrastructure, this tutorial will provide you with the necessary instructions to get started.
Setting up PowerDNS involves several key steps, including updating your system, installing and configuring MariaDB, installing PowerDNS and its MySQL backend, and configuring the PowerDNS server. Each step is crucial for ensuring that your DNS server operates correctly and efficiently. By following this guide, you’ll gain a deeper understanding of how to install PowerDNS Ubuntu and manage it effectively on your system.
First, update your package list and upgrade existing packages to ensure your system is up to date:
sudo apt update && sudo apt upgrade -y
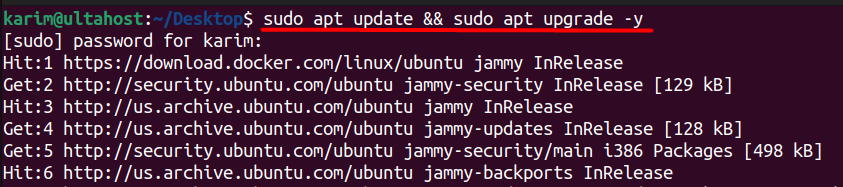
Running sudo apt update refreshes the list of available packages and their versions, but it does not install or upgrade any packages. The sudo apt upgrade -y command upgrades all installed packages to the latest versions. These steps ensure that your system has the most recent security patches and software updates, which is crucial for stability and security.
PowerDNS can use various backends to store DNS records. In this guide, we’ll use MariaDB. First install then use MariaDB server by running:
sudo apt install mariadb-server -y
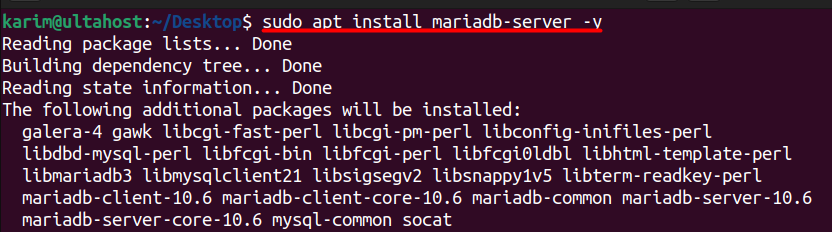
This command installs the MariaDB server package on your system. MariaDB is a popular and reliable database server that’s compatible with MySQL. It will store DNS records for PowerDNS. The -y flag automatically confirms the installation of the package.
Installl PowerDNS on Our Ubuntu VPS
Ready to supercharge your backend with PowerDNS on Ubuntu? Explore our VPS hosting plans at Ultahost and take your online presence to the next level.
Log in to the MariaDB server:
sudo mysql -u root -p
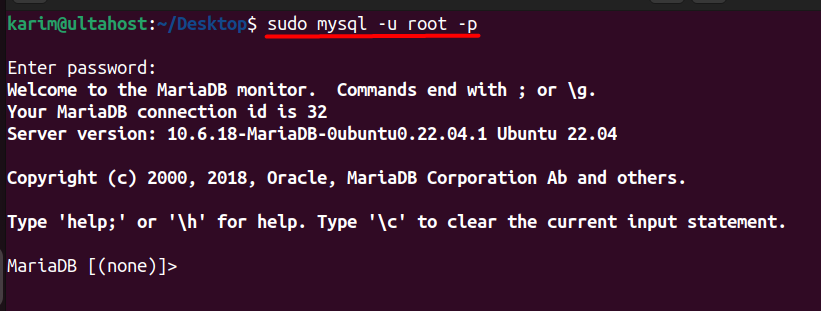
This command logs you into the MariaDB server as the root user. The -u root flag specifies the user, and the -p flag prompts you to enter the password for the root user.
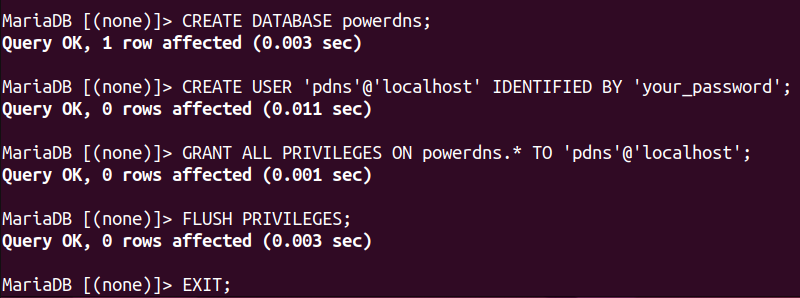
Creating a dedicated database and user for PowerDNS in MariaDB is essential for securely managing DNS data. This separation ensures that DNS records are stored in an organized and efficient manner, allowing PowerDNS to quickly access and update them as needed. This approach not only improves security but also simplifies the administration and maintenance of your DNS infrastructure.
CREATE DATABASE powerdns;
CREATE USER 'pdns'@'localhost' IDENTIFIED BY 'your_password';
GRANT ALL PRIVILEGES ON powerdns.* TO 'pdns'@'localhost';
FLUSH PRIVILEGES;
EXIT;
Now let’s understand these commands:
Replace your_password with a strong password.
Install PowerDNS and the MariaDB backend:
sudo apt install pdns-server pdns-backend-mysql -y
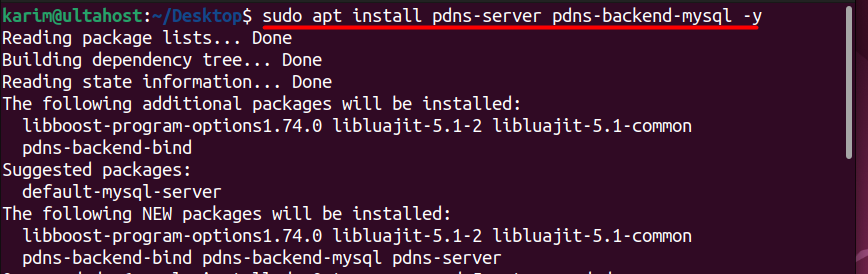
This command installs the PowerDNS server and the MySQL backend module. The pdns-server package provides the core PowerDNS functionality, and pdns-backend-mysql allows PowerDNS to use MariaDB/MySQL as its backend to store DNS records.
Edit the PowerDNS configuration file to set up the MySQL backend:
sudo nano /etc/powerdns/pdns.conf
This command opens the configure Powerdns on Ubuntu file in the nano text editor. You need to modify this file to configure PowerDNS to use the MariaDB backend.
Add or modify the following lines:
launch=gmysql
gmysql-host=127.0.0.1
gmysql-user=pdns
gmysql-password=your_password
gmysql-dbname=powerdns

Now let’s understand the script:
PowerDNS requires an initial database schema to store DNS records. This schema is provided by the pdns-backend-mysql package. You need to import this schema into your PowerDNS database:
sudo mysql -u root -p powerdns < /usr/share/doc/pdns-backend-mysql/schema.mysql.sql

This command initializes the database with the necessary tables and structures that PowerDNS requires to store DNS records. The schema file contains SQL commands to create tables and indexes optimized for DNS data storage, ensuring that PowerDNS can efficiently query and update DNS records.
After configuring PowerDNS and initializing the database, you need to start the PowerDNS service and enable it to start automatically on boot:
sudo systemctl start pdns
sudo systemctl enable pdns

Starting the PowerDNS service initializes the server and loads the configuration files. Enabling it to start on boot ensures that your DNS server will always be available after system reboots, providing continuous DNS resolution services.
Learn about How to Install CyberPanel on Ubuntu.
To verify that PowerDNS is running correctly, use the following command:
sudo systemctl status pdns
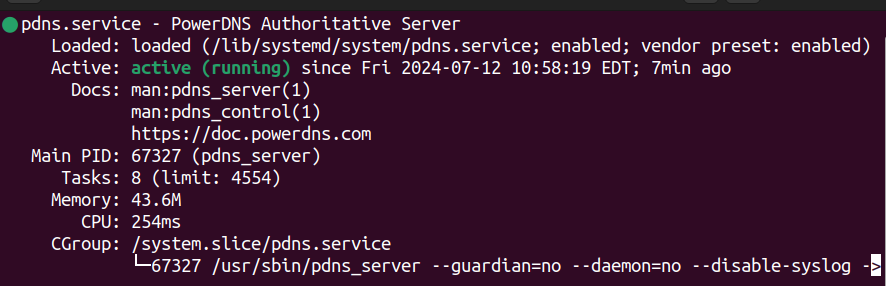
When you run this command, you should see an output indicating that the PowerDNS service is active and running. The output will include information about the service’s process ID, memory usage, and any relevant log messages. This verification step ensures that PowerDNS has been installed and configured correctly and that it is ready to handle DNS queries.
You can successfully install PowerDNS on your Ubuntu system by following the steps mentioned in this article. These steps include setting up a MariaDB backend and initializing the database with the necessary schema. Starting and enabling the PowerDNS service ensures your DNS server will always be ready to handle queries, even after system reboots. Each step, from updating your system to verifying the service status, plays a crucial role in ensuring a stable and secure DNS infrastructure.
This comprehensive guide simplifies the process of setting up PowerDNS, making it accessible even to those new to DNS server management. With PowerDNS up and running, you now have a robust, scalable solution for managing DNS records efficiently. Whether you’re using it for a personal project or a larger enterprise environment, Ubuntu PowerDNS installation offers the reliability and performance you need for effective DNS management.
This powerful tool offers scalable solutions and control, enhancing your system administration skills. For an even more robust and flexible environment consider Ultahost’s VPS hosting. It provides dedicated resources and optimal performance ideal for managing advanced process tasks.
PowerDNS is an open-source DNS server software that provides high performance and can be used as an authoritative name server, a recursive resolver, or a combination of both.
To install PowerDNS on Ubuntu, update the package repository and then execute the following command.
sudo apt install pdns-server pdns-backend-sqlite3
PowerDNS supports various backends such as MySQL, PostgreSQL, SQLite, and BIND. The choice of backend depends on your specific needs for data storage and performance.
After installation, you’ll need to configure PowerDNS. Key configuration files are located in /etc/powerdns/. The main configuration file is pdns.conf, and backend-specific configuration files are in this directory as well.
Logs for PowerDNS are typically found in /var/log/syslog or /var/log/messages. You can also check specific logs in /var/log/pdns/ for more detailed information.
The .deb packages are the standard format for installin...

The "Could not get lock /var/lib/dpkg/lock" error messa...