How to Deploy Your First App in Django
Django is a web framework for Python which offers a cle...
Python is a powerful, versatile, and beginner friendly programming language that has gained popularity in various fields from web development to data science. Whether you are a developer or just getting started knowing how to install Python on your macOS machine is essential.
In this post, we will discuss with you the step-by-step process of installing Python on macOS ensuring a smooth installation experience.
Before getting into the installation process, let’s briefly discuss why you might want to install Python on your macOS device:
Experience the power of UltaHost Python Hosting!
Ready to unlock the complete power of Python on operating systems. Begin your development today with Ultahost’s Python hosting services!
Following are the steps described below on how to install Python on macOS terminal.
Let’s start by checking if Python is already installed on your macOS and what version it is:
Open the Terminal application. You can find it in the “Applications” then “Utilities” folder or by searching for “Terminal” in Spotlight. Type the following command and press Enter:
python --version
You should see output similar if Python is installed. If not you will get the following message.

The next step is to download the latest version of Python from the official Python website:
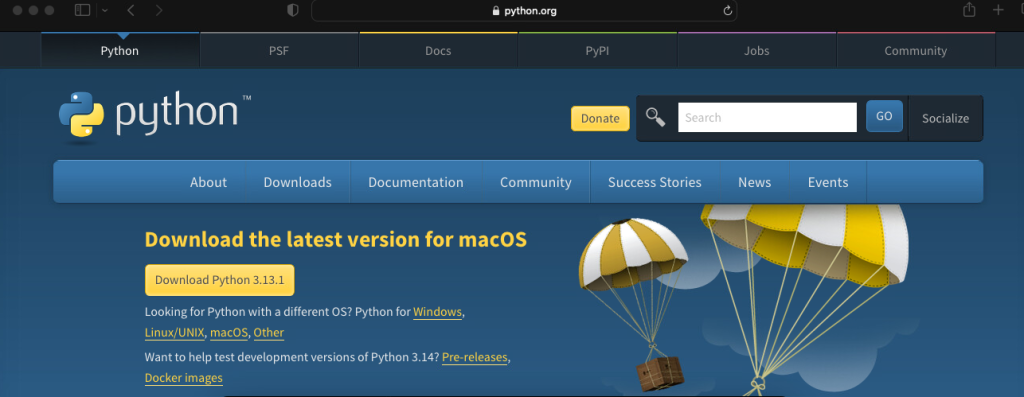
Open the Safari web browser and navigate to the Python Downloads page. The website should automatically detect your operating system and present you with a “Download Python 3.x.x” button. Click this button to start the download.
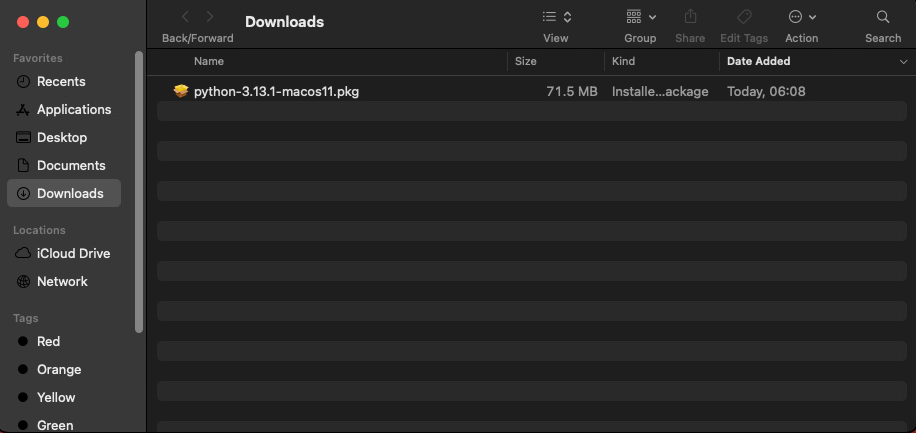
Once the download is complete, locate the downloaded file it should be in your “Downloads” folder and double-click it to open the installer.
Now that you have the Python installer, follow these steps to install Python on your macOS:
1. Double-click the python-3.x.x-macosx.pkg file to launch the installer.
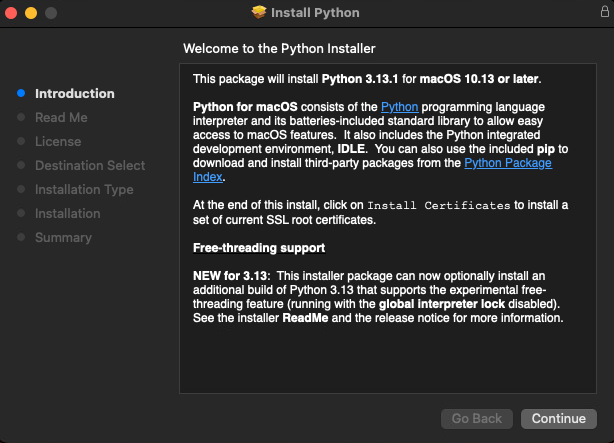
2. A welcome screen will appear. Click “Continue”.
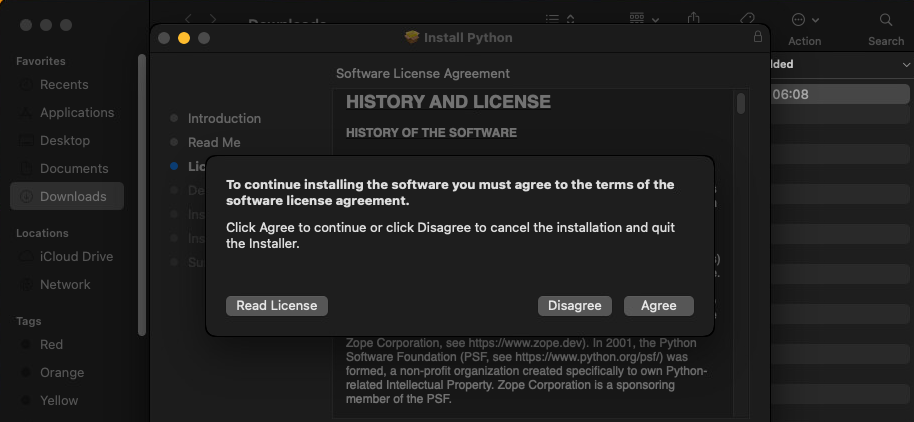
3. Read the software license agreement and click “Continue”, then click “Agree” to accept the terms.
4. You will be prompted to choose the installation location. The default location is usually fine. Click “Install” to proceed.
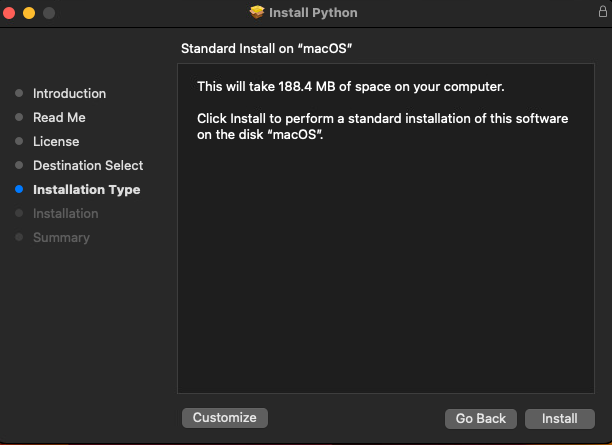
5. You may be prompted to enter your macOS administrator password. Enter your password and click “Install Software”.
6. The installation process will begin. This may take a few minutes, so be patient.
7. Once the installation is complete, you will see a “The installation was successful” message. Click “Close” to finish the process.
After installing Python, it is important to verify that everything is set up correctly. Follow these steps:
Open the Terminal application. Type the following command and press Enter:
python3 --version

This confirms that Python 3 is installed and ready to use on your macOS.
Setting up a virtual environment is a good practice while working on Python frameworks. It allows you to create isolated environments for different projects, avoiding conflicts between dependencies. Here’s how to set up a virtual environment:
Open the Terminal application. Install the venv module if it’s not already installed by typing:
pip3 install virtualenv
Navigate to your project directory using the cd command:
cd path/to/your/project
Create a virtual environment by typing the following command:
python3 -m venv myenv
This will create a new directory called myenv in your project folder. Activate the virtual environment by typing:
source myenv/bin/activate
You will notice that your Terminal prompt changes to indicate that the virtual environment is active. Any Python packages you install now will be specific to this environment.
Python’s package manager, pip allows you to easily install and manage libraries and packages. Here’s how to use pip to install packages:
Use the pip command to install packages. For example, to install the popular requests library, type:
pip install requests
You can also create a requirements.txt file to list all the packages your project depends on. Install all packages from this file by typing:
pip install -r requirements.txt
Now that you have Python installed, you are ready to start writing and running Python scripts. Execute the Python Terminal on macOS and write a simple Python script. For example:
print("Hello, World!")

You should see the following output as shown above image.
You have successfully installed Python on your macOS and set up a virtual environment for your projects. With Python installed, you can start exploring the vast area of Python programming, from web development to data science, automation, and beyond. Remember to keep your Python installation up to date and use virtual environments to manage dependencies effectively.
Install Python efficiently with Ultahost Mac VPS hosting which is one of the quickest, most secure, and most affordable Macintosh hosting. Connect to a MacOS VPS from any device. Start your Mac hosting today!
Python is a programming language used for various tasks like coding, automation, and data analysis that can easily be used in macOS.
Open Terminal and type python3 –version. If installed, it will show the version number.
You can download Python from the official Python website using the Safari browser.
Download the installer from the Python website, open it, and follow the above instructions to complete the installation.
Older macOS includes Python 2 by default, but it’s outdated. It’s better to install Python 3.
Yes, admin access is required to install Python on macOS.
Yes, you can install Python by running brew install python in Terminal if you have Homebrew installed.