
How to Install AnyDesk on Windows
AnyDesk has become a popular choice for remote desktop ...


Visual Studio Code (VS Code) is a free and open-source code editor developed by Microsoft, known for its speed, versatility, and robust features. Windows users, in particular, benefit from its seamless integration with the Windows ecosystem, making it an ideal choice for both beginners and experienced developers. With its ability to support a wide range of programming languages, VS Code offers a flexible and efficient coding environment that can help you stay productive and focused.
The benefits of using VS Code are numerous. Its lightweight nature make sure fast performance, while its customizable and extensible architecture allows you to tailor the editor to your specific needs. In this article, we will provide a comprehensive guide to installing VS Code Windows install, covering every step of the process in detail. By the end of this tutorial, you’ll be ready to start coding with VS Code on your Windows machine.
Before proceeding with the installation of Visual Studio Code (VS Code) on your Windows machine, VS Code is designed to run smoothly on most modern hardware configurations, but adhering to the recommended specifications will provide an optimal coding experience.
Operating Systems:
Hardware:
While these are the minimum requirements, a faster processor, more RAM, and additional storage space will contribute to a smoother and more responsive experience, Especially when working on larger projects or utilizing resource-intensive extensions.
For the most up-to-date information on system requirements and any potential changes.
To ensure a secure and reliable installation, it’s crucial to download VS Code from the official Microsoft website. Downloading from untrusted sources can potentially expose your system to security risk and vulnerabilities. Once you’ve confirmed that your system meets the requirements, the next step is to download Visual Studio Code.
Visual Studio Code is available for download in several different formats, each designed to cater to specific use cases and preferences.
User Installer
This is the most common and recommended option for most users. It installs VS Code for the current user only and doesn’t require administrator privileges.
System Installer
This version installs VS Code for all users on the system and requires administrator privileges. It’s suitable for environments where multiple users share a single machine.
Zip File
This is a portable version of VS Code that doesn’t require installation. You can simply extract the contents of the zip file to any location on your system and run VS Code directly. This is a good option if you want to avoid making system changes or need a portable version for use on a USB drive.
CLI (Command Line Interface)
This method is especially advantageous for automation and scripting. You can use PowerShell or Command Prompt to download and install VS Code silently without needing the graphical user interface.
Unlock Seamless Performance with Windows 10 VPS
Elevate your digital experience with our Windows 10 VPS, offering unparalleled efficiency and power. Discover the pinnacle of performance today!
For this guide, we’ll be using the User Installer as it’s the most straightforward and user-friendly method for installing Visual Studio Code on Windows. This method installs VS Code for the current user only, making it convenient and avoiding the need for administrator privileges.
Once you’ve downloaded the User Installer from the official website, follow these steps to Install Visual Studio Code Windows:
Step 1: Locate and Run the Downloaded Installer
It’s usually located in your “Downloads” folder unless you specify a different location. After locating it, double-click the installer file to launch the setup wizard.
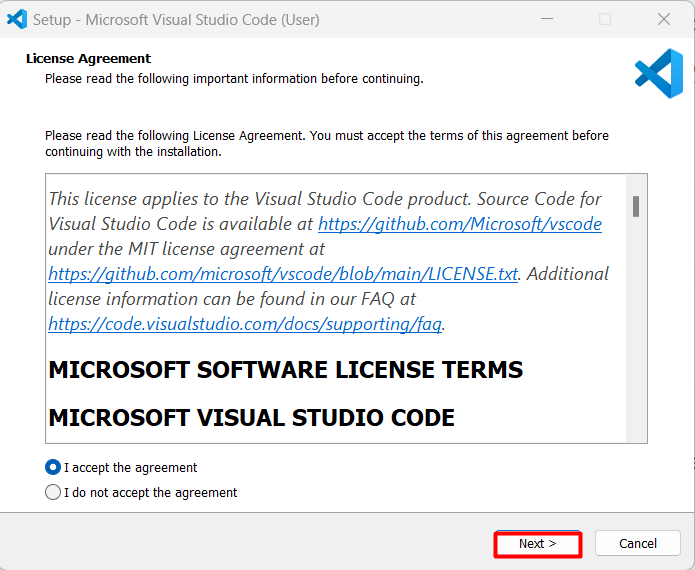
Step 2: Accept the License Agreement
The setup wizard will guide you through the installation process. Read the license agreement carefully and select the “I accept the agreement” option to proceed.
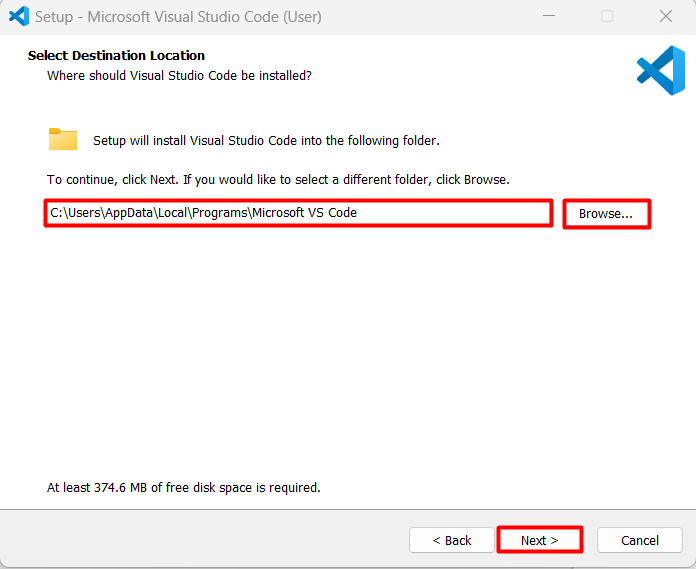
Step 3: Choose the Installation Location
By default, the Visual Studio Code installation location will be displayed on the screen. However, you can choose a different location by clicking the “Browse” button and selecting a different directory:
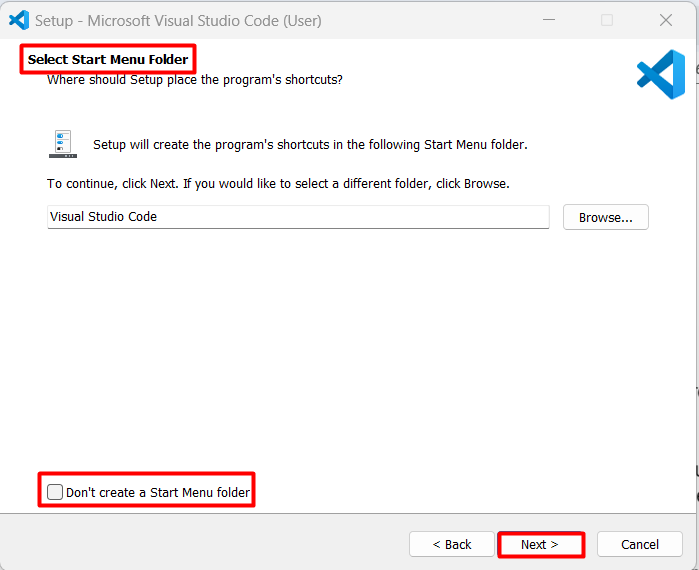
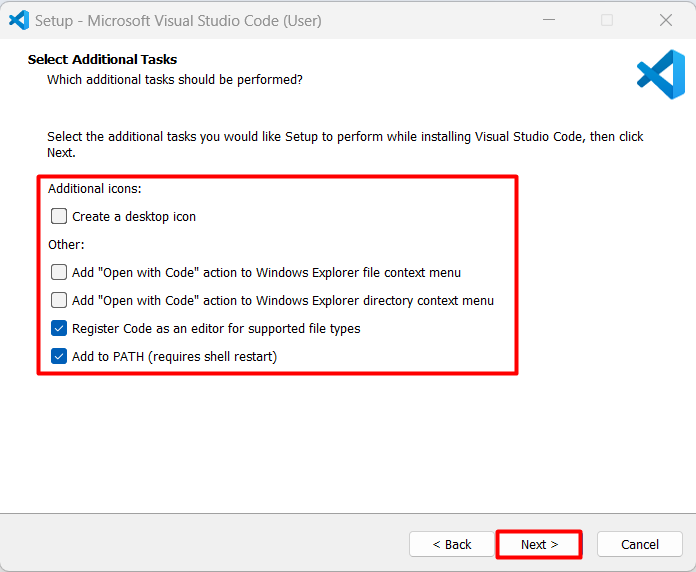
Step 4: Select Additional Tasks
You can choose to create a start menu folder for VS Code or leave it unchecked if you prefer not to have a start menu entry.
The installer may provide additional options, such as creating a desktop icon, adding Visual Studio Code to the PATH environment variable, or installing additional components. Review these options and make your selections based on your preferences:
Learn about How to Set Environment Variables in Linux
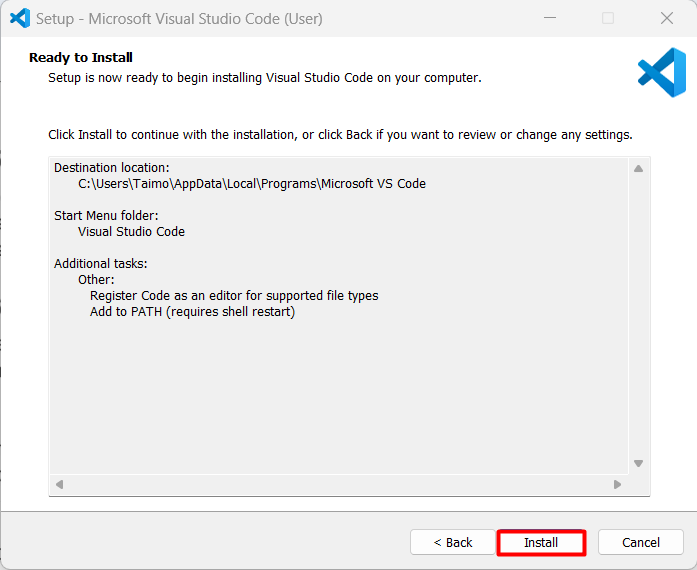
Step 5: Install Visual Studio Code
Once you’ve reviewed your choices, click the “Install” button to begin the installation process:
The installer will extract the necessary files and configure Visual Studio Code on your system which usually takes only a few moments. Once finished, you’ll see a confirmation message.
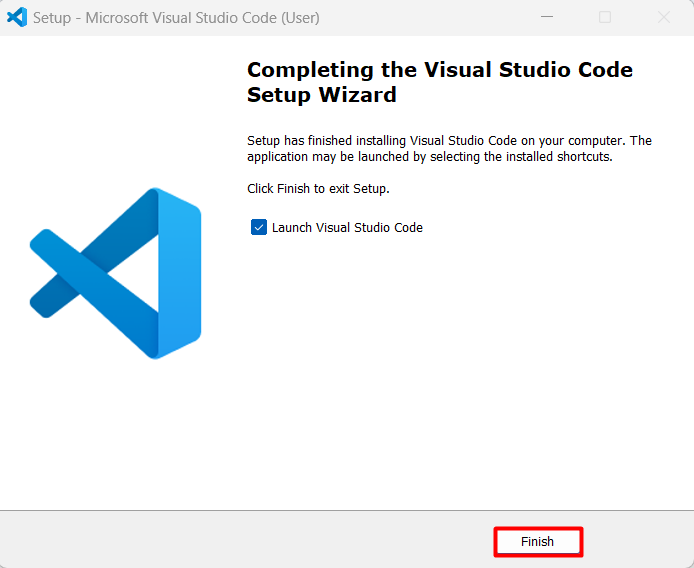
Step 6: Launch Visual Studio Code
Once the installation is complete, you can launch Visual Studio Code by clicking the “Finish” button in the installer:
During the installation process, it’s essential to follow the prompts carefully and review the options presented to ensure that Visual Studio Code is configured according to your preferences.
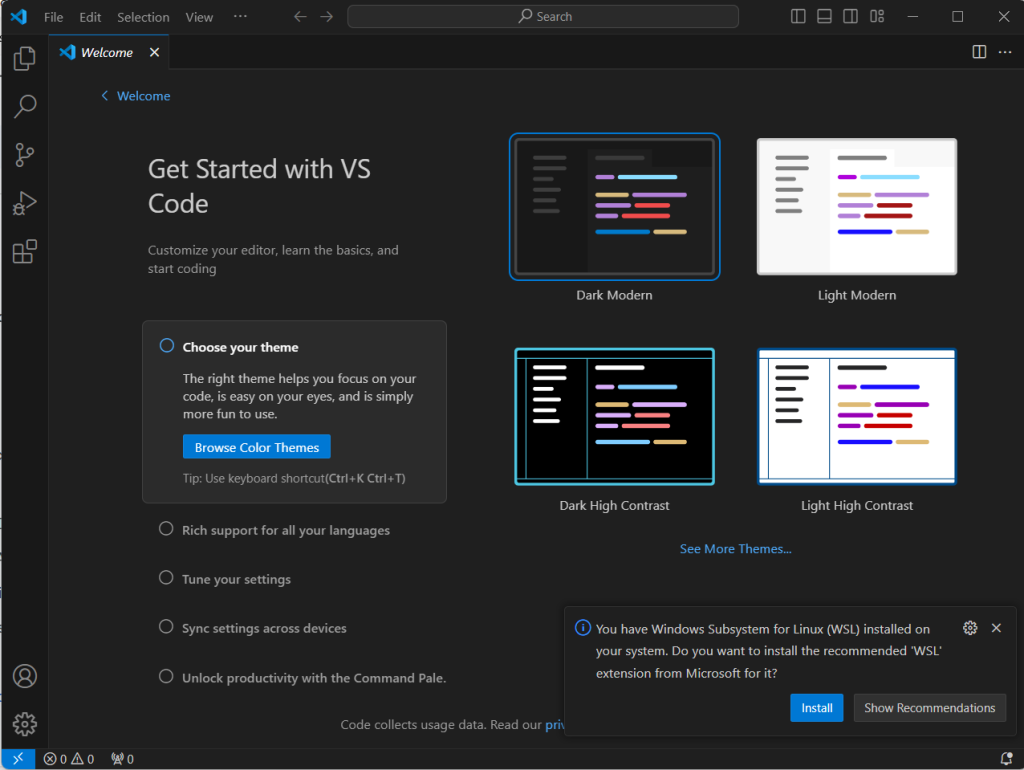
After successful installation, Visual Studio Code will be ready to use on your Windows machine:
Visual Studio Code has emerged as a powerful and versatile code editor, seamlessly integrating with the Windows ecosystem and offering a rich coding experience. Installing Visual Studio Code on Windows is a straightforward process, allowing you to quickly set up a powerful and versatile coding environment. By following the simple steps outlined in this article, you can easily download and Install VSCode Windows machine, taking advantage of its speed, flexibility, and extensive features.
VS Code’s user-friendly interface and comprehensive documentation make it an ideal choice for both beginners and experienced developers. We encourage you to explore the official VS Code documentation and vibrant community resources to improve productivity, enhance your coding experience, and unlock the full potential of this exceptional code editor.
Knowing how to install Visual Studio Code on Windows is essential for setting up a robust development environment. Pairing this setup with Ultahost VDS hosting can further enhance your workflow by providing a reliable and powerful platform for your development projects, ensuring optimal performance and scalability.
VS Code requires Windows 7, 8, 10, or 11. The system should have at least 1 GB of RAM, but 2 GB or more is recommended for better performance. A 64-bit processor is also required.
You can download Visual Studio Code from the official website: https://code.visualstudio.com/. Click on the “Download for Windows” button to get the installer.
Yes, administrative privileges are required to install Visual Studio Code on Windows. If you do not have these privileges, you may need to contact your system administrator.
The initial installer download requires an internet connection. However, once you have the installer, you can install VS Code offline. Note that some extensions and features may require an internet connection to download and update.
VS Code has an auto-update feature that checks for updates and installs them automatically. You can also manually check for updates by going to the “Help” menu and selecting “Check for Updates.”