
How to Install Laravel on Ubuntu 22.04
Laravel is a renowned open-source framework meant for P...


A protective cover that blocks any unauthorized access or brute-force attacks on important services like SSH and FTP is provided by Fail2Ban for Ubuntu 22.04. To put it simply, Fail2ban is a log parsing automation tool where an admin has malicious activity protected by log monitoring. These patterns are almost always pointers to potential security risks and take some form of action like blocking IPs when they trying to access something they are not authorized to.
Fail2Ban’s functioning consists of a continuous watch cycle over system logs, pattern recognition, and predetermined respondance. The system constantly scans the logs and if there threats like too many failed login attempts, the system will automatically change firewall settings to stop access to the offending IPs.
The present instructions will guide you through the effortless steps to install Fail2ban on Ubuntu 22.04 server.
Also, read How to Setup Passwordless SSH on Linux
Step 1: Update Your System
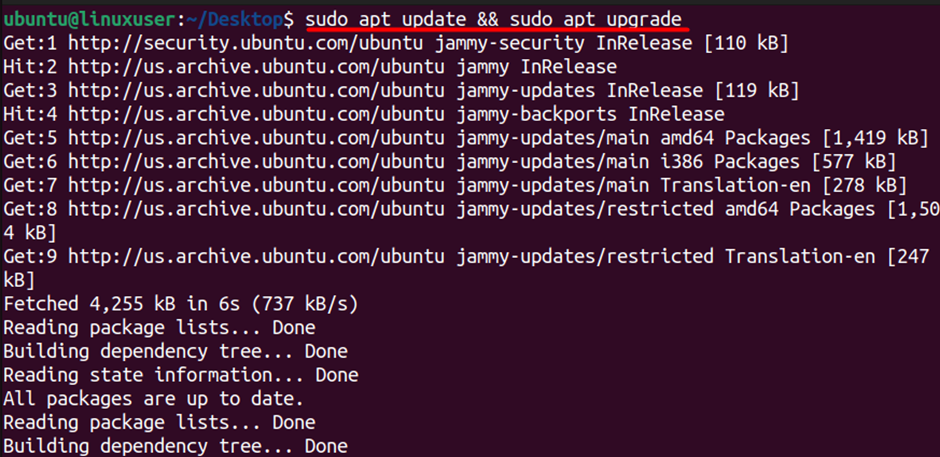
Before installing Fail2ban, it’s crucial to ensure that your system is up to date. To do that, open your terminal and run the following commands:
$ sudo apt update && sudo apt upgrade
Step 2: Installing Fail2ban
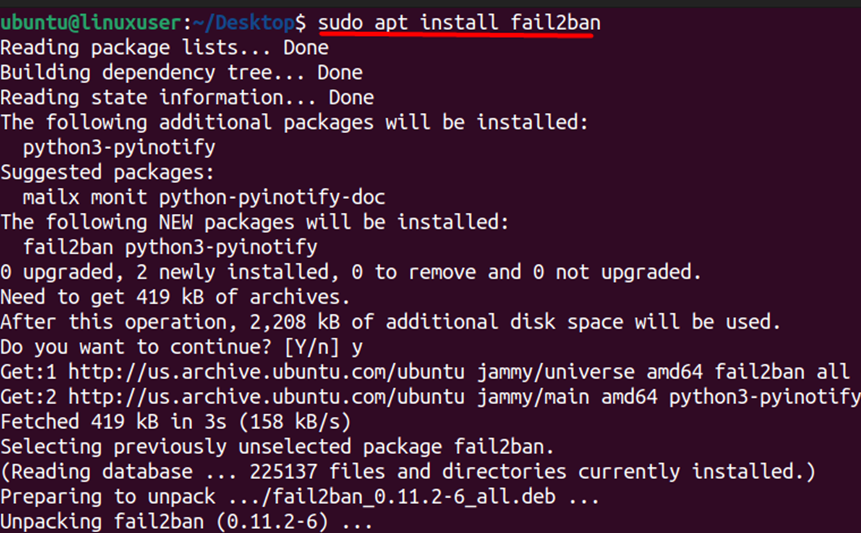
Once your system is updated, you can proceed to setup Fail2ban on Ubuntu 22.04 using the following command:
$ sudo apt install fail2ban
Step 3: Start Fail2ban Service
After the installation is complete, start the Fail2ban service with:
$ sudo systemctl start fail2ban

Step 4: Enable Fail2ban at Boot
To enable Fail2ban on Ubuntu 22.04 so that it starts automatically when your system boots up, we can use:
$ sudo systemctl enable fail2ban

Step 5: Check Fail2ban Status
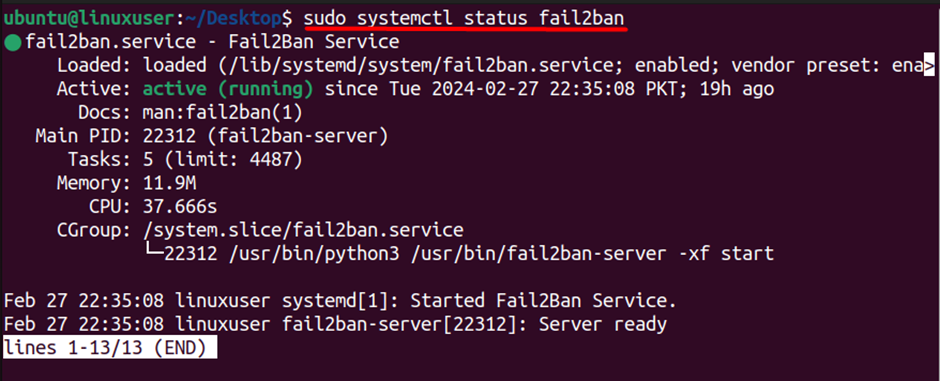
Next, we need to verify if Fail2ban is up and running without any issues using the following command:
$ sudo systemctl status fail2ban
Step 6: Restart Fail2ban
After modifying the configuration, restart Fail2ban to apply the changes:
$ sudo systemctl restart fail2ban

Unlock the power of Ubuntu VPS
Experience the dependability of the most widely used Linux distribution coupled with the versatility of a virtual server. Revel in high-speed performance and minimal latency for an optimal computing experience.
In the next section, we will discuss the configuration of Fail2ban on Ubuntu 22.04 in detail.
By default, Fail2ban is equipped with standard configurations, but tailoring them to your specific requirements can enhance the effectiveness of this security tool. The primary configuration file for Fail2ban is situated at /etc/fail2ban/jail.local. You can modify this file using your preferred text editor. Let’s use nano in this example:
$ sudo nano /etc/fail2ban/jail.local

You can examine and adjust the filter rules based on your server’s security needs. Filters define patterns to identify malicious activity in log files. You can locate the section labeled [DEFAULT] and explore parameters such as ignoreip, bantime, and maxretry. You can modify these settings to match your tolerance for false positives and the severity of potential threats.
One of fail2ban’s primary purposes is to safeguard your system from unauthorized access attempts. By recognizing patterns of suspicious login activities, it acts as a gatekeeper, preventing malicious actors from gaining unauthorized entry.
Fail2ban goes beyond blocking unauthorized access. It actively detects and blocks a spectrum of malicious activities and brute-force attacks.
In the dynamic cybersecurity landscape, fail2ban contributes significantly to enhancing overall system security. By adding an extra layer of defense, it complements existing security measures, creating a formidable barrier against potential threats.
Implementing fail2ban provides an immediate boost in the security of your Ubuntu 22.04 system. The software’s ability to pre-emptively identify and neutralize threats contributes significantly to a resilient defense mechanism.
Fail2ban’s specialized approach in mitigating brute-force attacks is a standout feature. By swiftly responding to repeated login failures, it effectively curtails the success rate of such attacks, safeguarding your system’s integrity.
While robust in its security capabilities, fail2ban operates efficiently, ensuring minimal impact on system resources. This balance between security and resource preservation is a key advantage for users seeking optimal performance.
Installing Fail2ban on Ubuntu 22.04 provides a crucial security boost. Acting as a vigilant gatekeeper, it blocks unauthorized access, detects malicious activities, and efficiently mitigates brute-force attacks. The custom configuration enhances its effectiveness, ensuring improved security while preserving system resources. Follow the guide to empower your system, creating a robust and secure environment.
To Install Fail2ban on Ubuntu, update your system and execute the command ‘sudo apt install fail2ban’. Rent a Server that offers reliability and scalable features designed to meet your growing demands. Explore our selection of VPS plans to find the perfect solution that aligns with your specific requirements.
Fail2ban is a security tool designed to protect Linux servers by monitoring log files for suspicious activities and blocking IP addresses exhibiting malicious behavior. It helps enhance server security by preventing unauthorized access attempts.
The main configuration file is usually located at /etc/fail2ban/jail.conf. Avoid editing this directly; instead, create overrides in /etc/fail2ban/jail.d/.
Yes, you can. Create a new configuration file in /etc/fail2ban/jail.d/ with your custom settings.
To check the status, use: sudo systemctl status fail2ban