How to Install Rust on Windows
Rust, a systems of rust programming language, is gainin...
Dig a powerful network tool is valuable for DNS stands for Domain Name System troubleshooting and exploration. While primarily associated with Linux and Unix environments it is entirely possible to install and use Dig on Windows.
In this post, we will cover the steps providing detailed instructions for different approaches and more user-friendly to install Dig Windows 10 system.
To download Dig Windows you need an additional tool like Cygwin is a compatibility layer that allows you to run Unix like programs on Windows. It is a popular choice for those who frequently work with Linux based tools.
Visit the official Cygwin website and download the setup for Windows executable.

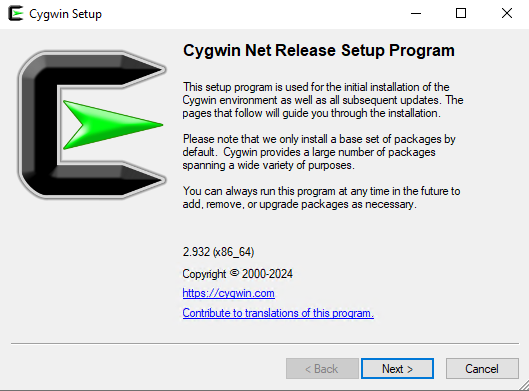
Double-click the downloaded setup file to start the installation process.
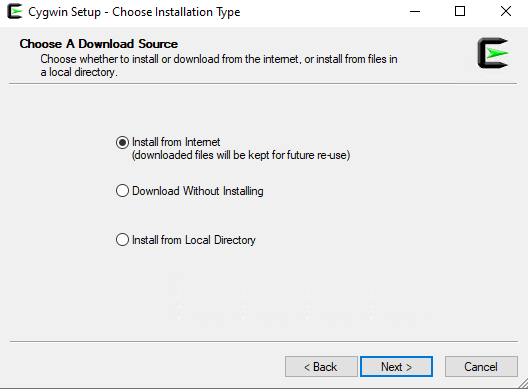
Choose “Install from Internet” to download the necessary packages.
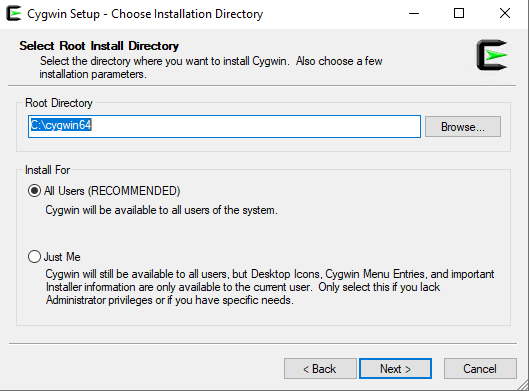
Specify the directory where you want to install Cygwin. The default is usually fine.
Choose “Default” based on your needs. In the “Package Selection” screen search for “dig” and select it. Click “Next” to proceed with the installation.
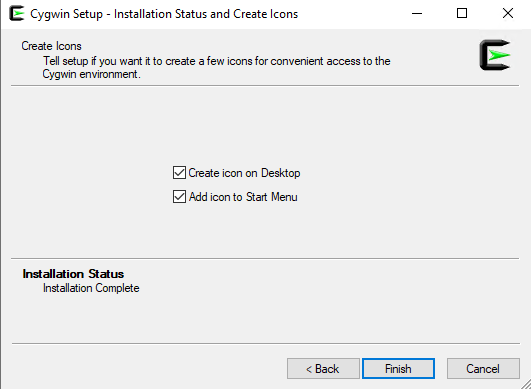
Once the installation is complete, open the Cygwin terminal.
Type the following command in the Cygwin terminal. If Dig is installed correctly you should see DNS records.
dig google.com

Git Bash is a command-line interface included with Git a popular version control system. It provides a Linux environment for running commands. To install Git refer to our guide on how to install Git on Windows system.
Once Git is installed now it’s time to Dig Windows download, Open the Git Bash terminal. Type the following command in the terminal.
apt-get install dig

This command will install Dig using the built-in package manager.
Type the following dig command in the Git Bash terminal.
dig bing.com
If Dig is installed correctly you should see DNS records.
Install Dig on Our Cheap Windows VPS!
With Ultahost, Hosting Windows VPS has never been easier or faster. Enjoy ultra-fast SSD NVME speeds with no dropouts and slowdowns.
Following are the practical examples of using the Dig command on the Windows operating system. Here are some of the most commonly used options:
To query for A records of example.com:
dig example.com A
@ is used to specify the DNS server to use. For example to query using a specific DNS server:
dig example.com @8.8.8.8
To force a recursive query type the following command:
dig example.com +recurse
To trace the query path:
dig example.com +trace
dig example.com +retry=3
Following are some important notes after installing Dig on the Windows operating system:
Installing Dig on Windows provides a powerful tool for DNS analysis and troubleshooting. By following the different methods outlined in this guide you can successfully install Dig on your Windows system and start exploring the functionalities of the DNS.
Ultahost caters to both big and small businesses by offering IP dedicated servers with flexible deployment options and customizable configurations. Our IP Bare Metal servers, at the forefront of technology, are designed to empower and drive the success of your business.
Dig is a tool for DNS queries useful for troubleshooting network issues on Windows.
Yes, you can install Dig on Windows by downloading precompiled binaries.
You can download Dig as a part of different methods or find a standalone version online.
Yes, you typically need admin rights to install and configure Dig on Windows.
Yes, Dig is a free tool available for Windows.
Open Command Prompt and type dig then press Enter to see if the command works.
Yes, you can remove Dig by deleting the files you installed package.