How to Install Magento on Windows
Magento is a powerful open-source e-commerce platform t...
NetBeans is a free open-source Integrated Development Environment (IDE) majorly used for developing Java applications. However, it also supports other programming languages such as PHP, C++, and JavaScript.
In this post, we will cover the step-by-step process of install NetBeans Windows operating system.
Before you start the installation process of apache NetBeans make sure you have the following:
Furthermore, If you need to install Java refer to our guide on how to install Java on Windows operating system.
Visit the official website to download NetBeans installer. Choose the appropriate NetBeans bundle based on your needs.
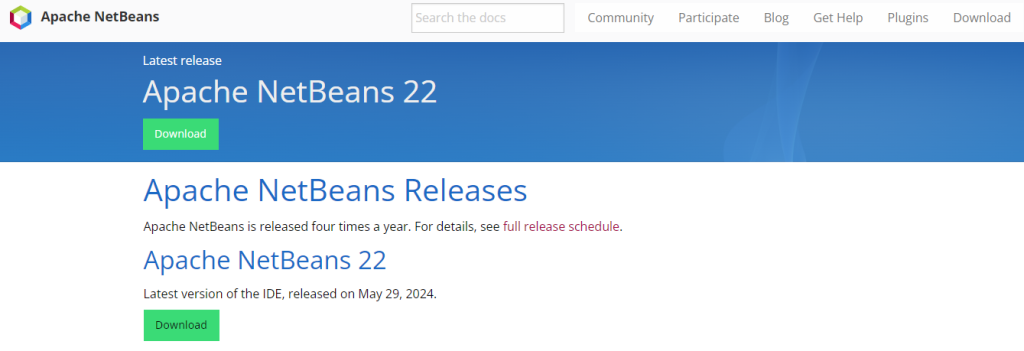
There are different bundles available for Java SE, Java EE, C/C++, PHP, and other programming languages. Click the download link for the Windows installer.
Once the download is complete locate the downloaded installer file usually a .exe file. Double-click the installer to start the installation process.

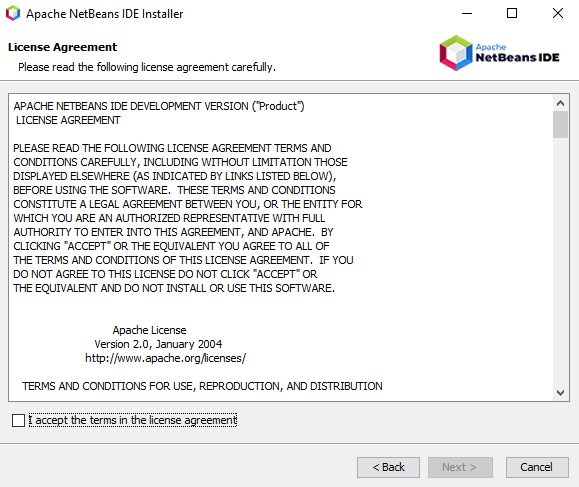
Read the NetBeans license agreement. To agree the terms click “Next” or “Accept” to proceed.
The installer will suggest a default installation directory. You can choose to keep this default or select a different location.
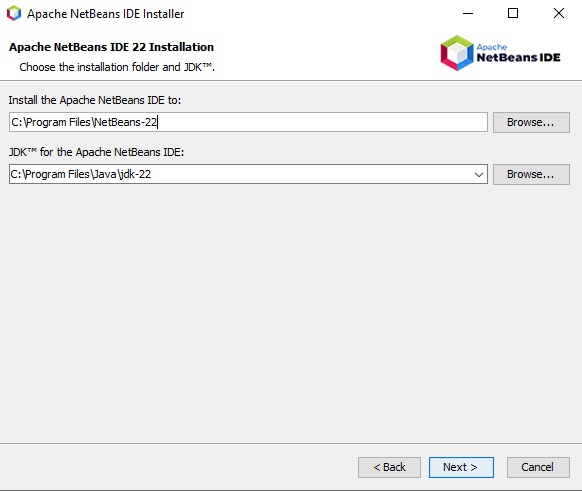
It’s recommended to install NetBeans in a directory without spaces or special characters to avoid potential issues.
Install NetBeans on Our Cheap Windows VPS!
With Ultahost, hosting a Windows VPS is simpler and quicker than ever. Enjoy ultra-fast SSD NVMe speeds with zero interruptions or slowdowns.
You will be presented with a list of components that can be installed with NetBeans. Select the components you need based on the programming languages you plan to use.
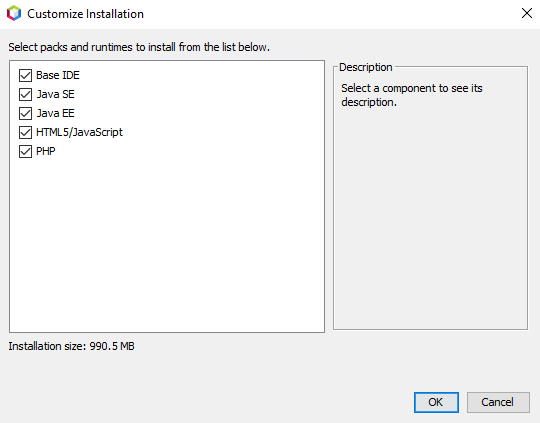
For example, if you only want to develop Java applications you can select the Java SE bundle. Click “Ok” to continue.
The installation process will begin. This may take a few minutes depending on your system’s speed and the selected components. Wait for the installation to complete.
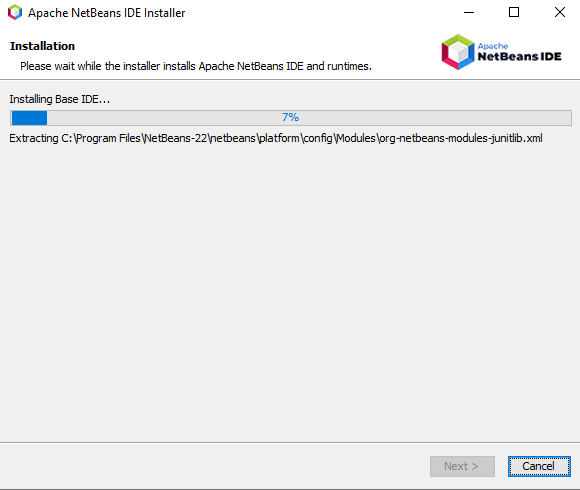
During the installation process you will usually be given the option to create a desktop shortcut. Check the box to create a desktop shortcut for easy access to NetBeans.
Once the installation is complete click “Finish” to exit the installer.
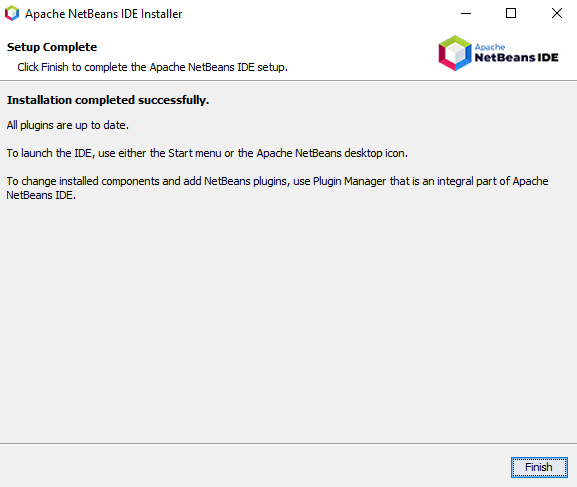
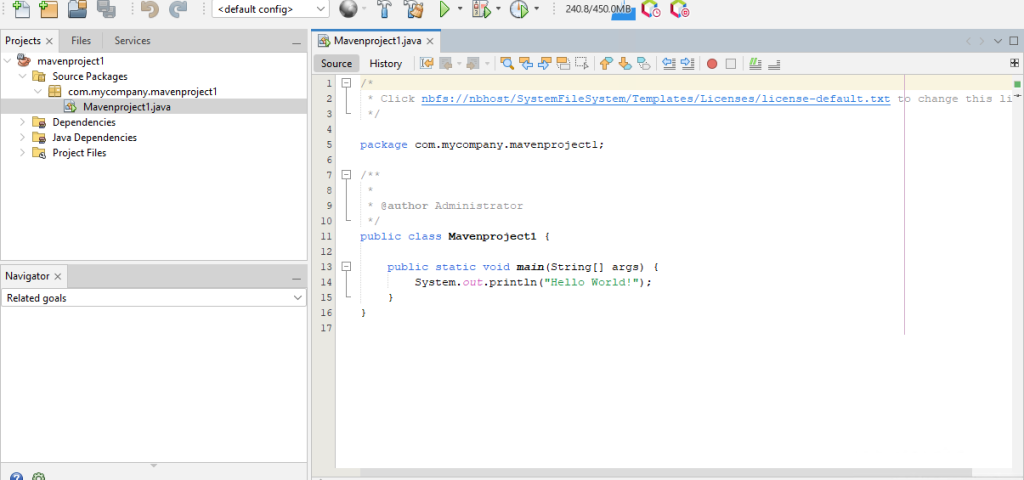
To verify that NetBeans is installed correctly double-click the desktop shortcut or navigate to the installation directory and run the NetBeans executable. The NetBeans IDE should launch successfully.
Read also How to Install Eclipse on Windows.
Following are some additional considerations while NetBeans download for Windows operating system:
By following these steps you should have successfully installed NetBeans on your Windows system. With NetBeans you can start developing your Java applications and explore its capabilities for other programming languages as well.
Installing NetBeans on Windows can be a straightforward process but it might involve managing dependencies issues. Upgrading to an Ultahost virtual dedicated server empowers you with greater control and flexibility which grants you root access allowing you to streamline the installation process and configure NetBeans precisely for your needs.
NetBeans is a free open-source Integrated Development Environment (IDE) for Java and other programming languages.
You can download NetBeans from the official NetBeans website or the Apache NetBeans project page.
NetBeans requires a compatible version of Java Development Kit (JDK) and at least 2GB of RAM.
Download the installer, run it, and follow the above instructions to complete the installation.
Yes, you need to install the Java Development Kit (JDK) before installing NetBeans.