
How to Install Elasticsearch on Ubuntu
Elasticsearch is a powerful open-source search and anal...


OpenVPN, a robust and widely used Virtual Private Network (VPN) solution, provides a secure and reliable way to browse the internet, access remote resources, and protect sensitive data. As a popular Linux distribution, Ubuntu offers a fertile ground for OpenVPN installation, allowing users to leverage the power of VPN technology on their Ubuntu systems. However, installing OpenVPN on Ubuntu can be a daunting task, especially for those without prior experience with VPNs or Linux.
In this tutorial, we will discuss the process to install OpenVPN on Ubuntu, providing a step-by-step guide to help you get started with securing your online presence. We will cover the prerequisites, installation, configuration, and connection processes, ensuring that you have a fully functional OpenVPN setup on your Ubuntu system. By the end of this tutorial, you will be able to enjoy the benefits of secure and private browsing, protected from cyber threats.
Here’s a step-by-step guide to installing OpenVPN on your Ubuntu system:
Step 1: Update Your System
Before installing any new software, it’s crucial to check Ubuntu version, update your system’s package list, and upgrade any existing packages. Open your terminal and execute the following command:
sudo apt update && sudo apt upgrade -y
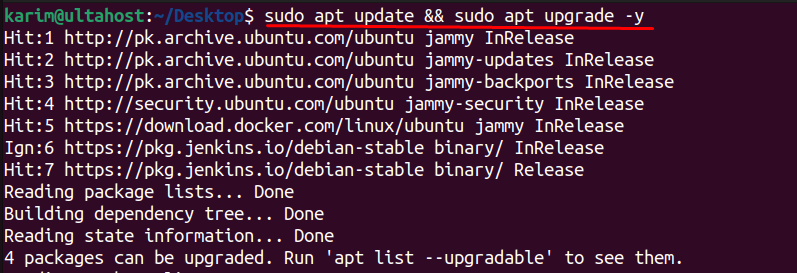
This ensures you have the latest software versions and dependencies, preventing potential conflicts during the OpenVPN Ubuntu client installation.
Step 2: Install OpenVPN
With your system updated, you can now install the OpenVPN package. Use the following command in your terminal:
sudo apt install openvpn -y
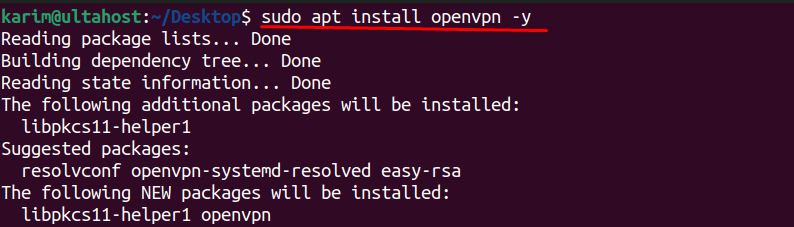
This command downloads and installs OpenVPN and its necessary components. The -y flag automatically confirms any prompts during the installation process.
Install OpenVPN on Our Best Ubuntu VPS
Experience the dependability of the world’s leading Linux distribution combined with the flexibility of a virtual server. Enjoy ultra-fast speeds and minimal latency.
When you run the command sudo apt install openvpn -y you might notice additional packages being installed alongside OpenVPN. Let’s break down what these extra packages are and why they’re needed:
Step 3: Start and Enable OpenVPN Service
After installing OpenVPN and configuring your connection, you need to start the OpenVPN service to establish a VPN connection. Moreover, enabling the service ensures it automatically starts every time your Ubuntu system boots, providing seamless VPN protection:
sudo systemctl start openvpn
sudo systemctl status openvpn
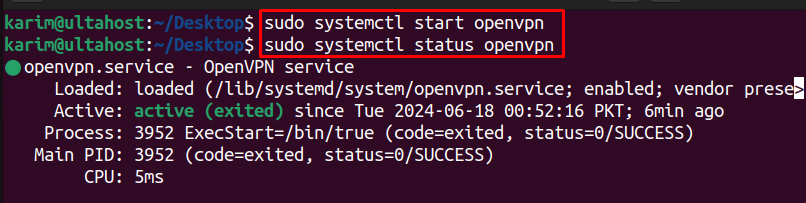
The command sudo systemctl start openvpn instructs your system to initialize and run the OpenVPN service. This command reads your OpenVPN configuration files and attempts to establish a connection to the specified VPN server.
To ensure OpenVPN starts automatically whenever your system boots up, you use the sudo systemctl enable openvpn command. This command configures the OpenVPN service to start at system startup, eliminating the need to manually initiate the connection every time.
Finally, to confirm that OpenVPN is running as expected, use the command sudo systemctl status openvpn. This command provides a detailed report on the OpenVPN service, including whether it’s active (running), any errors encountered, and other relevant information.
If the status shows “active (running),” your OpenVPN installation is successful, and you’ve established a secure VPN connection. You can now enjoy the benefits of enhanced privacy and security while browsing the internet.
Read also How to Install OpenVPN on a KVM VPS Server.
OpenVPN on Ubuntu provides a robust and feature-rich VPN solution. Some of the key features include:
Using OpenVPN on Ubuntu provides several advantages, including:
In this tutorial, we have provided a step-by-step guide to install OpenVPN on Ubuntu 22.04. We have covered the prerequisites, installation, configuration, and connection processes, ensuring that you have a fully functional OpenVPN setup on your Ubuntu system. By following these steps, you can enjoy the benefits of secure and private browsing, protected from cyber threats.
The installation method outlined in this tutorial is straightforward and easy to follow, even for users without prior experience with VPNs or Linux. By using the sudo apt install openvpn -y command, you can quickly and easily install OpenVPN on your Ubuntu system. Additionally, we have explained the features and advantages of using OpenVPN on Ubuntu, highlighting its robust security, scalability, and compatibility.
Ultahost offers KVM VPS hosting a smoother and more user-friendly experience. Our VPS provides outstanding virtualization for optimal security and performance, making it the perfect foundation for your OpenVPN setup.
OpenVPN is an open-source VPN (Virtual Private Network) software that allows you to create secure point-to-point or site-to-site connections. It uses custom security protocols to provide encrypted connections over the internet.
OpenVPN provides a robust and flexible VPN solution with high levels of security. Using it on Ubuntu, a popular Linux distribution, allows for stable and efficient performance, often ideal for servers and secure connections.
Yes, you need root or sudo privileges to install OpenVPN and modify network configurations.
OpenVPN can be installed on all currently supported versions of Ubuntu, including the Long Term Support (LTS) releases like Ubuntu 20.04 and 22.04.
Use Easy-RSA to generate keys and certificates. Ensure you use strong cryptographic algorithms and keys (e.g., 2048-bit RSA or higher).