
How to Install PrestaShop on Ubuntu
PrestaShop is a popular, free, and open-source e-commer...


phpPgAdmin is a free, open-source web-based tool that simplifies the administration of PostgreSQL databases. As a powerful interface, phpPgAdmin enables users to easily manage, maintain, and optimize their PostgreSQL databases. With its intuitive interface, users can perform various tasks such as creating and managing databases, users, and permissions, executing SQL queries, and monitoring database performance.
By installing phpPgAdmin on Ubuntu 24.04, the latest and most secure version of the popular Linux distribution, users can use its robust features to streamline their PostgreSQL database management. Updating to Ubuntu 24.04 from older versions can bring significant benefits, including improved security, enhanced performance, and support for the latest software applications. With phpPgAdmin, Ubuntu 24.04 users can efficiently manage their PostgreSQL databases, ensuring optimal performance, reliability, and scalability.
In this guide, we will discuss you the step-by-step process of phpPgAdmin installation Ubuntu 24.04, empowering you to take control of your PostgreSQL databases and unlock their full potential.
To successfully install phpPgAdmin on Ubuntu 24.04, follow these step-by-step instructions.
Before proceeding with the installation, update your Ubuntu 24.04 system to ensure that all packages are up-to-date and compatible with the latest software versions. Execute the following command to update and upgrade your system:
sudo apt-get update -y && sudo apt-get upgrade -y
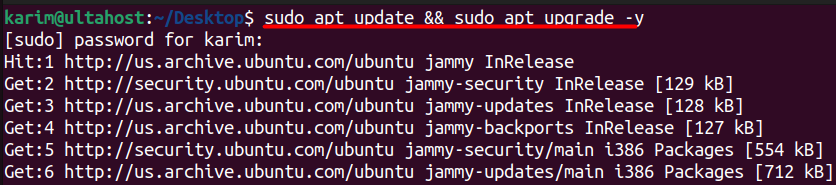
This step is crucial in preventing any potential compatibility issues that may arise during the installation process.
Install phpPgAdmin on Our Ubuntu VPS!
Experience the reliability of the world’s leading Linux distribution combined with the flexibility of a virtual server. Enjoy lightning-fast performance and low latency.
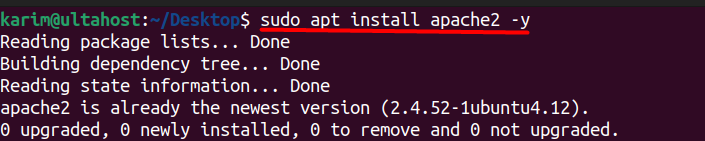
Apache Web Server is a prerequisite for phpPgAdmin, as it enables the web-based interface for PostgreSQL database management. To install Apache Web Server, execute the following command:
sudo apt install apache2 -y
After the installation, start and enable the Apache service to ensure it runs automatically on system boot:
sudo systemctl enable apache2.service && sudo systemctl start apache2.service

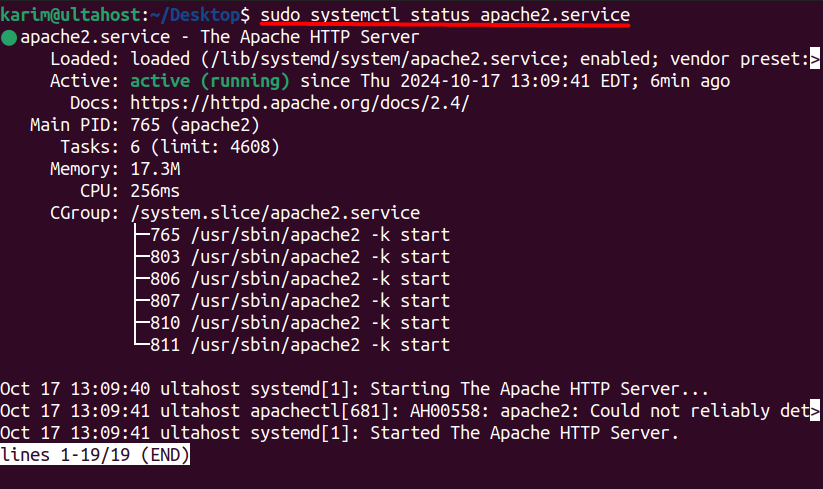
Verify that the Apache service is up and running:
sudo systemctl status apache2.service
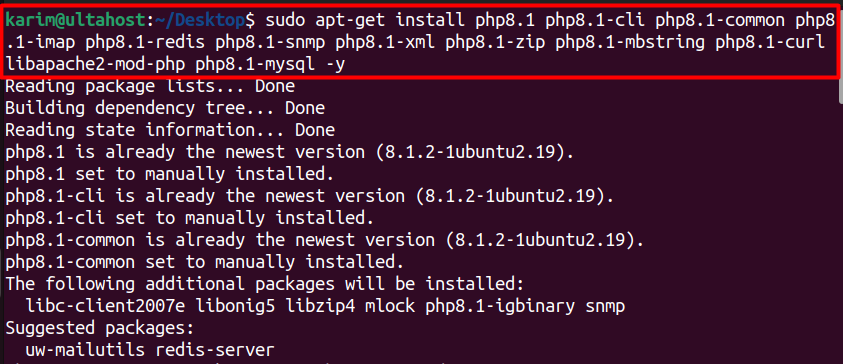
To install PHP 8.1 and the necessary extensions, execute the following command:
sudo apt-get install php8.1 php8.1-cli php8.1-common php8.1-imap php8.1-redis php8.1-snmp php8.1-xml php8.1-zip php8.1-mbstring php8.1-curl libapache2-mod-php php8.1-mysql -y
To confirm the installed PHP version, execute the command:
php -v

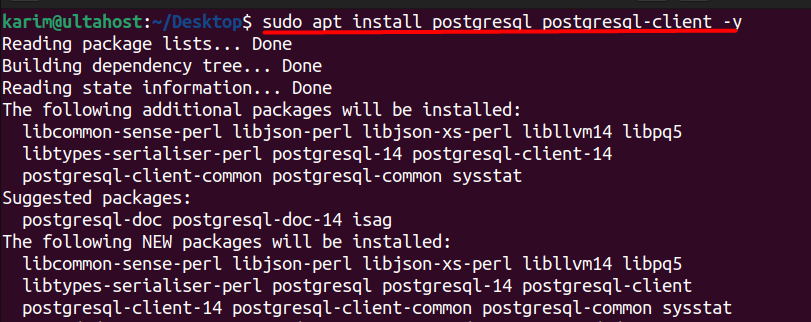
PostgreSQL version 14 is available in the default repository of Ubuntu 24.04. To install PostgreSQL on Ubuntu server, execute the following command:
sudo apt install postgresql postgresql-client -y
After the installation, start and enable the PostgreSQL service to ensure it runs automatically on system boot:
sudo systemctl enable postgresql.service && sudo systemctl start postgresql.service

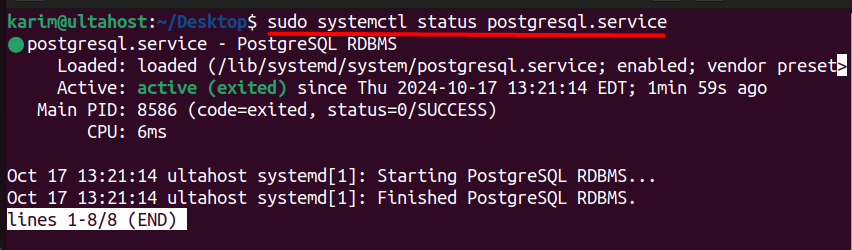
Verify that the PostgreSQL service is up and running:
sudo systemctl status postgresql.service
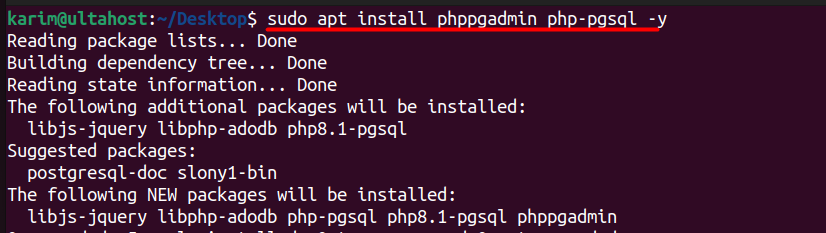
To install phpPgAdmin, execute the following command:
sudo apt install phppgadmin php-pgsql -y
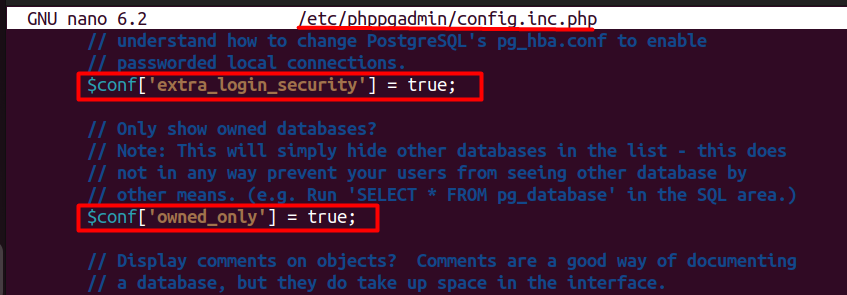
After the installation, open the phpPgAdmin configuration file `/etc/phppgadmin/config.inc.php` with your favorite editor and make the necessary changes to enhance security:
$conf['extra_login_security'] = true;
$conf['owned_only'] = true;
Save the file and close it.
Navigate to the Apache directory and create a configuration file for phpPgAdmin:
cd /etc/apache2/sites-available/
sudo nano phppgadmin.conf
Open the file, paste the necessary configuration code (which you will provide), save it, and close it.
After installing phpPgAdmin, you need to configure Apache to enable access to the web-based interface. Follow these steps to complete the configuration:
Alias /phppgadmin /usr/share/phppgadmin

<Directory /usr/share/phppgadmin>
 <IfModule mod_dir.c>
        DirectoryIndex index.php
    </IfModule>
    AllowOverride None

    # Restrict access to localhost (optional)
    # Require local

    <IfModule mod_php.c>
        php_flag magic_quotes_gpc Off
        php_flag track_vars On
        # php_value include_path .
    </IfModule>
    <IfModule !mod_php.c>
        <IfModule mod_actions.c>
            <IfModule mod_cgi.c>
                AddType application/x-httpd-php .php
                Action application/x-httpd-php /cgi-bin/php
            </IfModule>
            <IfModule mod_cgid.c>
                AddType application/x-httpd-php .php
                Action application/x-httpd-php /cgi-bin/php
            </IfModule>
        </IfModule>
    </IfModule>
</Directory>
Save the configuration file.
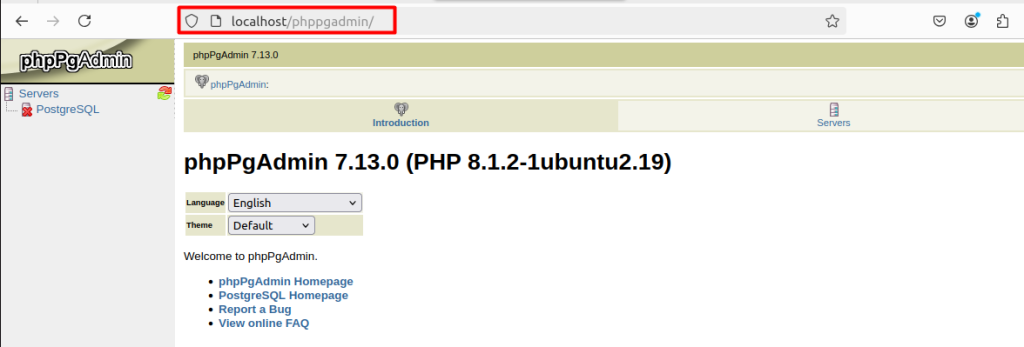
After saving the configuration file, you can test whether everything works perfectly or not by launching the web browser and typing localhost/phppgadmin. If you can see the below screen then it means that it’s working.
phpPgAdmin is a powerful web-based administration tool for PostgreSQL databases. The benefits of using phpPgAdmin include:
Overall, phpPgAdmin simplifies PostgreSQL database management, increases productivity, and improves security, making it an essential tool for any PostgreSQL administrator.
phpPgAdmin offers a wide range of features that make it a powerful tool for PostgreSQL database administration. Some of the key features include:
The phpPgAdmin is a powerful web-based administration tool for PostgreSQL databases that simplifies database management, increases productivity, and improves security. To take advantage of its features, users can install phpPgAdmin on Ubuntu 24.04, the latest and most secure version of the popular Linux distribution.
By following the step-by-step guide outlined above, users can successfully install phpPgAdmin on Ubuntu 24.04. The installation process involves updating the system, installing Apache Web Server, PHP, and required extensions, installing PostgreSQL Server, installing phpPgAdmin, and configuring Apache to enable access to the web-based interface. With these steps, users can ensure a smooth installation process and start managing their PostgreSQL databases efficiently.
Installing phpPgAdmin on Ubuntu can be a simple process. Upgrading to an Ultahost Linux VPS server provides a more powerful and affordable environment to configure the database setup. These VPS plans offer processing power, RAM, and storage, ensuring smooth performance.
phpPgAdmin is a web-based administration tool for PostgreSQL, allowing users to manage PostgreSQL databases through a graphical interface.
Ubuntu 24.04, Apache web server, PHP (version 7.4 or higher recommended), PostgreSQL (version 9.6 or higher), PHP extensions: pdo_pgsql, pgsql, mbstring, xml, json
You can install the necessary packages using the following command:
You can download the latest version of phpPgAdmin from its official GitHub repository.
Edit the config.inc.php file in the phpPgAdmin directory:
sudo nano /var/www/html/phppgadmin/conf/config.inc.php
Set the PostgreSQL server connection details, including host, port, and authentication method.
To enhance security, consider:
Open your web browser and go to: http://your-server-ip/phppgadmin
PrestaShop is a popular, free, and open-source e-commer...
The process of server security can begin with a single ...
Docker on Ubuntu is an open-source platform facilitatin...
As a system administrator or developer, you are likely ...

The .deb packages are the standard format for installin...