
How to Install Spark on Ubuntu
Apache Spark offers a powerful open-source framework sp...


PostgreSQL or Postgres as it is known, is one of the most reliable open source object relational database system alongside other notable features such as robustnessand commendable performance. For Ubuntu systems, installing PostgreSQL can be a bit challenging particularly for people who do not have any experience with command line Linux.
This tutorial aims to help you with acquire skills that are essential for install PostgreSQL on your Ubuntu machines by walking you through everystep so whether you are a novice or an experienced user, the guide tips provided will work out just fine.
Ubuntu repositories include a specific PostgreSQL version that aligns with the Ubuntu release cycle and receives security updates throughout its lifetime. However, if you require a specific version not included in the default repositories, you can leverage the official PostgreSQL APT repository. This repository offers access to all supported PostgreSQL versions and integrates seamlessly with your system’s package management for automatic updates.
Before diving into the installation, ensure you have the following:
sudo before commands to grant temporary superuser privileges.There are two primary methods to configure PostgreSQL Ubuntu Linux operating system:
Method 1: Using Default Ubuntu Repositories
You can update the package list by simply typing the following command:
sudo apt-get update

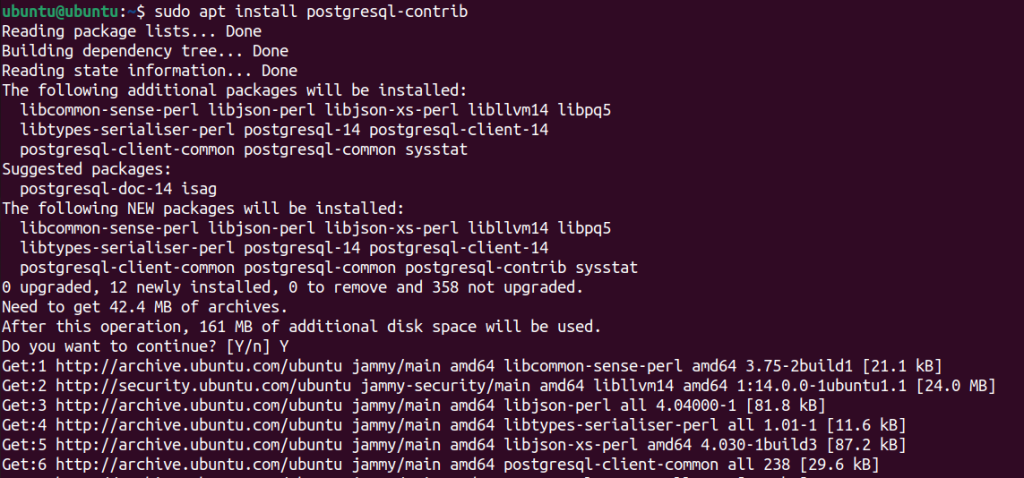
Install the core PostgreSQL package and the postgresql-contrib package for additional utilities:
sudo apt install postgresql postgresql-contrib
This command retrieves and installs the necessary packages from the official Ubuntu repositories.
After installation, you can verify it by checking the PostgreSQL version with the following command:
psql --version

Method 2: Using the Official PostgreSQL APT Repository
To install latest PostgreSQL Ubuntu, identify the appropriate repository list based on your Ubuntu version by visiting the official PostgreSQL download page for Ubuntu. Locate the package list URL corresponding to your Ubuntu version and copy it. Then use the curl command to download the repository list and add it to your system’s sources.
curl -sSL [repository_list_URL] | sudo tee /etc/apt/sources.list.d/postgresql.list
Replace repository_list_URL with the copied URL.
The repository uses a GPG key to verify the authenticity of packages. Import the key using:
wget --quiet -O - https://www.postgresql.org/media/keys/ACCC4C85.asc | sudo apt-key add -
Refresh the package lists to include the newly added repository:
sudo apt update
Similar to Method 1 install PostgreSQL with the desired version by specifying the version number after the package name:
sudo apt install postgresql-15 && sudo apt install postgresql-contrib-15
Replace 15 with your desired version and install contrib package for the specific version.
Install PostgreSQL on Our Ubuntu VPS!
Get the reliability of the world’s most popular Linux distro and the flexibility of a virtual server. Enjoy blazing-fast speeds and low latency at a cheap cost.
Once the installation is complete, perform the following setup PostgreSQL on Ubuntu:
1. Initialize the PostgreSQL Cluster
The initial cluster needs to be initialized after the first installation. This process creates essential PostgreSQL directories and structures. Run the following command:
sudo su - postgres -c initdb -D /var/lib/postgresql/[version]
Replace [version] with your installed version. For example, 15 as mentioned above.
2. Set the Default Authentication Method
PostgreSQL uses peer authentication, which allows local connections without a password. This is not recommended for production environments. To configure password authentication edit the pg_hba.conf file:
sudo nano /etc/postgresql/[version]/main/pg_hba.conf
Locate the line mentioning local all all peer and modify it to local all all trust for password-based local connections or local all all md5 for MD5 password authentication. Save the changes and restart the service.
3. Starting PostgreSQL service
Simply type the following command to start the PostgreSQL service:
sudo systemctl start postgresql
Learn about How to Install PostgreSQL on Windows.
4. Check Service Status
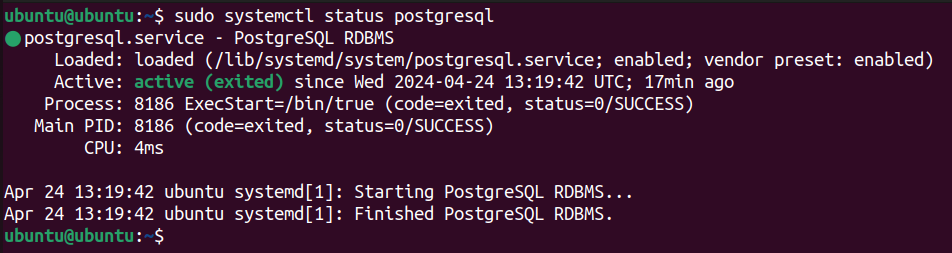
Type the following command to check the status of the PostgreSQL service:
sudo systemctl status postgresql
This command should display that the service is “active (running)”.
5. Connect to PostgreSQL Shell
Use the psql command to connect to the PostgreSQL shell as the default user “postgres”:
sudo su - postgres -c psql
If the connection is successful, you’ll see the PostgreSQL prompt.

6. Exit PostgreSQL Shell
To exit the PostgreSQL shell, type \q and press Enter. Further, you can explore PostgreSQL databases create new users, manage users, and perform various database administration tasks.
By following these steps you have successfully installed and configured PostgreSQL on your Ubuntu system. Remember to prioritize security by setting strong passwords and implementing proper access controls. With this guide, you can start database management in PostgreSQL according to your requirements.
Installing PostgreSQL on Ubuntu can be done but managing complex database workloads on a regular hosting plan might not be ideal. Upgrading to an Ultahost Linux VPS server empowers you with greater control and scalability which grants you root access allowing you to channel PostgreSQL configuration for optimal performance.
PostgreSQL is a powerful open-source database management system used to store and manage data.
Yes, PostgreSQL is free to download, use, and distribute under an open-source license.
Absolutely! Installing PostgreSQL on Ubuntu can be done by Linux commands.
A basic understanding of Linux commands and package management is helpful but our detailed guide makes it accessible for beginners too.
Installation typically takes just a few minutes depending on your internet connection speed and system resources.