
How to Install uTorrent on Windows 10
uTorrent is a popular, free, and widely-used BitTorrent...


VMware is a virtualization software that allows users to run multiple operating systems on a single physical machine. It creates a virtual environment where you can install and run different operating systems simultaneously without the need for separate hardware. If you want to perform experiments with different operating systems VMware is a good option.
In this post, we will discuss the knowledge and steps to install VMware Windows 10 system. Further will discuss two popular options offered by VMware the VMware Workstation Player free for non-commercial use and the VMware Workstation Pro paid with advanced features.
Before diving into the Virtual machine installation process it is important to identify the VMware version that best suits your requirements. Here’s a quick breakdown:
To process a smooth VMware installation Windows installation make sure your system meets the following minimum requirements:
First, we need to download the VMware installer by heading over to the official VMware website using your preferred web browser. Navigate to the “Products” section and locate the download page for either “VMware Workstation Player” or “VMware Workstation Pro” depending on your chosen version.

Ensure you select the installer compatible with your Windows 10 operating system. Click the “Download” button to save the installer file usually a .exe file to a location on your computer.
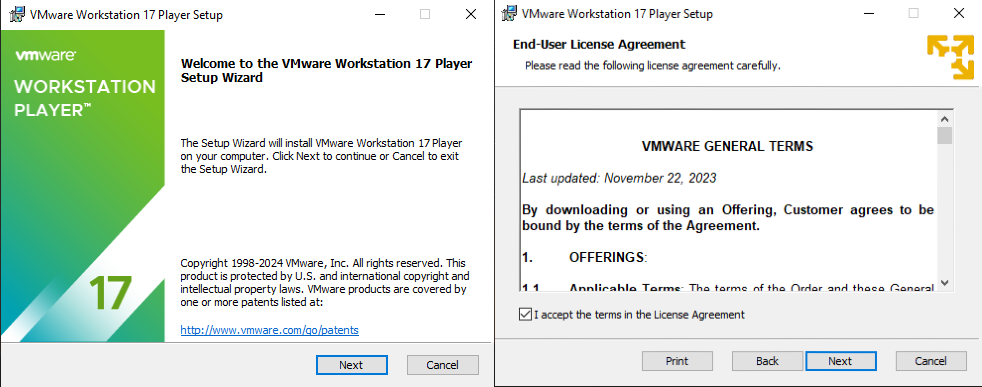
Once the download is complete locate the installer file and right-click on it. Select “Run as administrator” to launch the installer with administrative privileges. This is important for granting the software necessary permissions during the installation process.

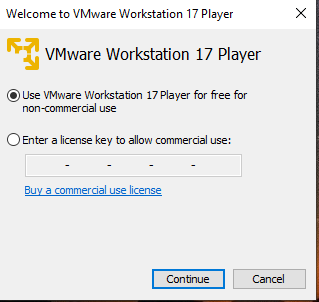
The VMware Workstation Player setup wizard will appear. Through the license agreement and click “I accept” to agree to the terms.
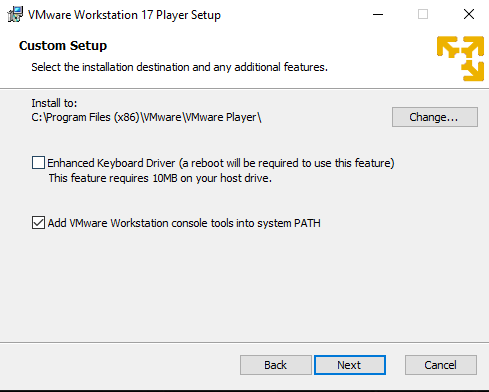
Next, the screen shows the choice of a default installer and a “Custom” installation. This option installs the software with default settings which is suitable for most users. However, if you are working with advanced configuration options you can choose “Custom” to personalize the installation directory and components.
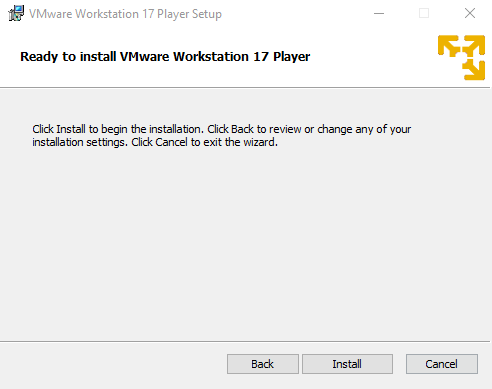
Click “Next” to proceed with the installation. The setup wizard will initiate the installation process. This might take a few minutes depending on your system’s speed.
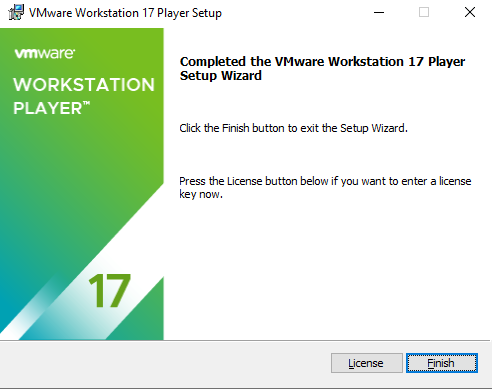
Once the installation is complete you will be prompted to choose whether to restart your computer now or later. A restart is recommended to ensure all necessary changes take effect. Click “Finish” to complete the installation process.
Follow the same steps as mentioned in the Player in installation. The difference is during the installation process you will encounter a registration screen for VMware Workstation Pro. You will need to enter your license key obtained during purchase to activate the full functionality of the software.
Proceed with the remaining installation steps as outlined in the Player installation guide.
Ready to Experience the Power of VM Hosting!
Take your virtualization journey to the next level with Ultahost’s VM hosting increasing the performance, flexibility, and security of Kernel-based Virtual Machine technology for your business.
Now that VMware is up and running, you can explore its functionalities to create and manage virtual machines. Here is an overview of the VMware workstation Windows 10 process:
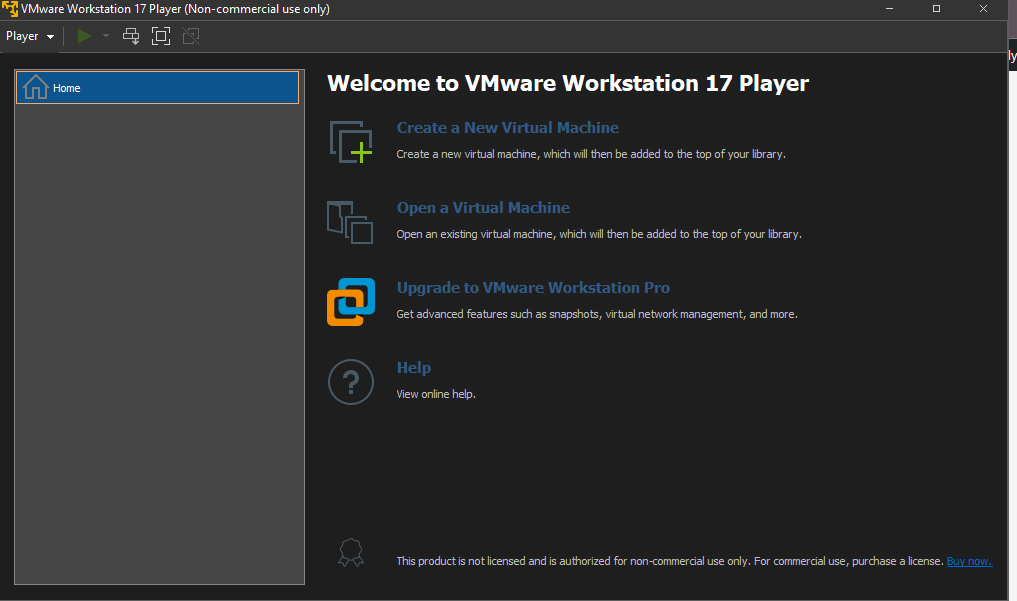
Locate the VMware Workstation Player or Pro icon on your desktop or within the Start menu. Double-click the icon to launch the application.
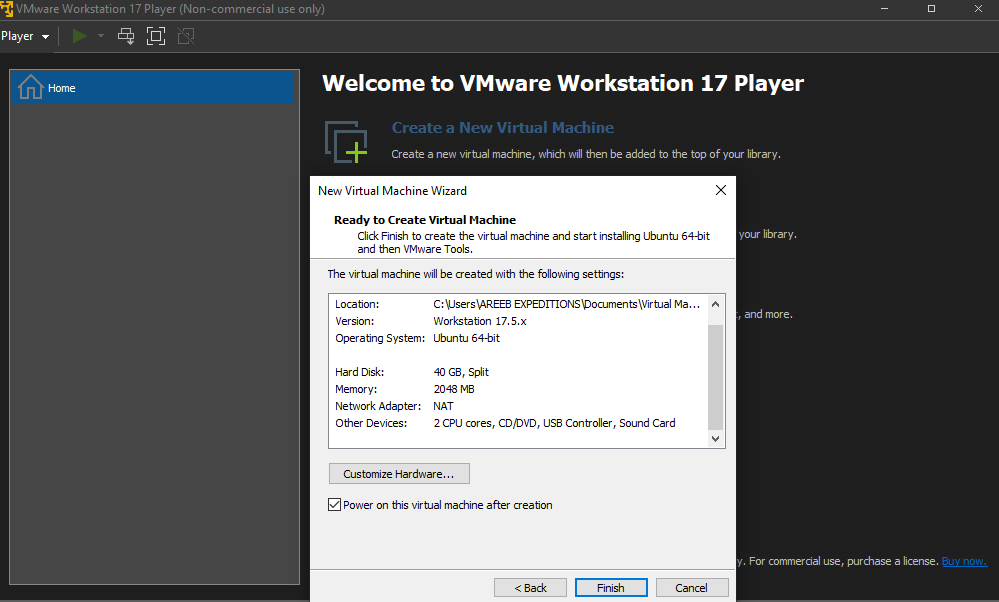
Click the “Create a New Virtual Machine” button within the VMware interface. This will initiate the virtual machine creation wizard. You will be presented with several options for creating a virtual machine.
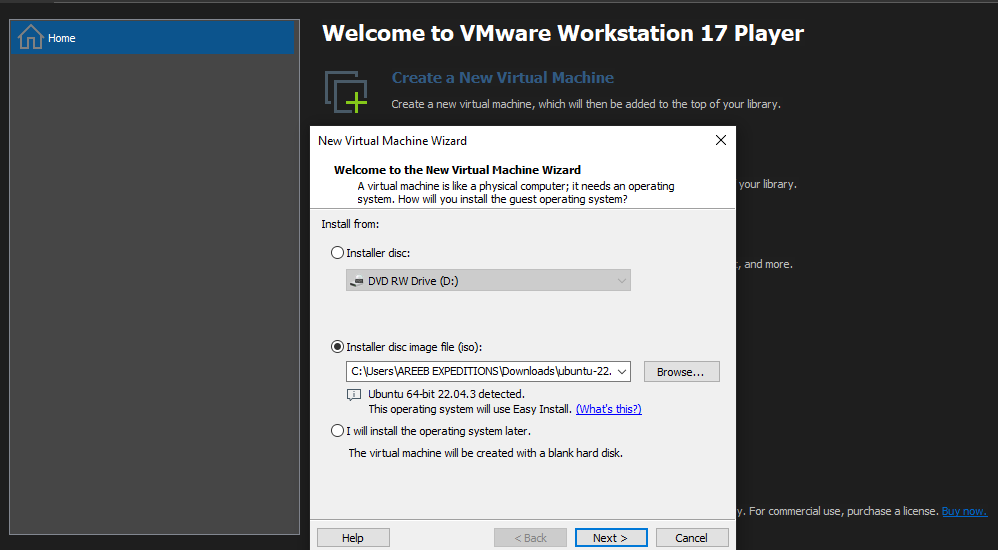
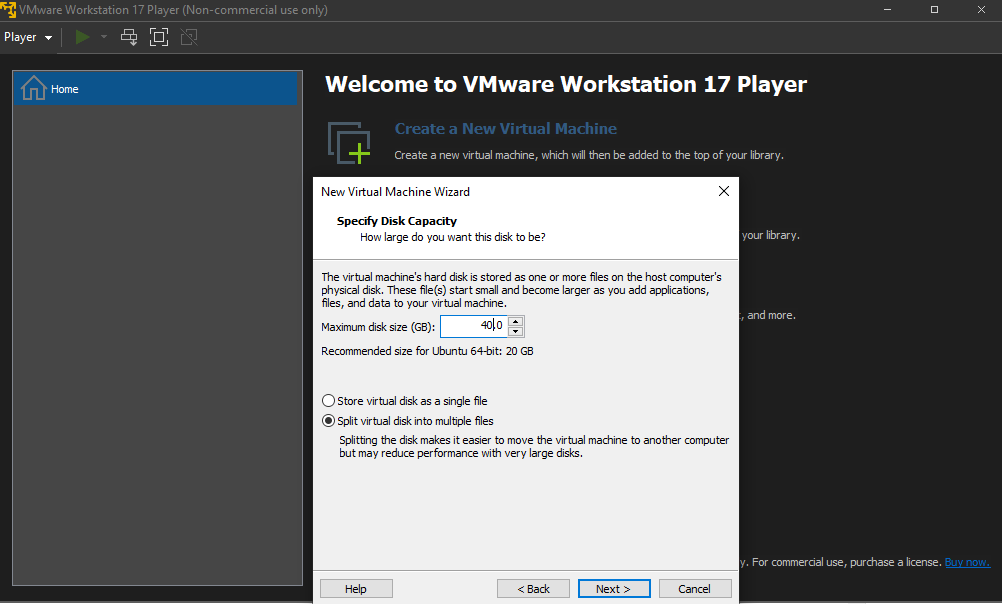
VMware will attempt to automatically detect the guest operating system you’re trying to install based on the chosen installation source. Assigning virtual machine hardware is an important step to allocate resources for your virtual machine including the amount of RAM the number of virtual processors CPUs, and the storage space for the virtual machine’s hard disk.
VMware offers various advanced settings for experienced users to configure aspects like network connectivity, shared folders between the host and guest machines, and USB device access. Once you have completed the configuration steps, click “Finish” to finalize the virtual machine creation.
You can then power on the virtual machine by clicking the “Play virtual machine” button.
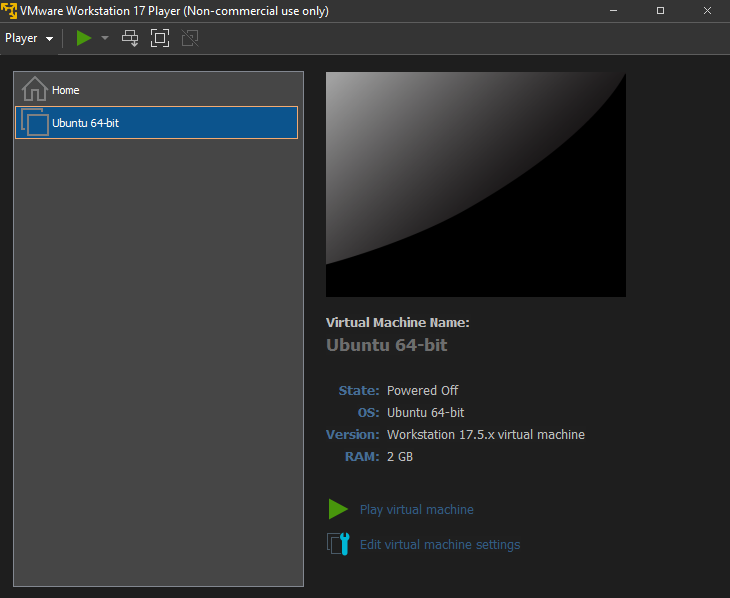
Now successfully you can run the Linux operating system through VMware. Remember to check the system requirements for the guest operating system you plan to install within the virtual machine.
VMware empowers you to utilize the potential of virtualization on your Windows 10 machine. VMware offers a versatile solution to run multiple operating systems, test software, and enhance your overall computing experience.
Ultahost’s Windows 10 servers offer superior processing power memory and storage compared to running VMs on your local machine. Focus on running demanding applications or managing complex virtual environments seamlessly, let Ultahost provide the power and resources you need to virtualize with confidence.
Yes, VMware can be installed on all editions of Windows 10 including Home and Pro.
VMware offers both free and paid versions. You can choose based on your needs.
No, installing VMware won’t impact your files. It creates a separate virtual environment.
No, VMware installation is straightforward and doesn’t require advanced technical knowledge.
Yes, VMware allows you to run multiple operating systems simultaneously within Windows 10.
uTorrent is a popular, free, and widely-used BitTorrent...
If you're looking for a simple guide on how to restart ...
Genymotion stands as a powerful Android emulator, allow...

Jupyter Notebook is one of the most widely-used tools a...
OpenSSL is an open-source implementation of the SSL and...