
How to Fix Missed Scheduled Post Error in Wor...
Have you ever methodically created a blog post and sche...


Docker Compose is an exceptionally powerful tool that aims to ease the definition, management, and orchestration of multi-container Docker applications. It will perform the role of an orchestrator for multiple Docker containers, permitting you to configure the services, networks, and volumes of your application all from a single YAML (Yet Another Markup Language) file. Typically known as docker-compose.yml, this file serves as an image of your application stack, containing all the settings and dependencies required.
This article gives you a detailed walkthrough on installing WordPress with docker-compose on Ubuntu 22.04.
There are some prerequisites that you need to follow before installing WordPress with docker-compose which are listed below
First, you need to install the essential packages needed for Docker to work properly on your Ubuntu VPS system. This is needed to download packages securely over HTTPS and manage software repositories effectively.
To install the docker dependencies, execute the following command:
sudo apt install -y apt-transport-https ca-certificates curl software-properties-common
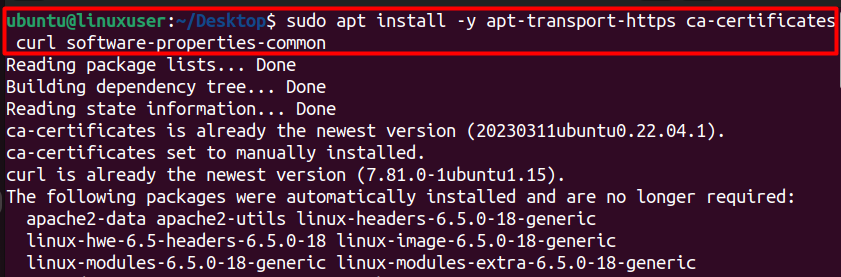
In this command, the ‘apt-transport-https’ enables the downloading of packages over HTTPS as docker generally uses it. The ‘ca-certificates’ provide a set of trusted certificate authorities that are needed to establish a secure connection.
The GPG key acts like a digital signature for software packages. It helps verify that the software you’re downloading hasn’t been altered or compromised during the download process. By trusting the GPG key, users ensure the authenticity of the software and protect themselves from potential security risks.
The Docker GPG key acts as a digital guarantee, ensuring that software downloaded from trusted repositories hasn’t been tampered with. Trusting the key adds an extra layer of security, assuring users that the installed software is authentic and as intended by the developers.
To add the docker GPG key execute the following command:
curl -fsSL https://download.docker.com/linux/ubuntu/gpg | sudo gpg --dearmor -o /usr/share/keyrings/docker-archive-keyring.gpg

Next, you need to create a configuration file for apt, specify the Docker repository details, and ensure that the package manager recognizes this repository for future Docker installations and updates.
echo "deb [arch=amd64 signed-by=/usr/share/keyrings/docker-archive-keyring.gpg] https://download.docker.com/linux/ubuntu $(lsb_release -cs) stable" | sudo tee /etc/apt/sources.list.d/docker.list > /dev/null

After following the above steps, you need to install docker now along with its associated components using:
$ sudo apt install -y docker-ce docker-ce-cli containerd.io
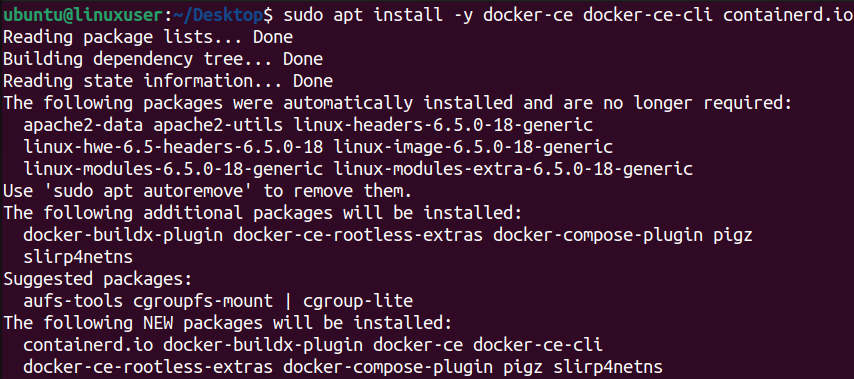
This command installs Docker on your Ubuntu system along with the necessary components for managing and running containers, providing you with the tools needed to work with Docker containers on your machine.
You should be able to successfully install the docker now which you can verify by executing the following command:
$ sudo docker --version

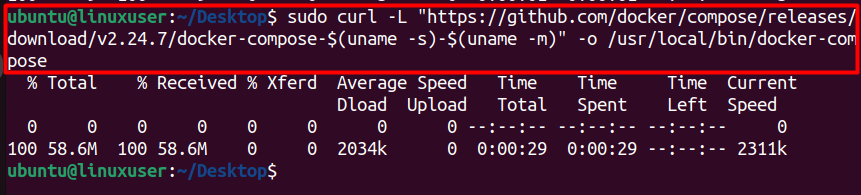
Docker Compose is a tool that simplifies the management of multi-container Docker applications. Unlike standalone Docker, which primarily focuses on managing individual containers. Docker Compose is an extension of standalone Docker, catering specifically to the orchestration needs of multi-container applications. To install docker-compose, execute the following command:
$ sudo curl -L "https://github.com/docker/compose/releases/download/v2.24.7/docker-compose-$(uname -s)-$(uname -m)" -o /usr/local/bin/docker-compose
Next, you need to grant execution permission to all users for the docker-compose executable, allowing any user, including those without administrative privileges, to run the Docker Compose command:
sudo chmod +x /usr/local/bin/docker-compose

Lastly, verify the docker compose version by executing the following command:
$ docker-compose --version

In the context of Docker Compose, a service is a containerized application component. The `docker-compose.yml` file defines one or more services, each representing a distinct container with its specific image, configuration, and dependencies. For example, a web service and a database service could be defined as separate services within the same Compose file.
Docker Compose relies on Docker images to encapsulate the application code, runtime, libraries, and other dependencies. You specify the image for each service in the `docker-compose.yml` file. These images can be official ones from Docker Hub or custom-built images.
Networks in Docker Compose enable communication between containers. You can define custom networks in the Compose file to isolate and control the flow of traffic between services. By default, Docker Compose creates a default network for the defined services, but custom networks can be beneficial for more complex scenarios.
Volumes allow data persistence and sharing between containers. Docker Compose allows you to define volumes in the `docker-compose.yml` file, specifying where data should be stored on the host machine or in other containers.
Docker Compose enables the specification of environment variables for services, offering a convenient way to configure container behavior without modifying the underlying image. This is particularly useful for dynamic configuration and passing parameters to your application.
Docker Compose comes with a dedicated command-line interface that allows users to manage and interact with multi-container applications effortlessly. Common commands include `docker-compose up` to start the services, `docker-compose down` to stop and remove containers, and `docker-compose ps` to list the status of running services.
Docker Compose allows you to scale services horizontally, meaning you can run multiple instances of a service to handle increased load. This is achieved by specifying the desired number of replicas in the Compose file.
Ready to Launch Your WordPress Site?
Take the hassle out of hosting. Discover seamless WordPress hosting solutions at Ultahost and unleash the full potential of your website.
Follow the below steps to install WordPress with docker-compose.
First, create a project directory to organize and store files and then navigate there:
$ mkdir wordpress && cd wordpress

Now, you need to define the Docker Compose script that defines a multi-container application consisting of a WordPress service and a MySQL database service. It specifies the necessary configurations, such as environment variables and volume mounts, to set up and link these services in a containerized environment:
version: '3'

services:
  wordpress:
    image: wordpress:latest
    ports:
      - "8000:80"
    environment:
      WORDPRESS_DB_HOST: db
      WORDPRESS_DB_USER: example_user
      WORDPRESS_DB_PASSWORD: example_password
      WORDPRESS_DB_NAME: example_db
    volumes:
      - ./wordpress:/var/www/html

  db:
    image: mysql:latest
    environment:
      MYSQL_ROOT_PASSWORD: example_root_password
      MYSQL_DATABASE: example_db
      MYSQL_USER: example_user
      MYSQL_PASSWORD: example_password
    volumes:
      - ./mysql:/var/lib/mysql
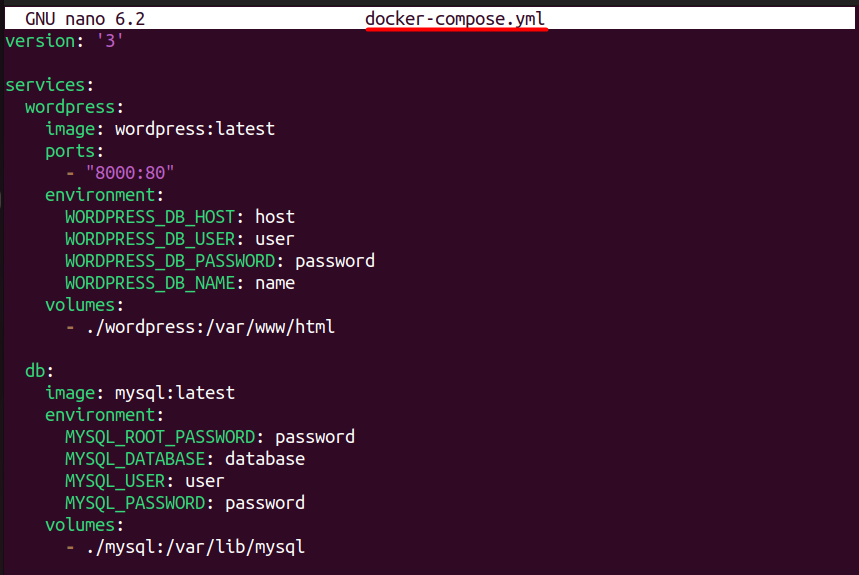
Customize the environment variables according to your preferences. These variables define the database host, user, password, and name for both WordPress and MySQL. The volumes specify where to store WordPress and MySQL data on your host machine.
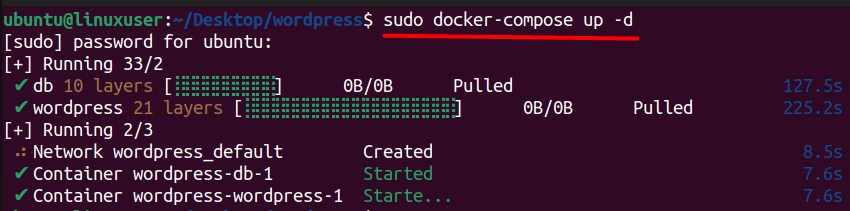
Next, you need to instruct the docker-compose to start the services defined in the corresponding configuration file (docker-compose.yml), and to run them in the background so that the terminal is not tied up by the running containers. This is useful for deploying and running multi-container applications in a production or background environment.
$ sudo docker-compose up -d
Now you can start the WordPress and for that, you can open your web browser and go to http://localhost:8000 (or the port you specified) to access the WordPress setup.
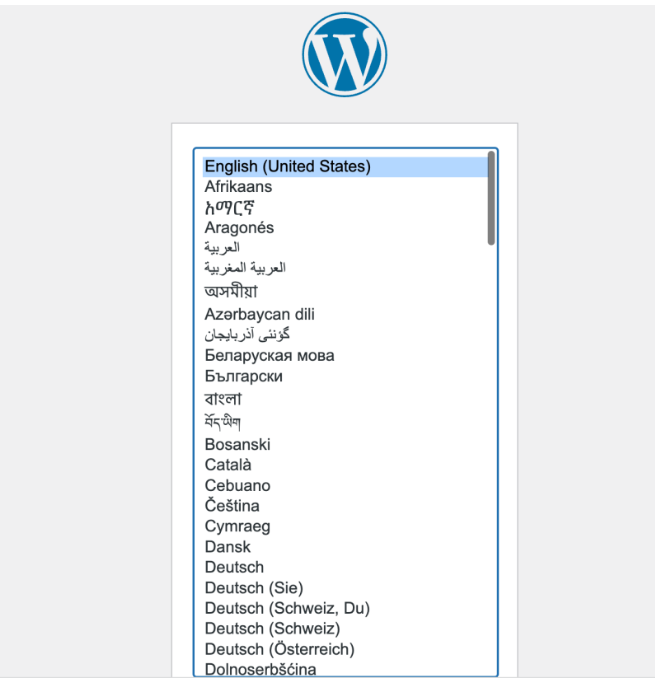
After selecting your preferred language and hitting Enter to continue, the WordPress setup wizard will guide you through the installation process. Follow the prompts to configure your WordPress site, including entering your site title, creating an admin username and password, and providing your email address. Once you’ve completed the setup, you’ll be able to log in to your newly installed WordPress site and begin customizing it to your liking.
Running WordPress with Docker offers several benefits, including:
Docker containers encapsulate the application and its dependencies, ensuring consistency across different environments. This portability allows developers to build, test, and deploy WordPress applications seamlessly across various platforms.
Docker containers provide isolation for each application, ensuring that changes or issues within one container do not affect others. This isolation enhances security and stability, as well as simplifies troubleshooting.
Docker’s container-based architecture enables easy scaling of WordPress applications. Developers can quickly spin up additional containers to handle increased traffic or workload demands, and scale them down during quieter periods, optimizing resource utilization and cost-efficiency.
Docker containers are lightweight and use shared resources efficiently, minimizing overhead and maximizing server utilization. This efficiency translates to faster deployment times, reduced infrastructure costs, and improved performance for WordPress applications.
Docker allows versioning of container images, facilitating easy rollback to previous versions if necessary. This feature ensures consistent deployment across development, staging, and production environments, streamlining the release process and minimizing deployment errors.
Docker simplifies dependency management by packaging WordPress, its plugins, themes, and other dependencies into a single container image. This approach eliminates compatibility issues and ensures that the application runs consistently across different environments.
Docker’s containerization enables developers to create consistent development environments with all the necessary dependencies pre-configured. This standardized development workflow improves collaboration, reduces setup time, and minimizes discrepancies between development and production environments.
Docker provides built-in security features such as container isolation, resource constraints, and namespace separation, which help mitigate security risks associated with WordPress applications. Additionally, Docker Hub and other container registries offer image scanning and vulnerability detection tools to enhance container security further.
Docker allows fine-grained control over resource allocation for each container, enabling developers to optimize CPU, memory, and storage usage according to application requirements. This flexibility ensures efficient resource utilization and improved performance for WordPress applications.
Docker has a vibrant community and extensive ecosystem of tools, plugins, and resources that support WordPress development and deployment. From Docker Compose for multi-container orchestration to Docker Swarm and Kubernetes for container clustering and management, developers have access to a rich set of tools to enhance their WordPress workflows.
Docker Compose proves to be an invaluable tool for streamlining the deployment and management of multi-container Docker applications. This guide navigates through the prerequisites, installation, and utilization of Docker Compose to set up a WordPress instance on Ubuntu 22.04.
Docker Compose facilitates the creation of a robust, containerized environment. The step-by-step instructions ensure a seamless process, from installing Docker dependencies to scaling services.
Unlock the next level of speed and reliability with Ultahost’s top-tier WordPress VPS hosting solutions. Take advantage of dedicated resources tailored to enhance your online presence.
Docker Compose is a tool for defining and running multi-container Docker applications. It allows you to define the services, networks, and volumes required for your application in a YAML file called docker-compose.yml, making it easier to manage and deploy complex Docker-based applications.
Installing WordPress with Docker Compose allows you to set up a local development environment for WordPress quickly and easily. Docker Compose simplifies the process of creating and managing the containers required for running WordPress, including the WordPress application itself, a MySQL database, and optionally, a web server like Nginx or Apache.
Yes, Docker Compose enables you to define and manage multiple WordPress instances on the same server, each with its own configuration and resources.
The main services required for running WordPress with Docker Compose are: