How to Install Oracle Database on Ubuntu
The Oracle Database is a powerful relational database m...


Perl, short for Practical Extraction and Reporting Language, is a high-level, interpreted programming language developed by Larry Wall in 1987. It is widely used for various purposes, including web development, system administration, network programming, and data analysis. Perl’s popularity stems from its ease of use, flexibility, and extensive libraries, making it an essential tool for many developers and system administrators.
Install Perl on Ubuntu is crucial for users who need to run Perl scripts, develop Perl applications, or use Perl-based tools. Ubuntu, being one of the most popular Linux distributions, provides an easy and convenient way to install Perl. In this guide, we will walk you through the step-by-step process of installing Perl on Ubuntu.
This method utilizes the official Ubuntu repository to Perl install Ubuntu which provides a stable and well-maintained version of Perl.
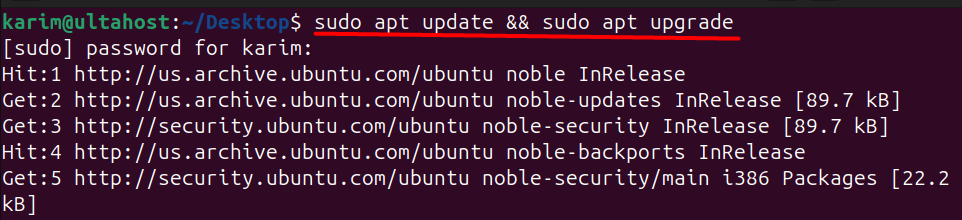
Step 1: Update the Package Lists
Open a terminal window and execute the following command to update the package lists, ensuring you have the latest information about available packages:
sudo apt update && sudo apt upgrade
Step 2: Installing Perl on Ubuntu
Install the Perl package using the following command:
sudo apt install perl
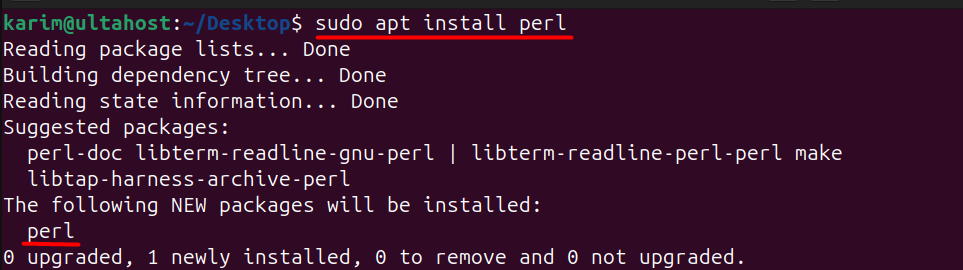
The system will prompt you for confirmation. Type ‘Y’ and press Enter to proceed with the installation.
Step 3: Verify Installation
Once the installation is complete, verify that Perl has been installed correctly by running the following command:
perl -v

This command will display the installed Perl version, confirming a successful install Perl Linux.
Install Perl on Our Ubuntu VPS!
Get the reliability of the world’s most popular Linux distro and the flexibility of a virtual server. Enjoy blazing-fast speeds and low latency.
Installing Perl from source code provides more control over the installation process and allows you to install latest Perl on Ubuntu and customize the build to your specific needs. However, it requires more technical expertise and can be more time-consuming than using a package manager. Here’s a step-by-step guide to installing Perl from source on Ubuntu:
Step 1: Download the Perl Source Code
In this step, we use the wget command to download the Perl source code from the official CPAN (Comprehensive Perl Archive Network) website.
wget https://www.cpan.org/src/5.0/perl-5.34.0.tar.gz
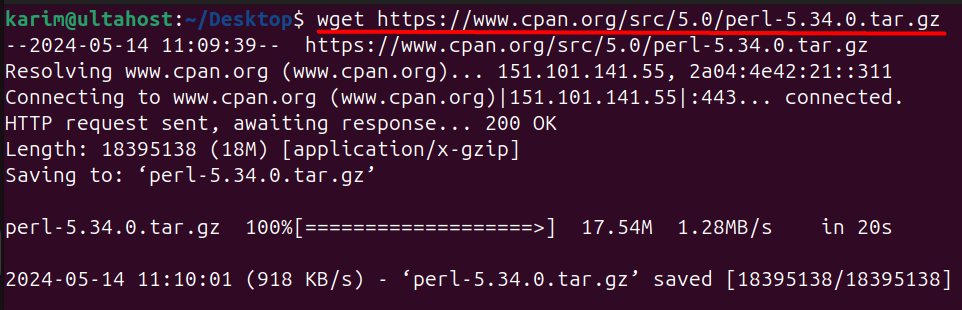
You can check the CPAN website for the latest version and update the URL accordingly.
Step 2: Extract the Source Code Archive
After downloading the source code to extract the tar.gz files, we extract it using the `tar` command with the `-xvf` options. The `-x` option extracts the archive, the `-v` option enables verbose mode, and the `-f` option specifies the file to extract:
tar -xvf perl-5.34.0.tar.gz
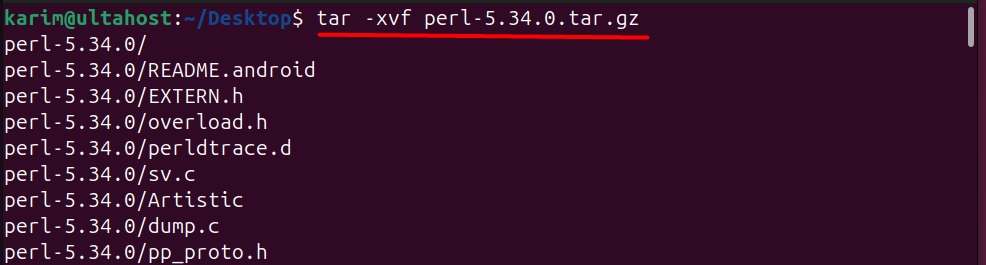
This command will create a new directory named perl-5.34.0 containing the source code.
Step 3: Change into the Source Code Directory
In this step, we change into the perl-5.34.0 directory using the cd command. This is where the source code is extracted, and we’ll run the configure and build commands from here:
cd perl-5.34.0

Read also How to install Ruby on Ubuntu.
Step 4: Installing make Package
The make command is a build automation tool that’s essential for building and installing software from source code. It’s used to read a Makefile (a file that specifies the build process) and execute the necessary commands to compile and link the code:
sudo apt install make

This package is required to build and install Perl from source code.
Step 5: Installing build-essential Package
The build-essential package is a meta-package that provides a set of essential build tools, including compilers, linkers, and other utilities. It’s a dependency package that’s required to build and compile software from source code.
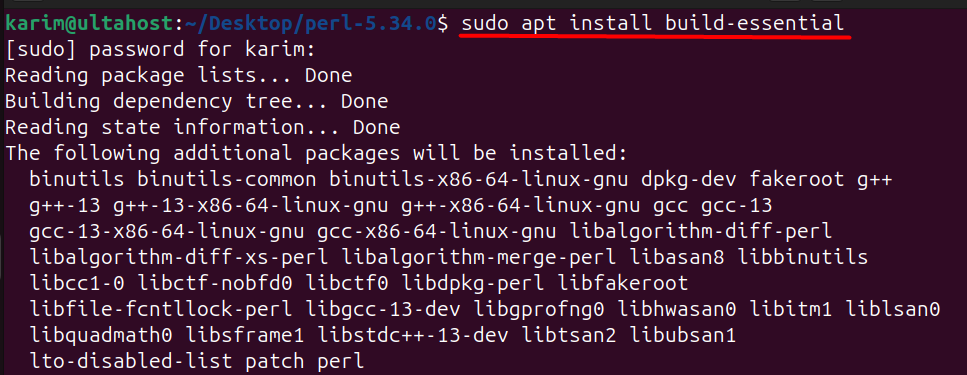
The build-essential package is a dependency for many packages that require building from source code, including Perl.
By installing build-essential, you’re ensuring that you have all the necessary build tools and dependencies to compile and build software from source code.
Step 6: Configure the Build
This crucial step runs the configuration script that checks your system for dependencies and prepares the build environment:
./Configure -des -Dprefix=/usr/local/perl-5.36.0
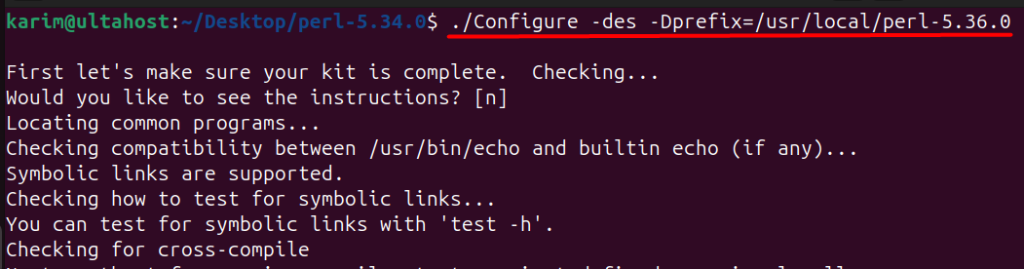
The `Configure` script is used to configure the Perl build. The `-de` option enables the “debug” and “embeddable” options, which are suitable for most users. You can customize the build by adding or removing options. For example, you can use `-Dprefix=/usr/local/perl` to change the installation prefix.
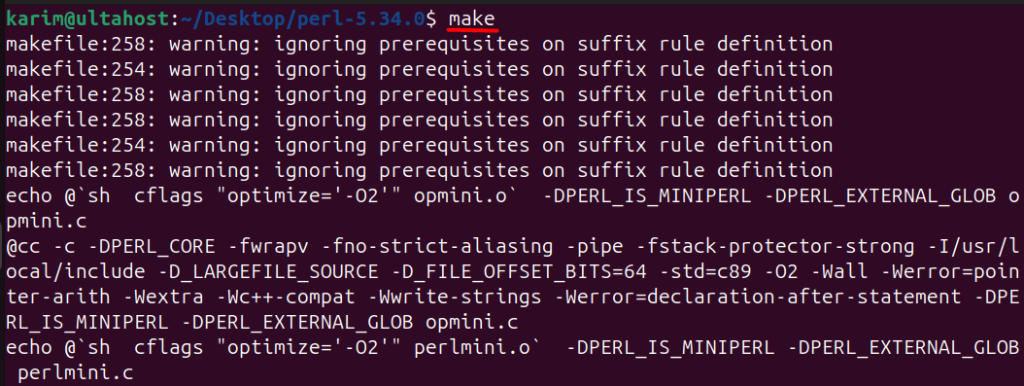
Step 7: Build Perl
The `make` command is used to build Perl from the source code. This step may take some time, depending on your system’s processing power and the complexity of the build.
make
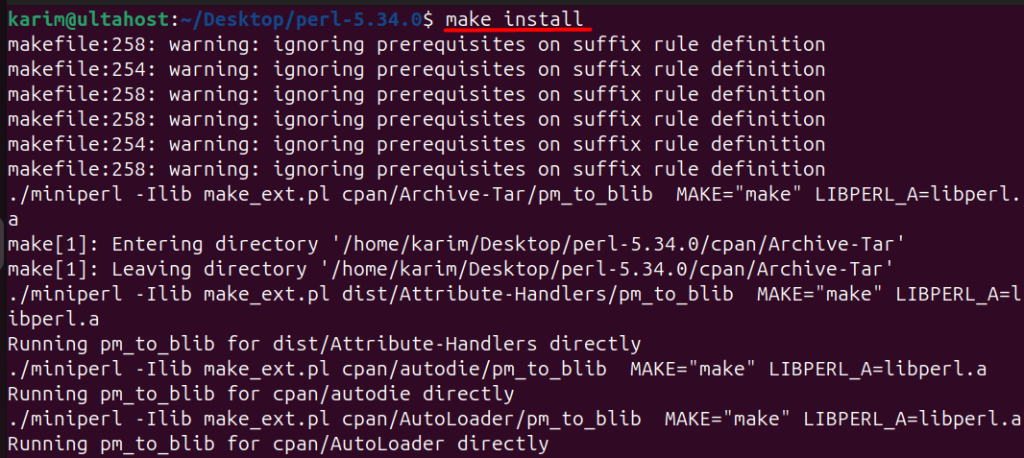
Step 8: Install Perl
Finally, the `make install` command installs Perl to the system. This step may require root privileges, depending on the installation prefix and other configuration options.
After completing these steps, you should have a working Perl installation on your Ubuntu system. You can verify this by running `perl -v` in your terminal, which should display the version of Perl you just installed.
make install
In this guide, we have walked you through the step-by-step process of installing Perl on Ubuntu using two methods: the Ubuntu repository and a PPA. By following these instructions, you should now have Perl installed on your Ubuntu system, ready to use for your development and system administration needs.
Installing Perl on Ubuntu can be achievable through the official Ubuntu repository or PPAs. This guide provided step-by-step instructions and troubleshooting tips to ensure a smooth installation process. With Perl successfully installed, you can now leverage its power for various scripting and programming tasks within the Ubuntu environment.
Installing Perl on Ubuntu is straightforward but managing Perl applications on a regular hosting can be restrictive. You might need access to essential tools or libraries needed by Perl scripts. Consider an Ultahost Linux VPS hosting plan that empowers you to manage Perl projects effectively. These plans grant you root access and full control over your server environment allowing you to install additional Perl modules or CPAN packages your projects require.
Perl is a high-level, general-purpose programming language known for its text-processing capabilities. It is widely used for web development, system administration, network programming, and more.
You might need Perl for running scripts, developing applications, or managing system tasks. Many legacy systems and some new projects still rely on Perl due to its efficiency in handling text and file manipulation.
On the terminal type perl -v, If Perl is installed, you will see the version information. If not, the command will indicate that Perl is not found.
You can find more information and documentation on the official Perl website and Ubuntu’s official documentation.
The Oracle Database is a powerful relational database m...
Apache Virtual Hosts give you full control over managin...

Unlike other text editors, Vim is a keyboard-focused te...
The hostname refers to the name assigned to every indiv...
As a system administrator or developer, you are likely ...