


Activate SSL for a domain using HestiaCP
Activating SSL for a domain using HestiaCP is nothing complex. You can simply follow the steps below.
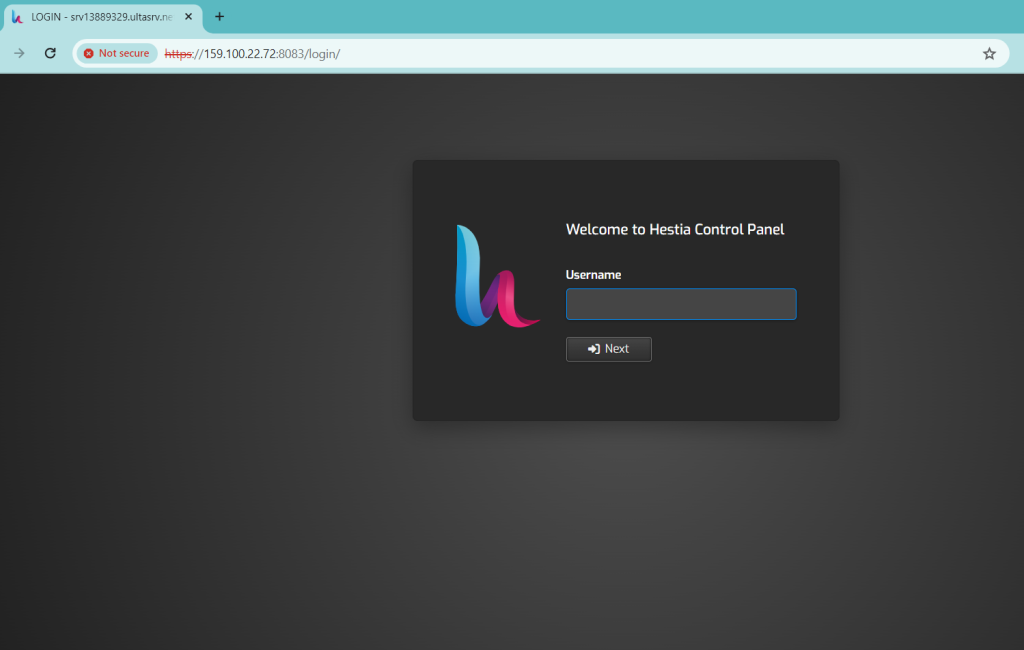
Log in to HestiaCP: Access your HestiaCP control panel using your web browser. You can simply hit your VPS IP address and default Hestia port which is 8083 like https://159.100.22.72:8083/
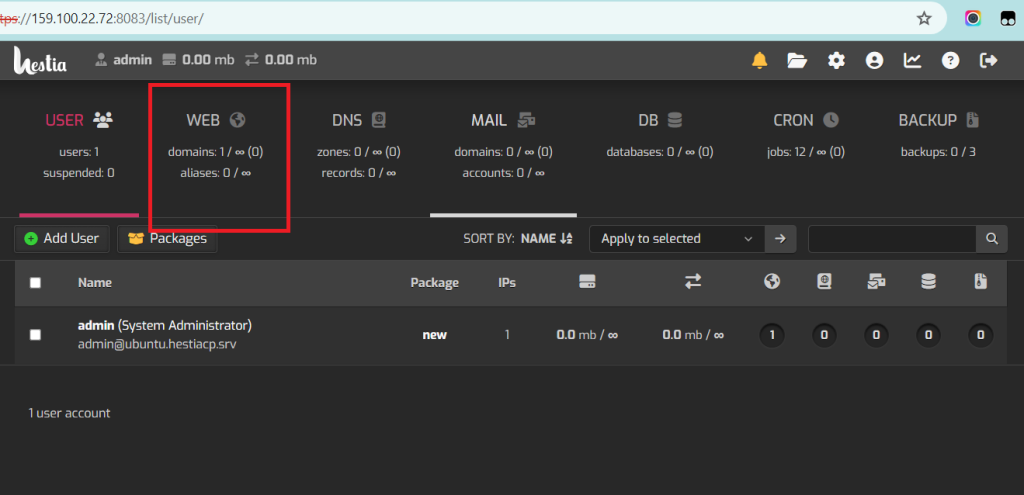
Add Domain: Navigate to the “Web” section and click on the domain
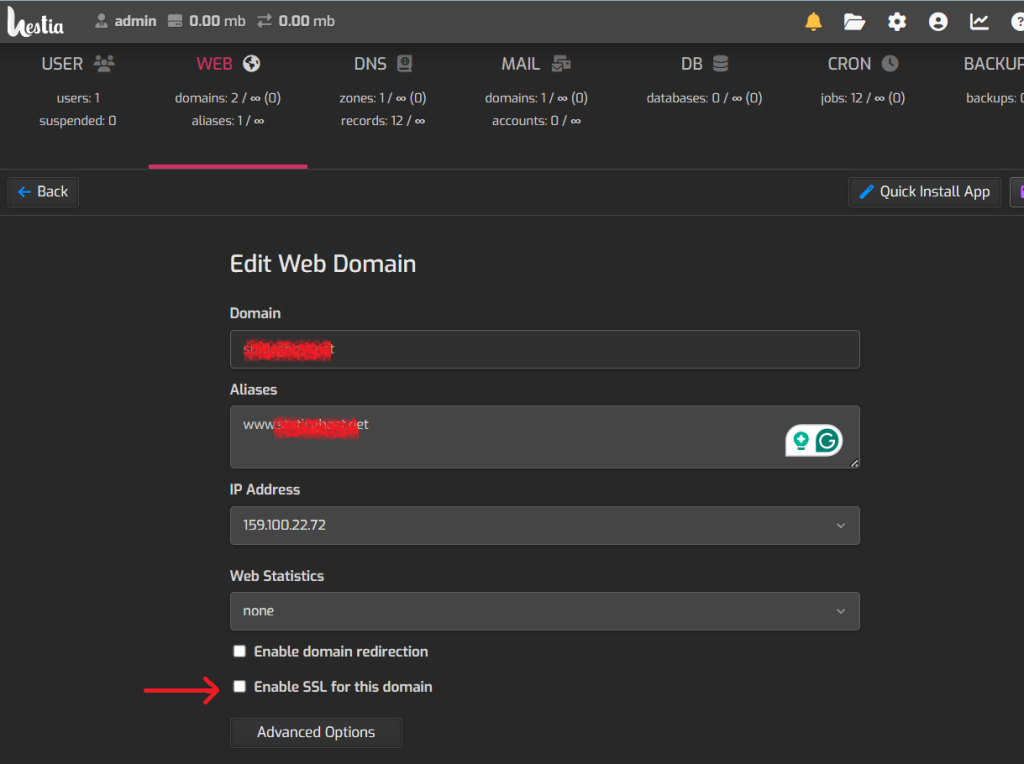
Activate SSL: Once you are on Edit Web Domain page, you can tick the ‘Enable SSL for this domain’ option
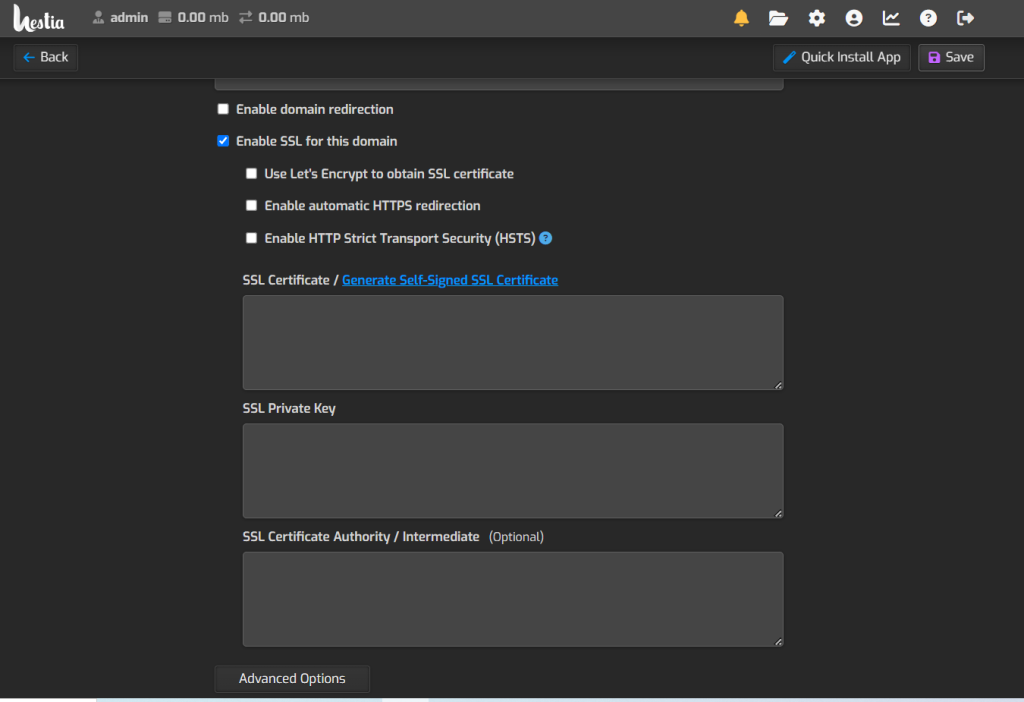
Upload Certificate: You can either generate self-signed SSL certificate or upload the purchased premium SSL certificate here.
If you want to use a free SSL certificate. You can simply select the first Let’s Encrypt option. You can select other options also like enabling the automatic HTTPS redirection etc.
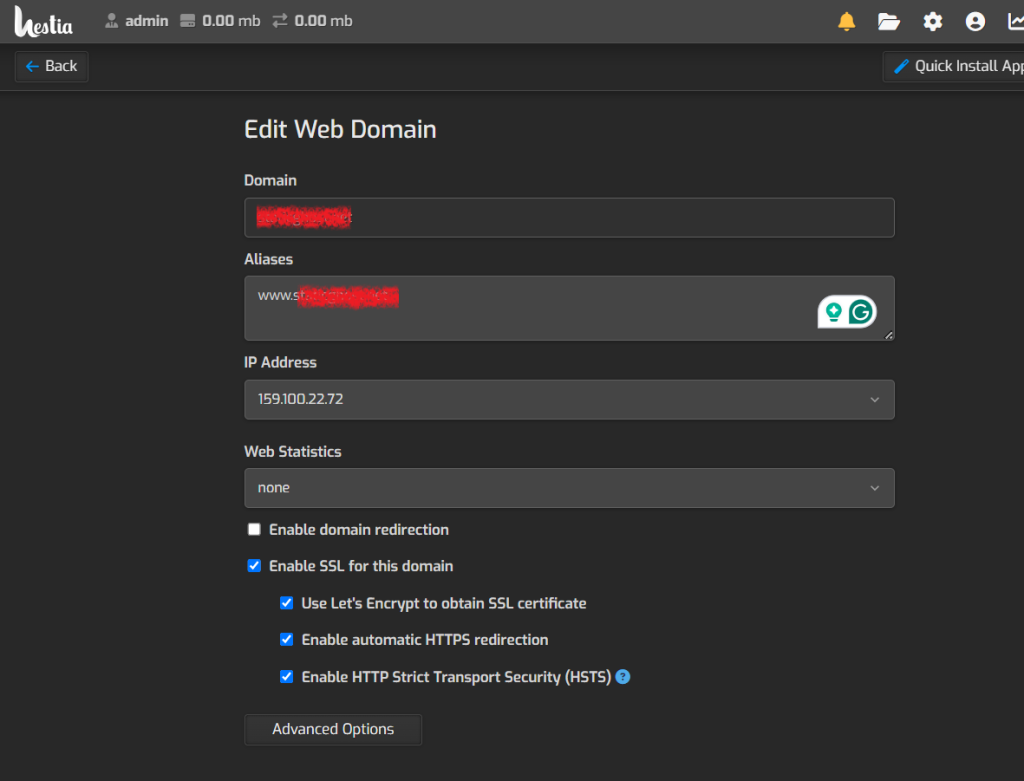
Once completed, click on the ‘Save’ button.
The SSL will be activated within a few minutes.
