


Activate SSL for a domain in Shared Hosting plans
To activate SSL for a domain in shared hosting plans, follow these steps:
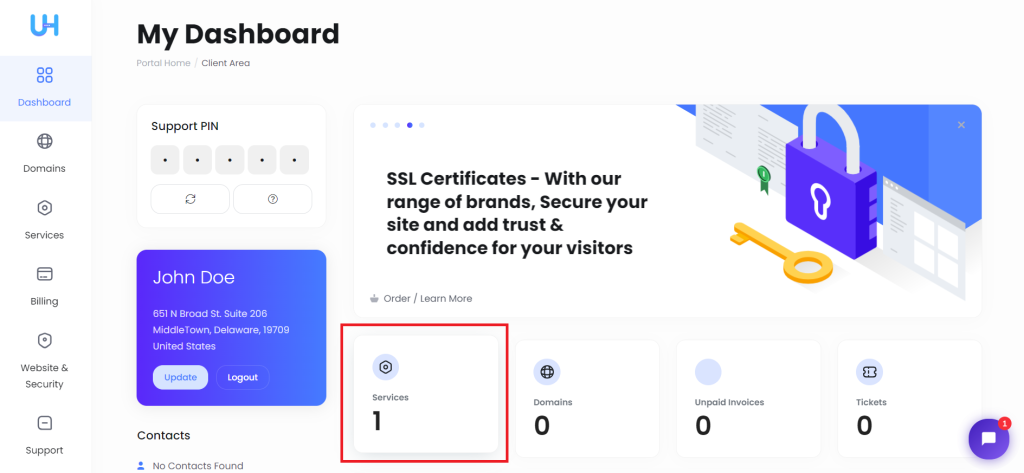
1. Login to Ultahost and click on ‘Services’
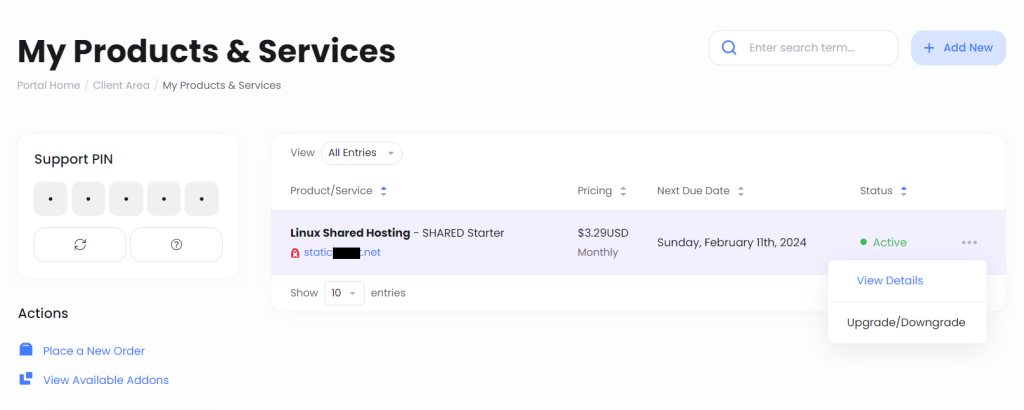
2. Once you are on the services page, click the three dots then click on ‘View Details’.
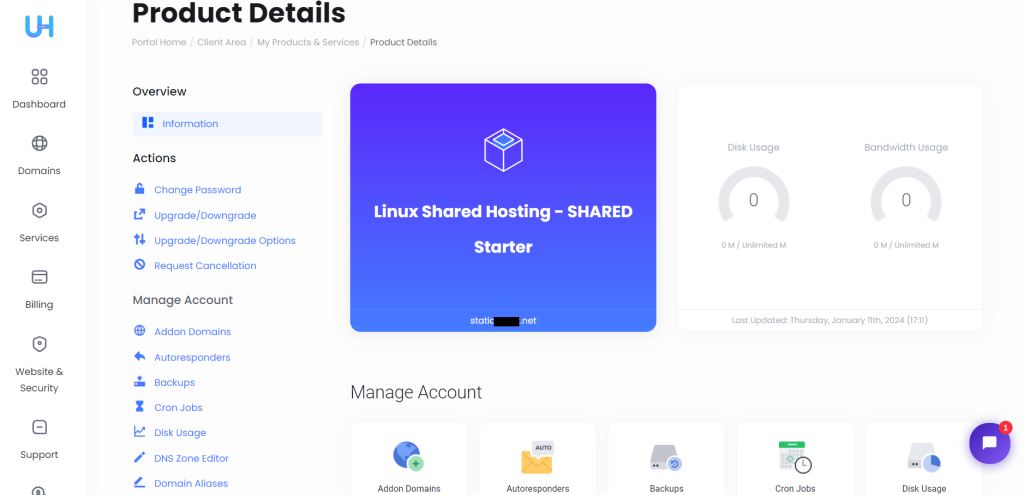
- You’ll be redirected to the Product Details page.
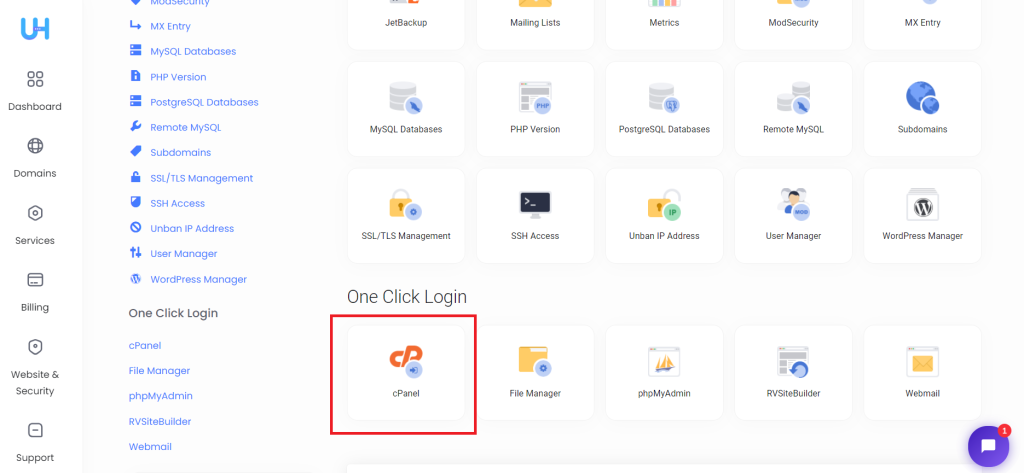
4. Now, scroll down the page and click on ‘cPanel’ section.
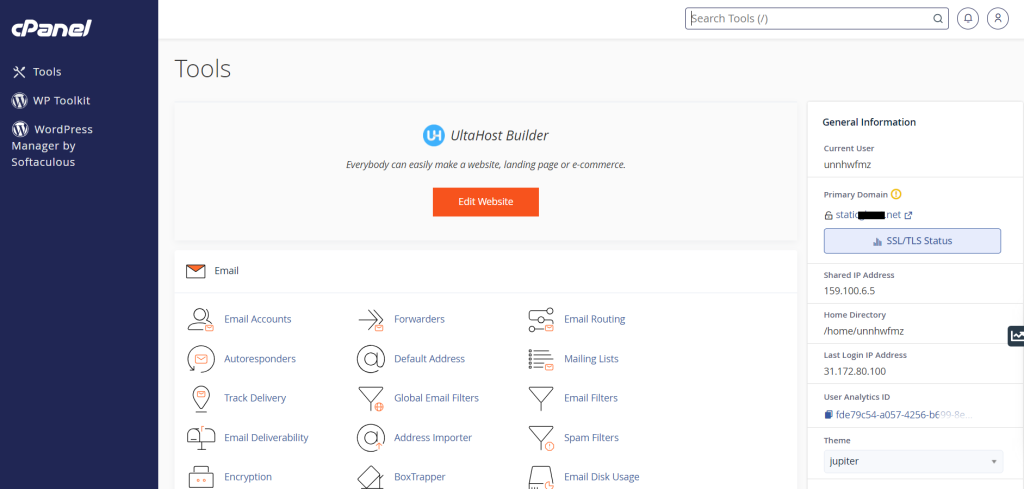
5. Now, once you loggedin to the cPanel, click ‘SSL/TLS Status’ at the right side under the Primary domain.
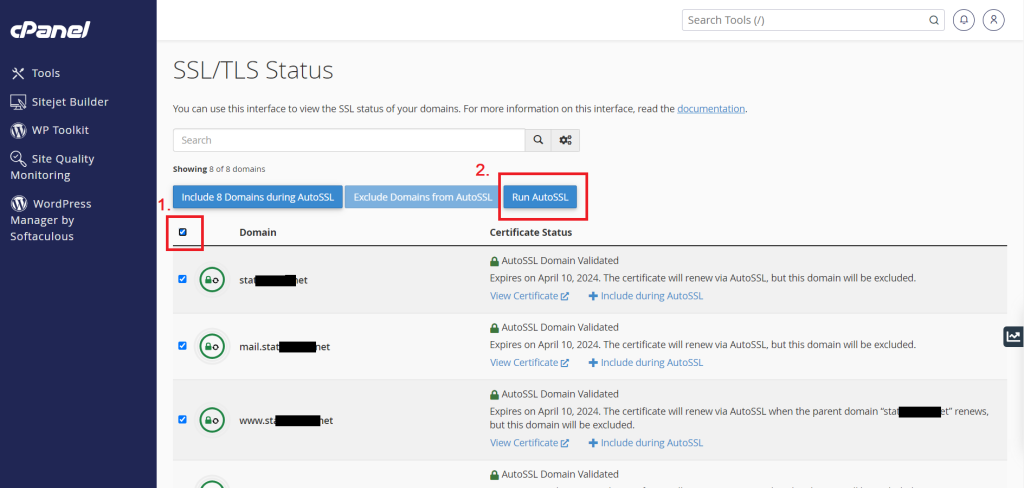
8. Now, select all the domains then click on ‘Run AutoSSL’
After a few minutes or seconds, the free SSL will be activated on your website.
If you want to upload and use a different SSL certificate you can refer to this guide Setting Up SSL / TLS on your Cpanel
