


Create an FTP account with HestiaCP
To create an FTP account in HestiaCP, follow these steps:
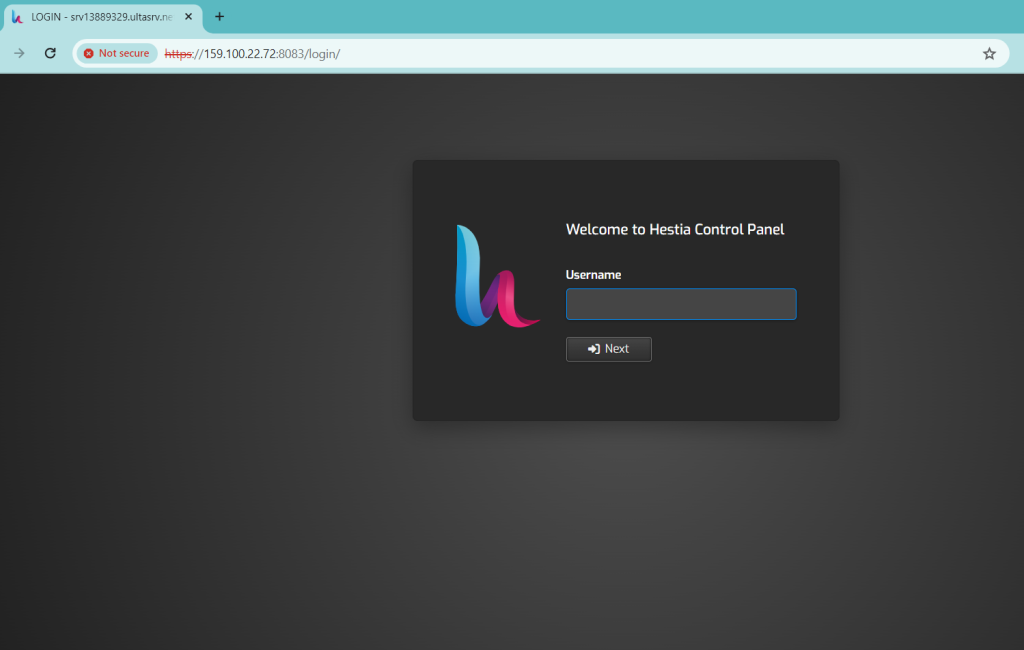
Log in to Hestia Control Panel: Access your Hestia Control Panel by navigating to the login page and entering your credentials.
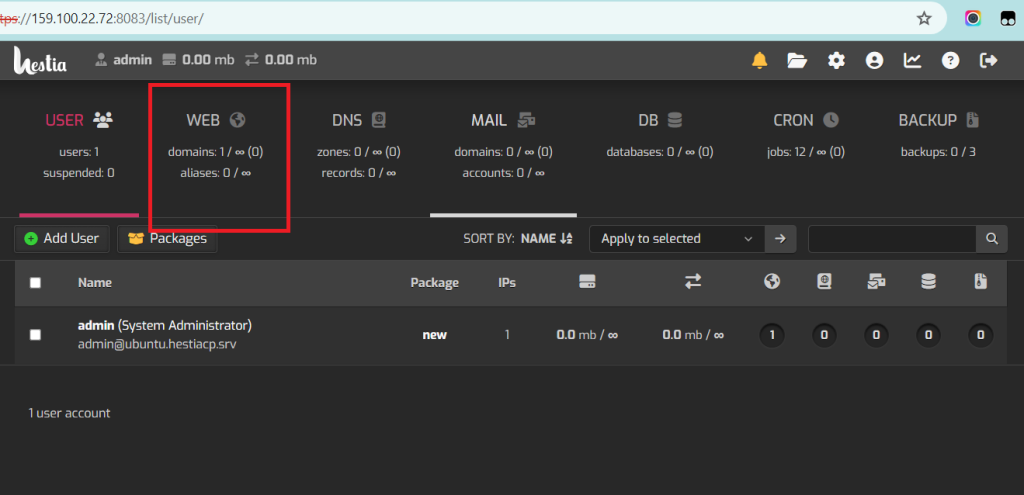
Add FTP: Navigate to the “Web” section and click on the domain
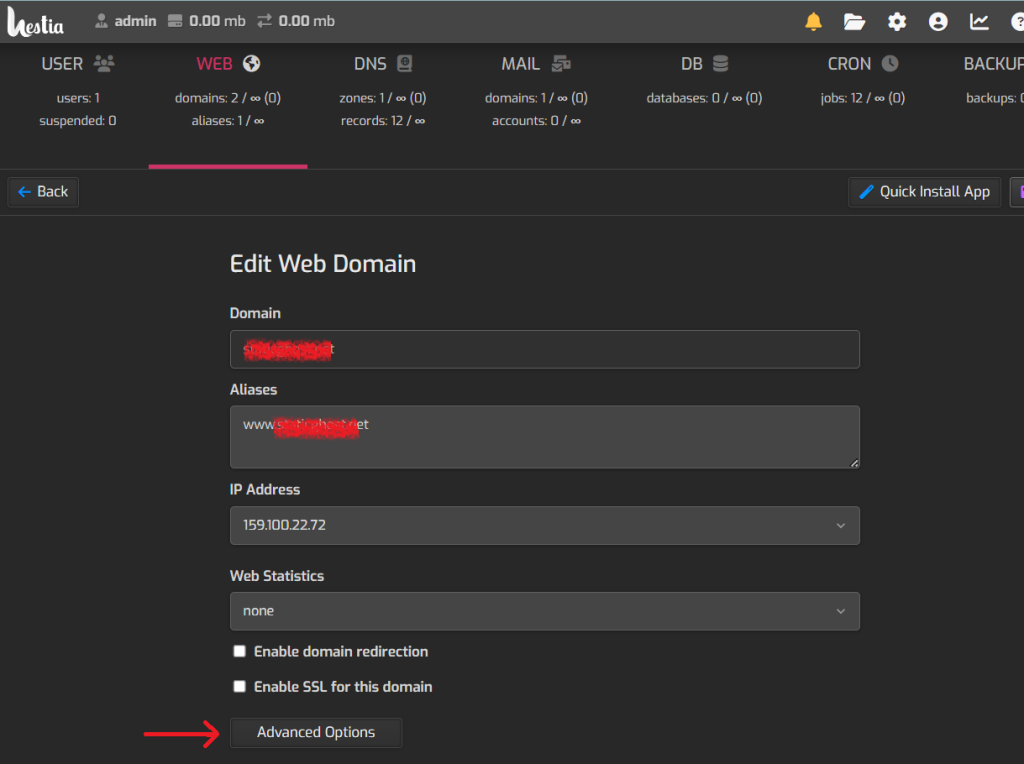
Once you are on the ‘Edit Web Domain’ page, click on ‘Advanced Options’
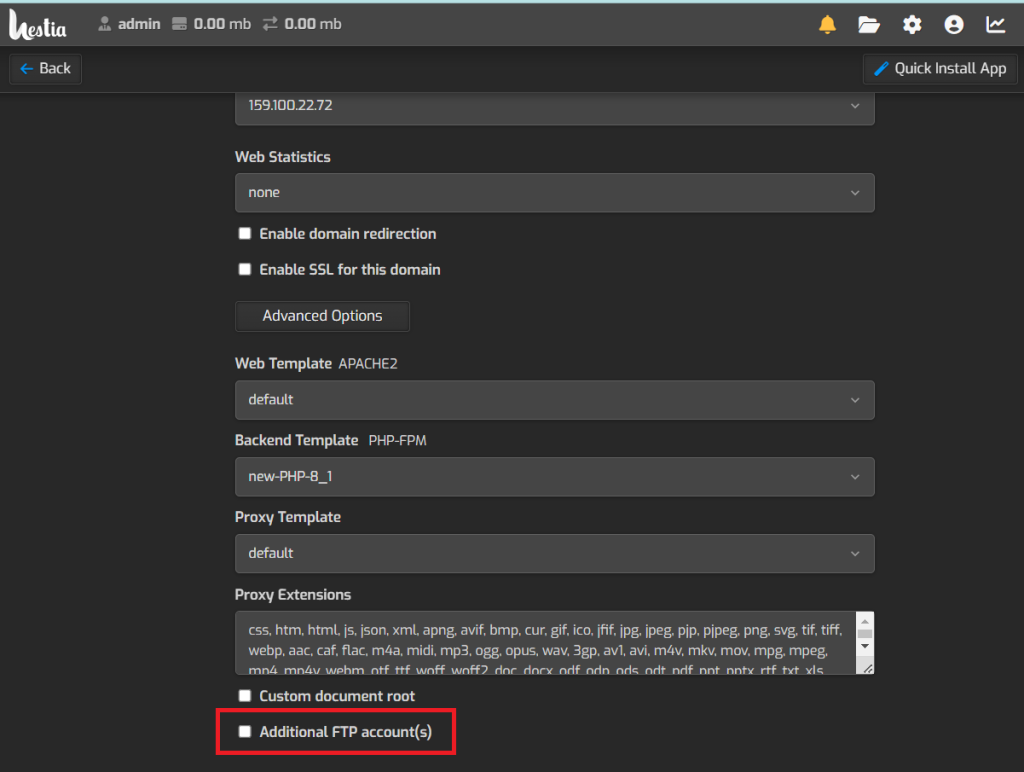
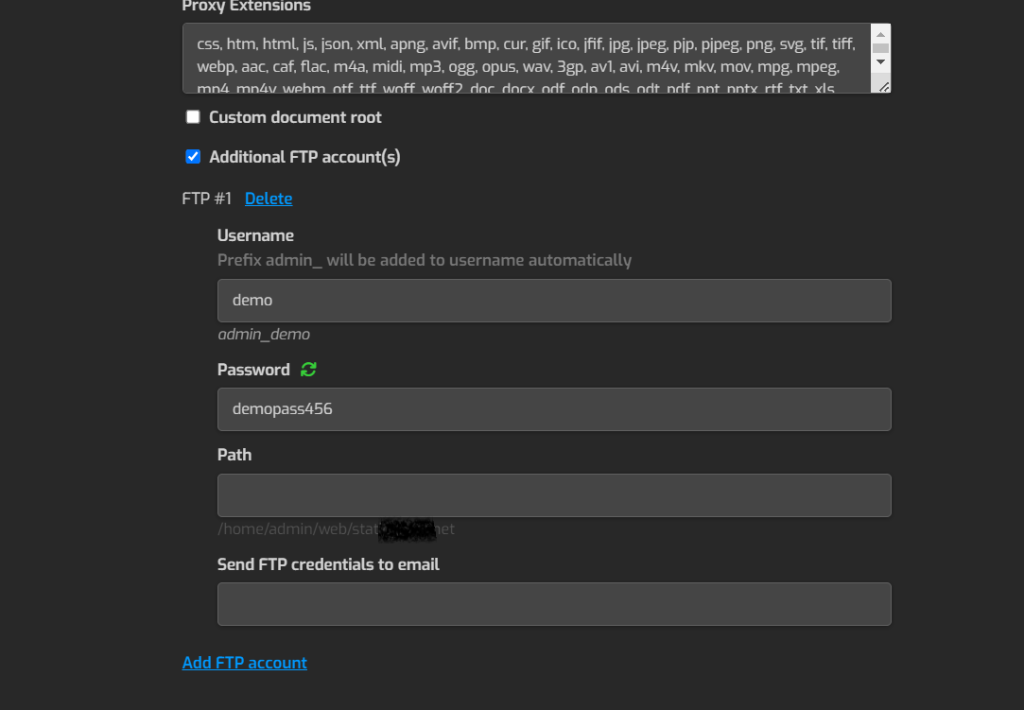
Next, click on Additional FTP accounts
Enter Account Details: You’ll be prompted to enter details for the new FTP account, including a username and password. Additionally, you may have options to specify directories or permissions for the FTP account.
Save Changes: Once you’ve entered the necessary information, save the changes to create the FTP account.
Verify FTP Account: After creating the FTP account, verify that it’s working correctly by attempting to connect to your server using an FTP client with the newly created credentials.
That’s it! You’ve successfully created an FTP account using Hestia Control Panel. If you encounter any issues or have further questions, feel free to ask for assistance.
