


Create a user account in HestiaCP
To create a user account in HestiaCP, follow these steps:
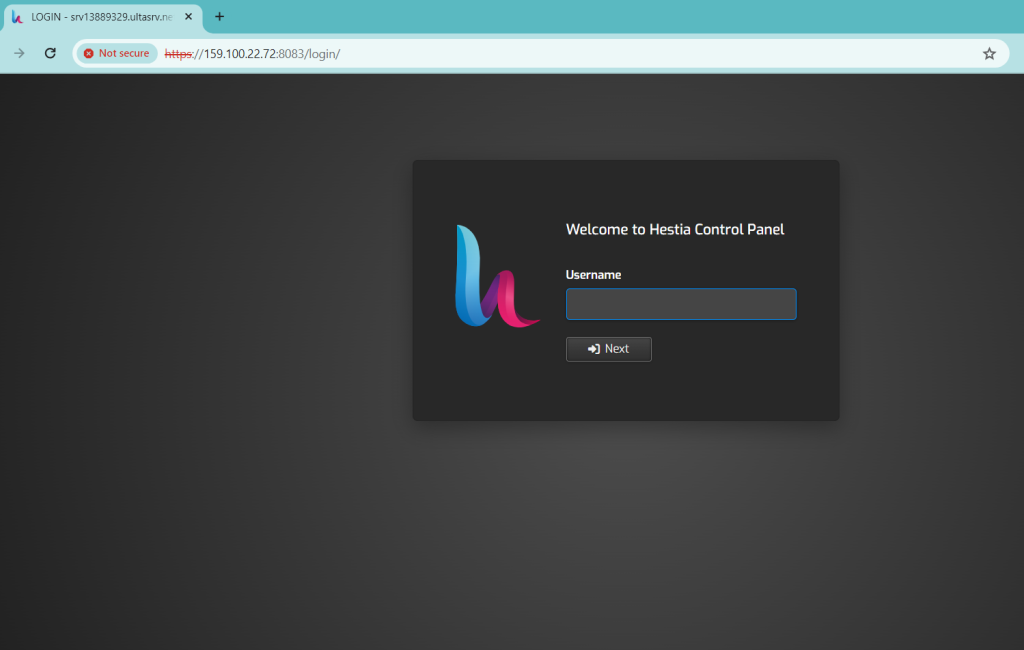
Log in to HestiaCP: Access your HestiaCP control panel using your web browser. You can simply hit your VPS IP address and default Hestia port which is 8083 like https://159.100.22.72:8083/
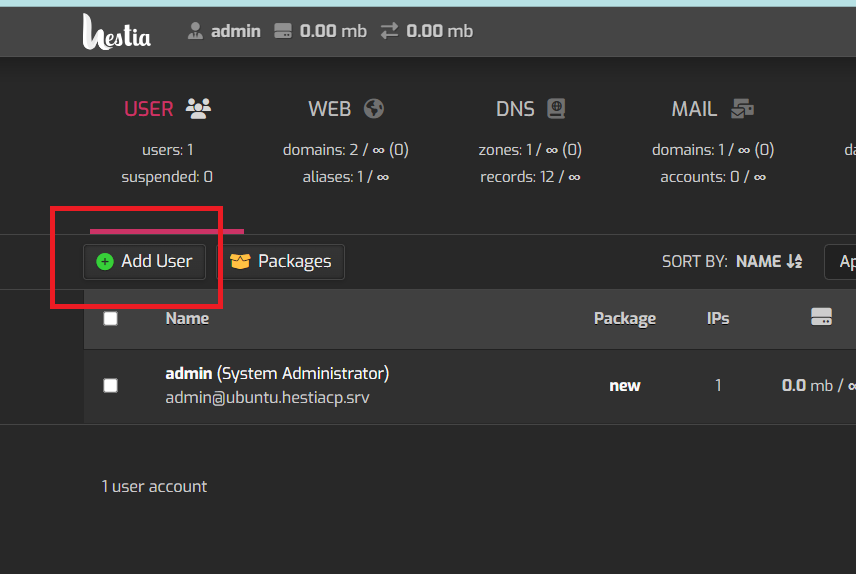
Add New User: Once loggedin, click on ‘Add User’
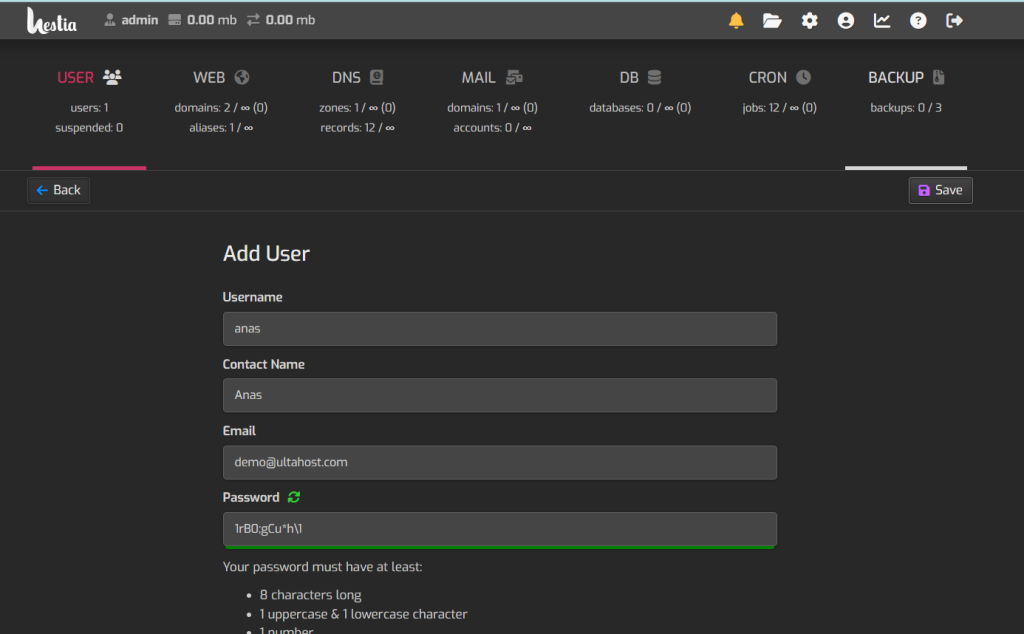
Enter User Details: You’ll be prompted to enter details for the new user account, such as username, password, and email address. Fill in this information accordingly.
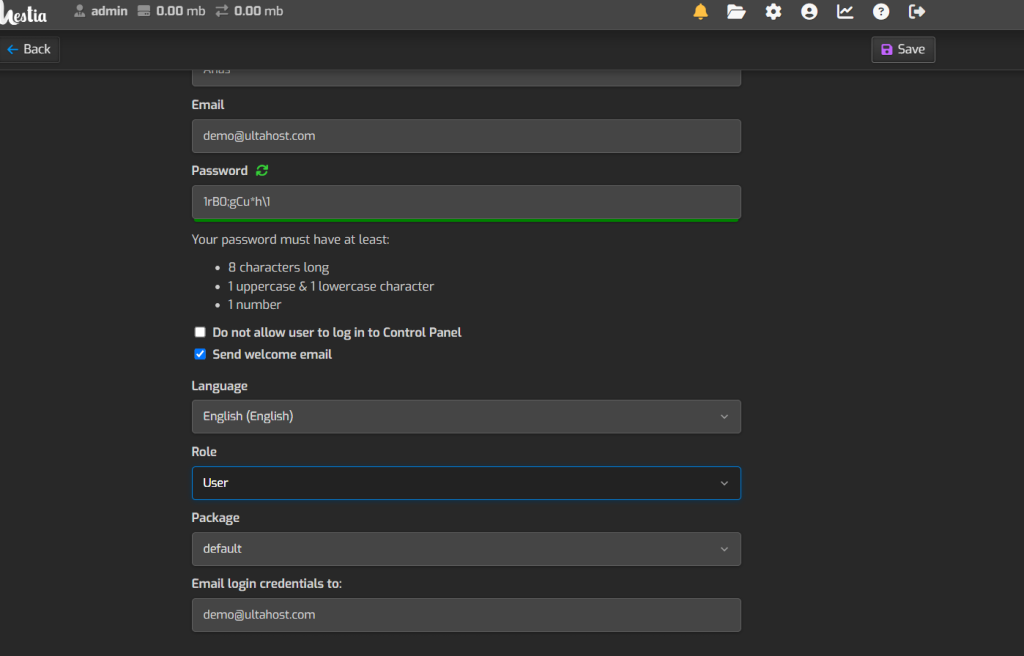
Assign Permissions: Depending on your setup, you may have options to assign permissions or roles to the new user account. Adjust these settings as needed.
Save Changes: Once you’ve entered the necessary information and configured any additional settings, save the changes to create the user account.
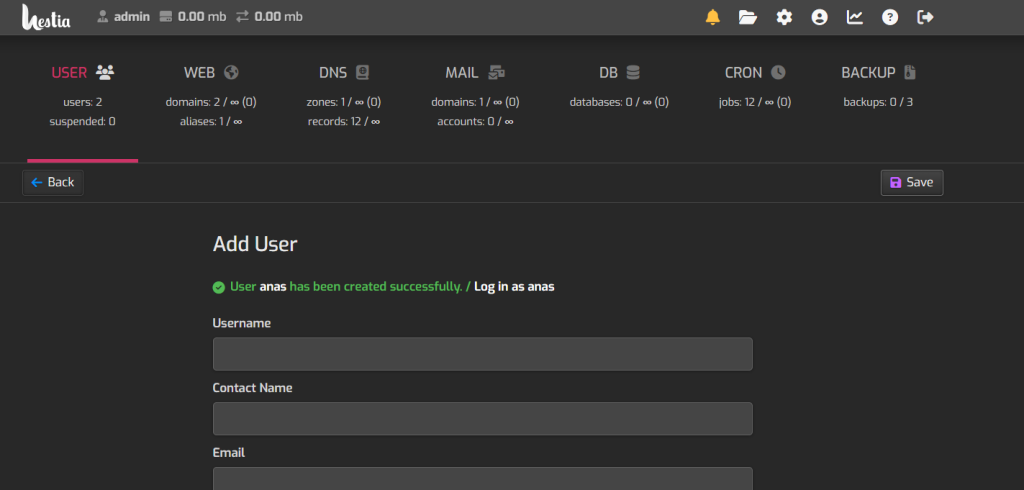
Verify User Account: After creating the user account, verify that it’s working correctly by attempting to log in with the newly created credentials.
That’s it! You’ve successfully created a user account using Hestia Control Panel. If you encounter any issues or have further questions, feel free to ask for assistance.
