Installing and Securing phpMyAdmin on Ubuntu 16.04 Server
Or copy link
Copy link
Managing MySQL databases is a crucial part of web development and application deployment. One tool widely used for this purpose is to install phpMyAdmin, which offers a user-friendly web interface to interact with MySQL databases. It enables users to execute SQL queries, handle database structures, import/export data, and perform administrative tasks with ease. Discover the exceptional performance and reliability of Ubuntu hosting, the leading choice for powering your website or application with the robust and secure Linux-based operating system.
When installing phpMyAdmin on an Ubuntu 16.04 Server, it’s vital to prioritize security. Since the server stores valuable data, unauthorized access could result in breaches and compromises. Thus, securing phpMyAdmin becomes crucial to safeguard sensitive database information and protect the server from potential attacks.
Prerequisites
To ensure a successful installation of phpMyAdmin, it is important to properly set up and update your Ubuntu 16.04 Server. You need to install the ubuntu 16.04 server before proceeding.
Installing Ubuntu 16.04 Server
Download the official Ubuntu 16.04 Server ISO from the Ubuntu website.
Create a bootable USB drive or DVD using the downloaded ISO.
Insert the bootable media into your server and start the installation process.
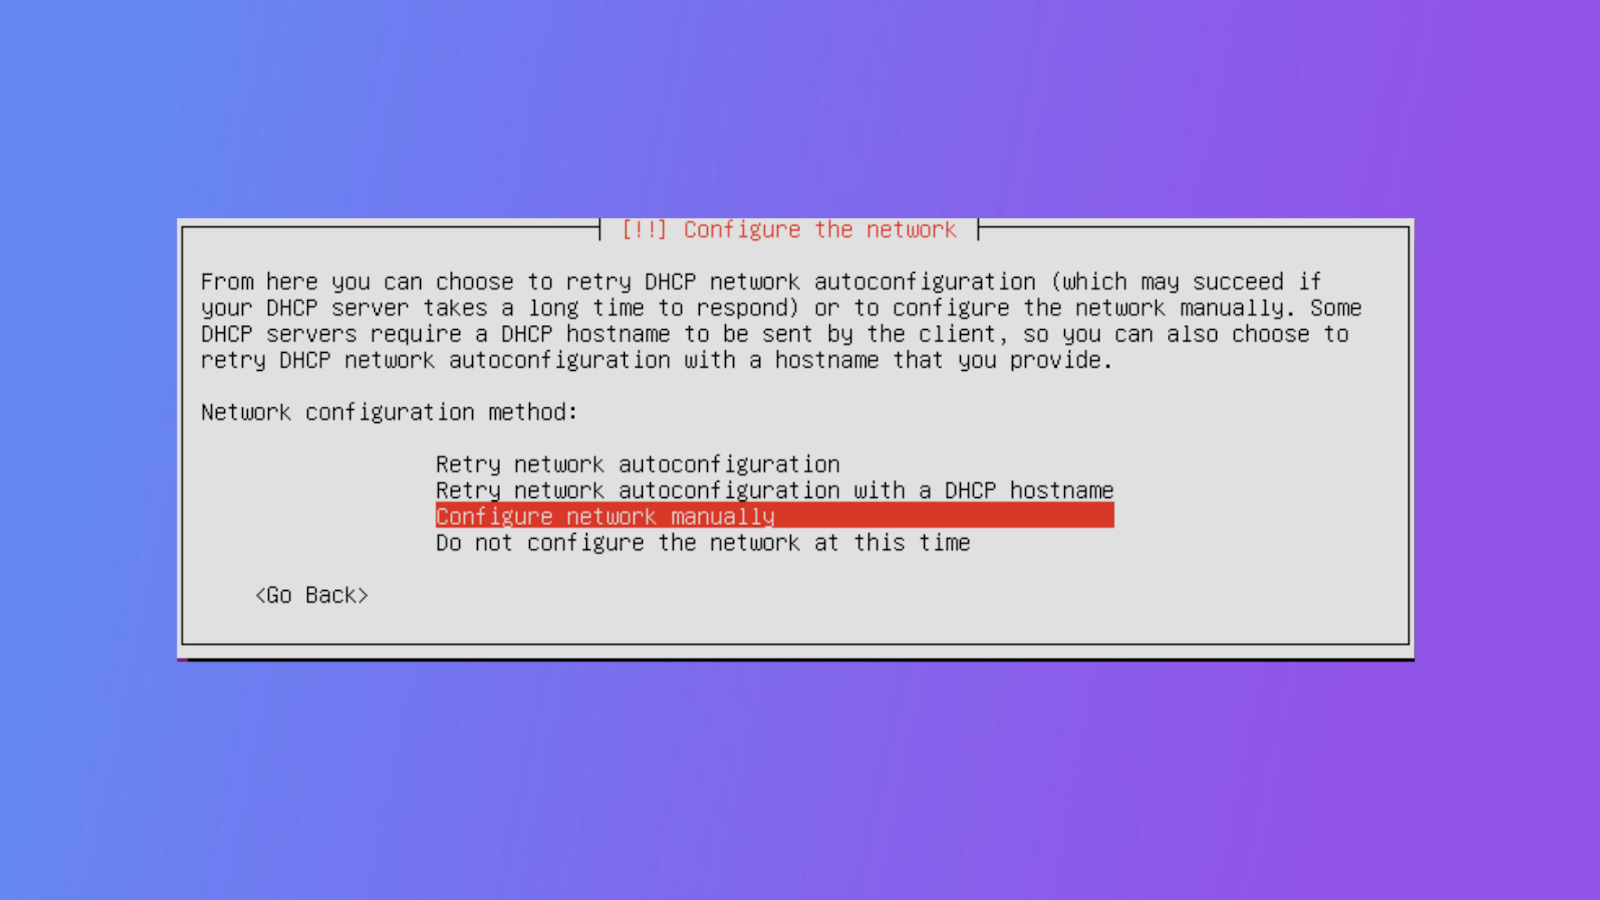
Follow the on-screen instructions to choose installation options like language, keyboard layout, and disk partitioning.
Set up a username and password for your server.
Complete the installation process, and your server will reboot into the Ubuntu 16.04 Server environment.
Updating Server Packages
Log in to your server using the credentials you set during the installation.
Open a terminal window.
Update the package lists by running the following command:
sudo apt update
Upgrade the installed packages to their latest versions:
sudo apt upgrade
Follow the on-screen instructions to proceed with the upgrade process.
Installing LAMP stack (Linux, Apache, MySQL, PHP)
Install the Apache web server by running the following command:
sudo apt install apache2
Once the installation is complete, start the Apache service:
sudo systemctl start apache2
To verify the Apache installation, open a web browser and enter your server’s IP address.
Install the MySQL server by running the following command:
sudo apt install mysql-server
During the installation process, you will be prompted to set a password for the MySQL root user. Choose a strong password and remember it.
Install PHP and the necessary PHP extensions by running the following command:
sudo apt install php libapache2-mod-php php-mysql
Once the installation is complete, restart the Apache service to enable PHP:
sudo systemctl restart apache2
What is phpMyAdmin?
phpMyAdmin is a web-based application that allows you to manage MySQL databases through a graphical user interface (GUI). It provides various features that make managing databases easier, such as executing SQL queries, managing database structures, importing and exporting data, and more. With phpMyAdmin, you can efficiently perform administrative tasks without the need for complex command-line operations. Experience seamless VPS hosting with cPanel for ultimate control and performance.
How to Install phpMyAdmin?
Here’s how you can download and install the phpMyAdmin package:
Open a terminal window on your Ubuntu 16.04 Server.
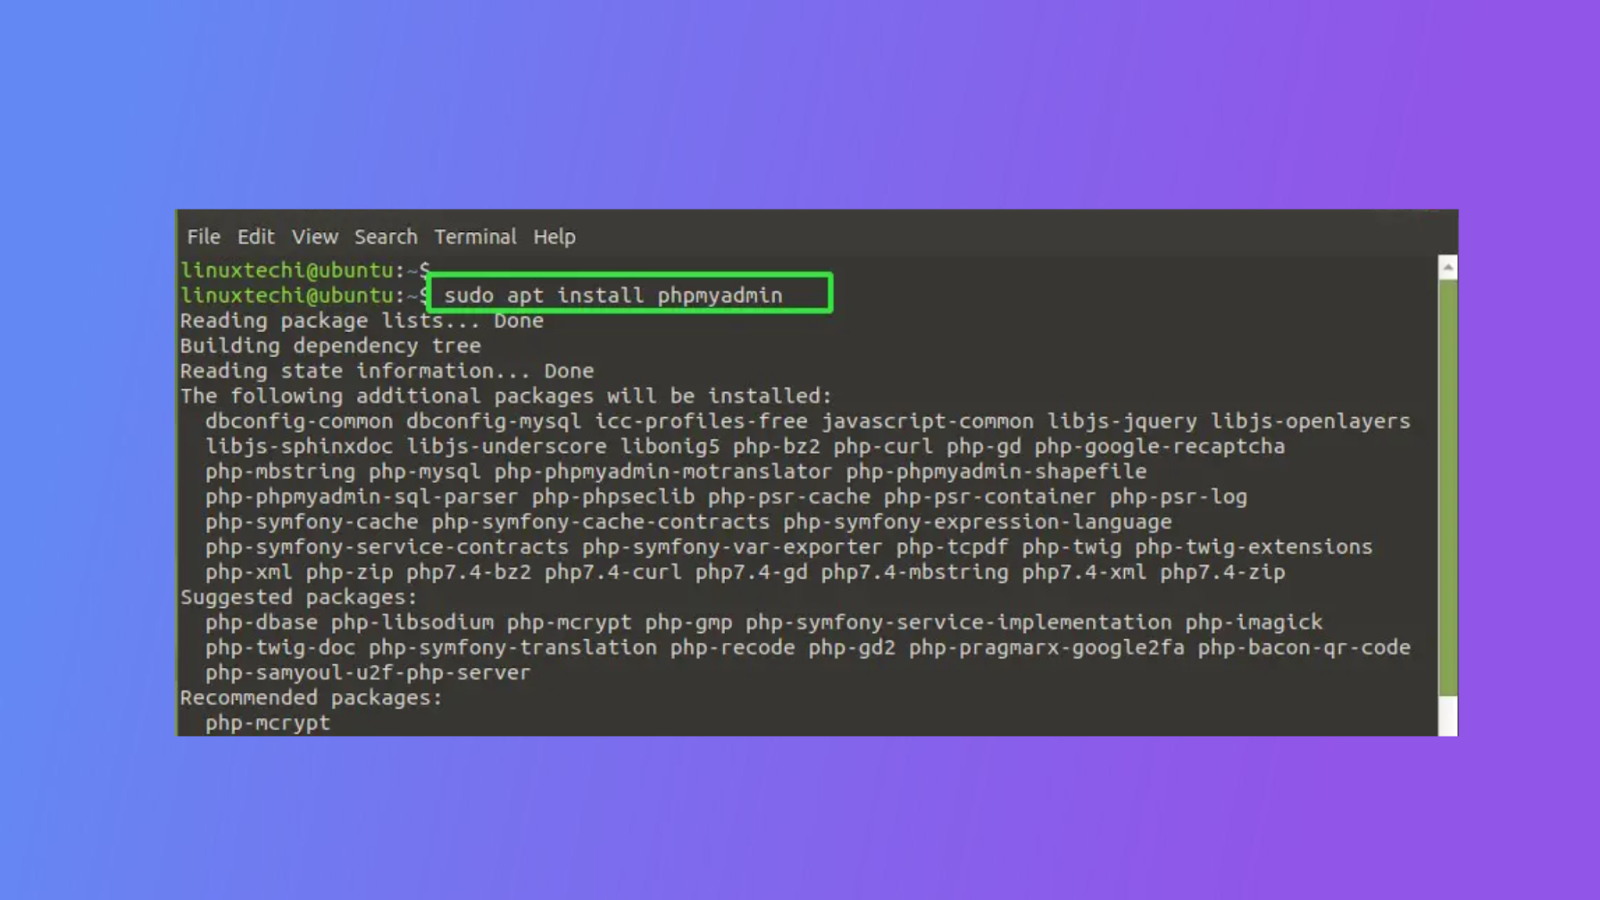
Install the phpMyAdmin package by running the following command:
sudo apt install phpmyadmin
During the installation process, you’ll be prompted to select the web server to be automatically configured for phpMyAdmin. Use the spacebar to choose “apache2” and then press Enter to proceed.
Next, you’ll be asked to configure a database for phpMyAdmin. Select “Yes” and press Enter.
Enter the MySQL root password that you set during the LAMP stack installation.
Create a password for the phpMyAdmin application itself. Make sure to choose a strong password and remember it.
Confirm the password when prompted.
The installation will continue, and the necessary packages will be downloaded and configured.
Verification of phpMyAdmin
To verify the installation and access the phpMyAdmin interface, follow these steps:
Once the installation is complete, open a web browser on your local machine.
In the address bar, enter the IP address or domain name of your Ubuntu 16.04 Server, followed by “/phpmyadmin”. For example, http://your_server_ip/phpmyadmin.-+
You should now see the phpMyAdmin login page.
Enter “root” as the username and the password you set during the phpMyAdmin installation process.
Click on the “Go” button to log in.
If the login is successful, you will be redirected to the phpMyAdmin dashboard.
By following these steps, you can effectively use phpMyAdmin to manage your MySQL databases through a user-friendly web interface.
Security of phpMyAdmin
Securing your phpMyAdmin installation is extremely important to safeguard your server and databases against potential vulnerabilities and unauthorized access. There are following methods to protect phpMyAdmin.
Method 1 Changing the default phpMyAdmin URL for added security
By default, phpMyAdmin can be accessed using a predictable URL (/phpmyadmin). However, altering this URL can provide an additional layer of security.
To begin, open a terminal window on your Ubuntu 16.04 Server.
Execute the following command to edit the phpMyAdmin Apache configuration file:
sudo nano /etc/phpmyadmin/apache.conf
Locate the line that starts with “Alias /phpmyadmin” and modify the “/phpmyadmin” section to your preferred URL.
Save the file and exit the text editor.
Restart the Apache service for the changes to take effect:
sudo systemctl restart apache2
Method 2 Configuring Apache to restrict access to phpMyAdmin:
Start by opening a terminal window on your Ubuntu 16.04 Server.
Execute the following command to create a new Apache configuration file for phpMyAdmin:
Method 3 Enabling SSL/TLS encryption for secure communication
To begin, install the SSL/TLS module for Apache by executing the following command:
sudo apt install openssl
sudo a2enmod ssl
sudo systemctl restart apache2
Obtain an SSL/TLS certificate from a trusted certificate authority (CA) or use a self-signed certificate.
Configure Apache to use the SSL/TLS certificate. Update the Apache configuration file for phpMyAdmin (/etc/apache2/conf-available/phpmyadmin.conf) with the following lines:
<VirtualHost *:443>

    SSLEngine on

    SSLCertificateFile /path/to/ssl_certificate_file

    SSLCertificateKeyFile /path/to/ssl_certificate_key_file

    ...

    # Rest of the phpMyAdmin configuration

</VirtualHost>
Replace “/path/to/ssl_certificate_file” and “/path/to/ssl_certificate_key_file” with the actual paths to your SSL/TLS certificate and private key files.
Save the file and exit the text editor.
Restart the Apache service:
sudo systemctl restart apache2
By following these steps, you can significantly enhance the security of your phpMyAdmin installation and protect your server and databases from potential threats.
Conclusion
Setting up and securing phpMyAdmin on your Ubuntu 16.04 Server is extremely important to ensure the safety of your MySQL databases. Keep in mind that there are several crucial measures you need to take to enhance the security of your installation. These include changing the default phpMyAdmin URL, configuring Apache to restrict access, enabling SSL certificates, implementing robust authentication methods, and regularly updating phpMyAdmin to keep it secure. By following these steps, you’ll be able to fortify the security of your phpMyAdmin setup effectively.