
How to Change the Timezone in Ubuntu
Ubuntu a popular Linux distribution allows users to adj...


As a Ubuntu user, managing system logs can be a daunting task, especially when dealing with a large volume of data. This is where Logwatch comes in – a powerful log analysis tool designed to simplify the process of monitoring system logs. Logwatch is a free, open-source software that scans system logs, identifies potential security threats, and provides a concise summary of system activity.
By installing Logwatch on Ubuntu, users can gain valuable insights into their system’s performance, security, and usage patterns. Logwatch analyzes logs from various system services, including Apache, MySQL, and SSH, and presents the information in an easy-to-understand format. This enables users to quickly identify potential issues, detect security breaches, and optimize system performance.
With Logwatch, Ubuntu users can enjoy a more secure and efficient system, with the ability to track system activity, detect anomalies, and receive alerts on potential security threats. In this article, we will guide you through the process of installing Logwatch on Ubuntu, helping you to unlock the full potential of this powerful log analysis tool.
Installing Logwatch on Ubuntu is a straightforward process that can be completed in a few simple steps. Here’s a step-by-step guide to help you get started:
Before installing Logwatch, make sure your Ubuntu system is up-to-date. Open a terminal and run the following commands:
sudo apt update && sudo apt upgrade -y
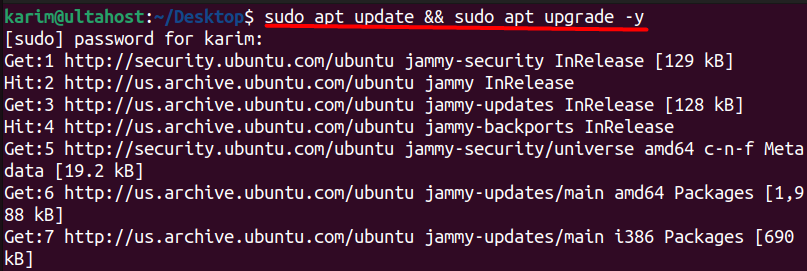
This will ensure that your system has the latest security patches and updates.
Experience the power of Best Ubuntu VPS!
Combine the reliability of the world’s leading Linux distribution with the flexibility of a VPS, and experience lightning-fast performance.
To install Logwatch Ubuntu on your system, run the following command:
sudo apt install logwatch
This command will download and install Logwatch and its dependencies.
Updated Postfix Configuration Options
During the installation a new screen appears to update the postfix configuration options as shown below:
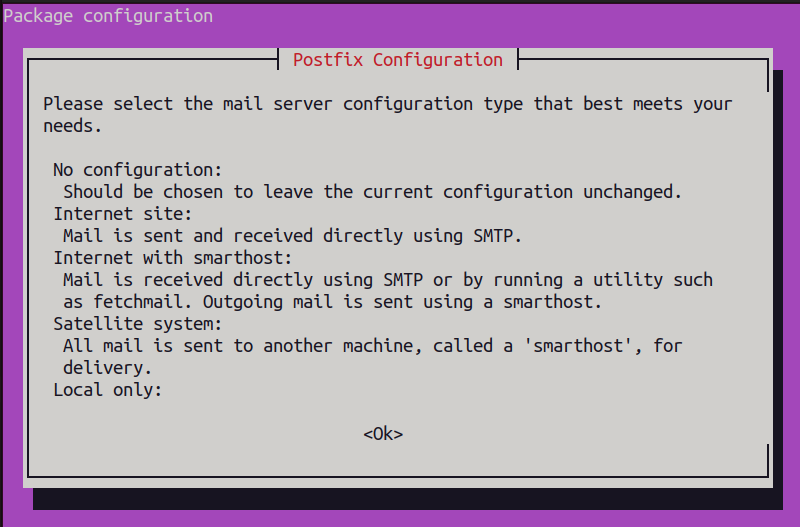
Press the ok button to navigate to the next screen where you will see multiple options:
Learn about Install LAMP on Ubuntu 18.04.
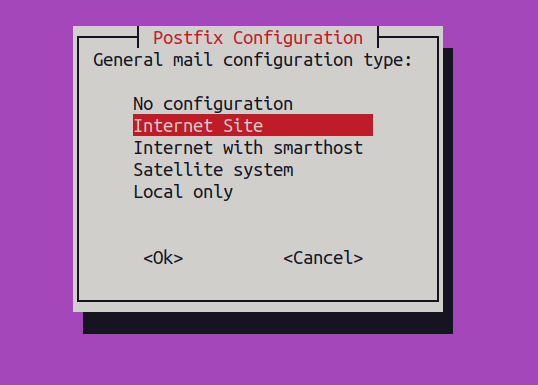
With the additional option, the complete list of Postfix configuration options is as follows:
No configuration
This option will not configure Postfix at all. If you choose this option, you will need to manually configure Postfix later.
Internet Site
This option is suitable for most users. It will configure Postfix to send emails directly to the internet using DNS (Domain Name System) lookups. This means that Postfix will try to deliver emails to the recipient’s mail server directly.
Internet with smarthost
This option is similar to the previous one, but it uses a smarthost (also known as a relay host) to send emails. A smarthost is a mail server that forwards emails on behalf of your system. This option is useful if your internet service provider (ISP) blocks outgoing emails or if you want to use a third-party mail service.
Satellite system
This option is suitable for systems that are not directly connected to the internet or are behind a firewall. It will configure Postfix to forward emails to a central mail server (the “satellite” system) for delivery.
Local only
This option configures Postfix to only deliver emails to local users on the same system. This means that emails will not be sent to external recipients.
For Logwatch, we recommend choosing the Local only option. This is because Logwatch typically sends reports to the local system administrator, and local delivery is sufficient.
By choosing the Local only option, you will ensure that Logwatch reports are delivered to the local system administrator, and you will not need to configure external email delivery. After selecting
After selecting the Local only option, you will be prompted to enter the local hostname. The local hostname is the name of your system, which will be used as the domain name for local email delivery.
The local hostname serves several purposes:
After providing the local hostname, the installation process resumed and completed successfully. This is the expected behavior, as the installation was paused to gather the necessary information for Postfix configuration.
To verify the installation, you can execute the following command:
logwatch -v

You can also check the Logwatch configuration files in the /etc/logwatch/conf directory to ensure that they are present and correctly configured:

To set up Logwatch to run automatically, you need to add a cron job. Open the crontab editor:
sudo crontab -e
Add the following line to run Logwatch daily:
0 0 * * * /usr/sbin/logwatch
This will run Logwatch at midnight every day.
To test Logwatch, run the following command:
sudo logwatch
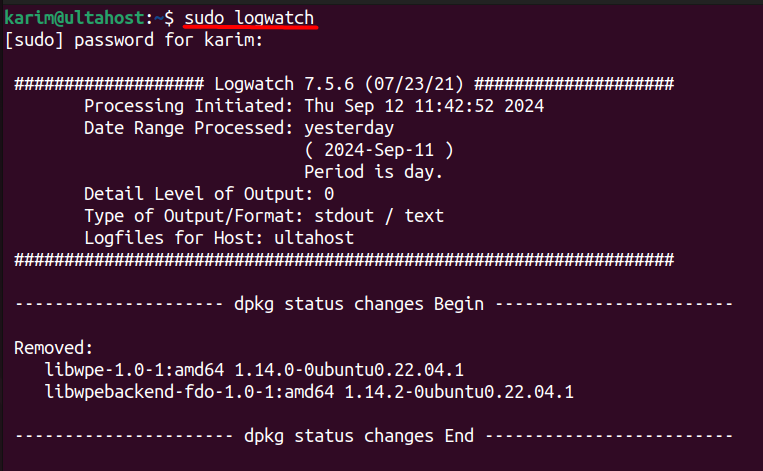
This will generate a Logwatch report and send it to the email address specified in the configuration file.
Logwatch is a log analysis tool designed for Ubuntu users. Its primary purpose is to:
Key Functions
How Logwatch Works
Benefits for Ubuntu Users
Installing Logwatch on Ubuntu is a straightforward process that can be completed in a few simple steps. By following the steps outlined in this article, users can easily install and configure Logwatch to monitor system logs, identify potential security threats, and provide a concise summary of system activity. The installation process involves updating the system, installing Logwatch, and configuring Postfix to deliver reports to the local system administrator.
With Logwatch installed and configured, Ubuntu users can enjoy a more secure and efficient system, with the ability to track system activity, detect anomalies, and receive alerts on potential security threats. By setting up Logwatch to run automatically, users can ensure that their system is continuously monitored and protected. By following the steps outlined in this article, users can unlock the full potential of Logwatch Linux and take their system security to the next level.
You can install Logwatch on the Linux system. For this, you need a powerful platform to host your Logwatch projects. Try Ultahost’s free VPS hosting plans which guarantee fast loading times for your applications and provide easy resource upgrades as your needs grow. Enjoy the freedom and flexibility of a VPS today.
Logwatch is a log analysis tool that parses and summarizes logs from various services on a Linux system. It provides detailed reports on system activities, security, and potential issues by summarizing logs and sending daily reports.
Logwatch helps in monitoring and analyzing system logs by providing detailed summaries and reports, which can be useful for identifying issues, security breaches, and general system health.
If you need to uninstall Logwatch, use: sudo apt remove logwatch
Yes, you can customize reports by editing the configuration files located /usr/share/logwatch/scripts/services/ and /usr/share/logwatch/scripts/services/. You can create custom scripts or modify existing ones to fit your needs.
Ubuntu a popular Linux distribution allows users to adj...
The Ubuntu Software Center not loading error occurs, wh...
Restarting Ubuntu after updates, troubleshooting, or ro...
Managing logs in Docker Compose is essential for develo...