Create an email account using HestiaCP
To create an email account using HestiaCP, follow these steps:
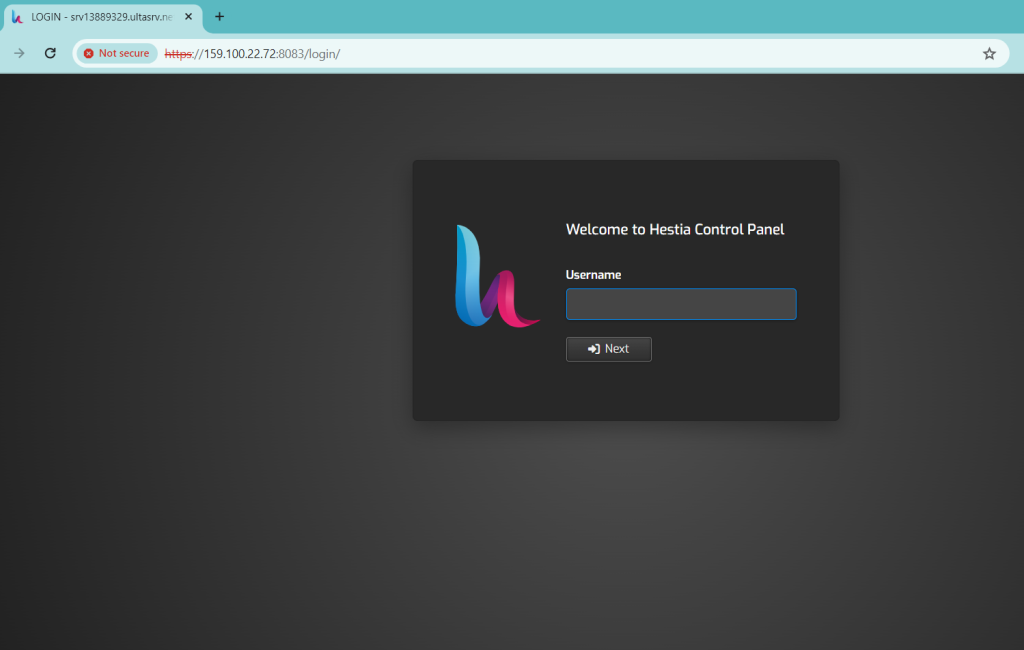
Log in to Hestia Control Panel: Access your Hestia Control Panel by navigating to the login page and entering your credentials.
Navigate to the Mail Section: Once logged in, locate and click on the “Mail” section in the control panel. This section typically allows you to manage email accounts.
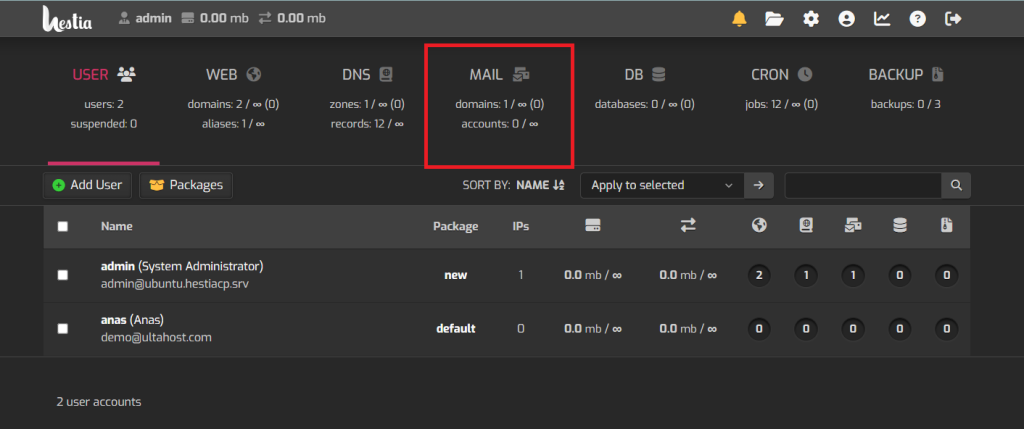
Select Domain: If you have multiple domains configured in HestiaCP, select the domain for which you want to create the email account.
Create Email Account: Click on ‘Add Mail Account’

Enter Account Details: You’ll be prompted to enter details for the new email account, including the email address and password. Additionally, you may have options to specify mailbox size, enable auto-reply, etc.
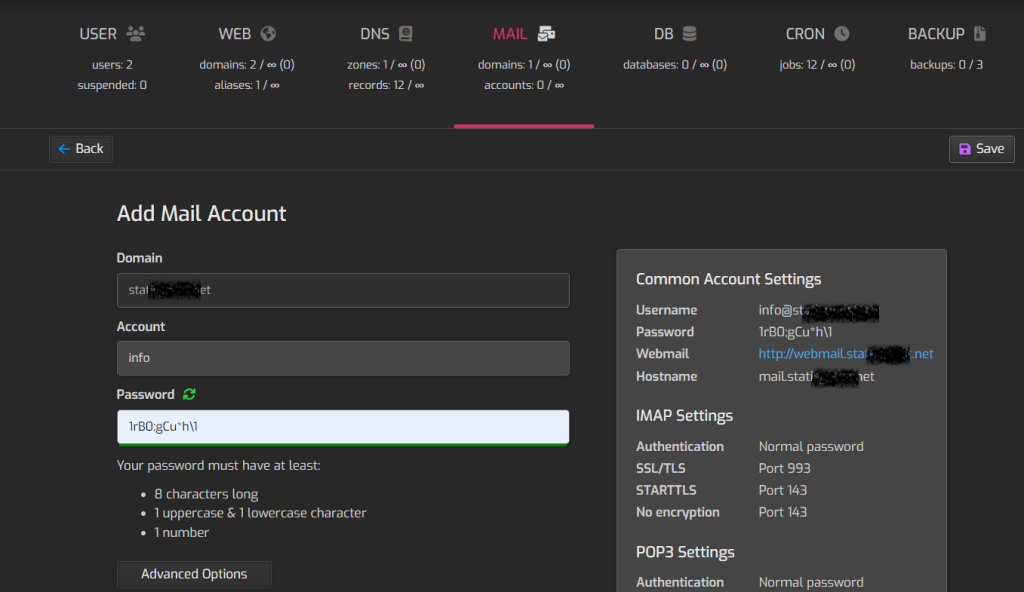
You can click on ‘Advanced Options’ for more options
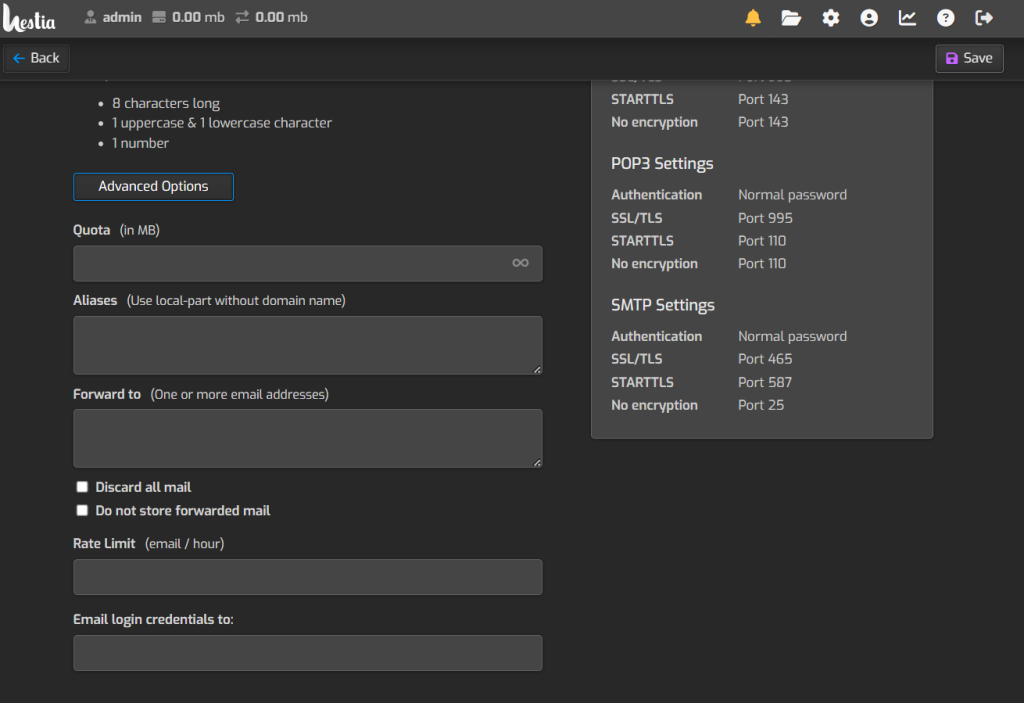
Save Changes: Once you’ve entered the necessary information, save the changes to create the email account.
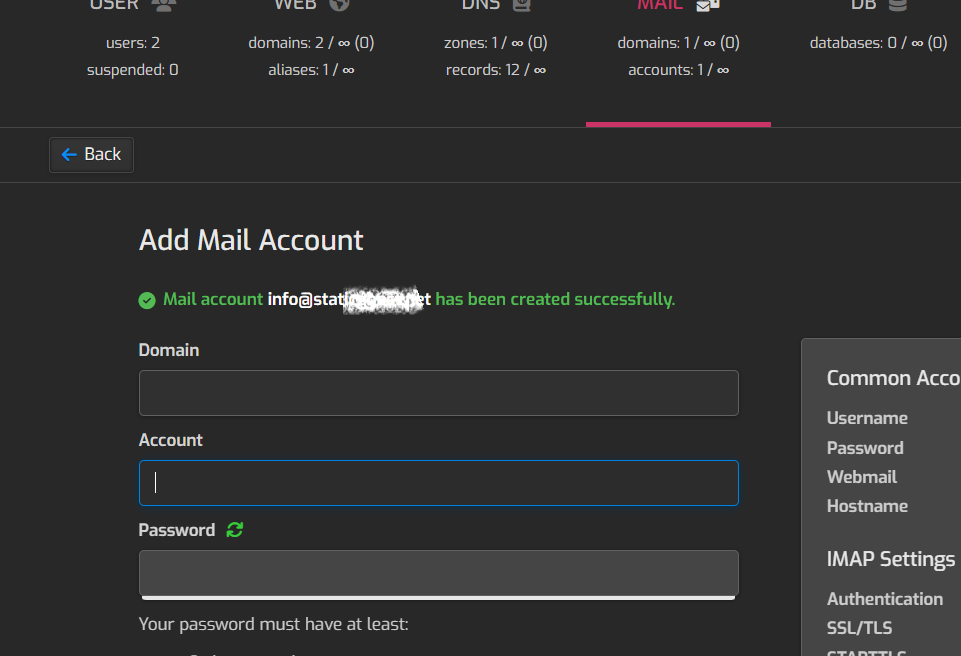
Verify Email Account: After creating the email account, verify that it’s working correctly by accessing it through your preferred email client or webmail interface.
That’s it! You’ve successfully created an email account using Hestia Control Panel.
If you encounter any issues or have further questions, feel free to reach out to Ultahost support.


